Table of Contents
Ever dreamt of whipping up those delicate, paper-thin delights you see in Parisian cafes? Well, you're in luck! This isn't some fancy, chef-only secret; making a perfect french crepes recipe at home is surprisingly easy. We're talking light, flexible crêpes that taste like a million bucks but need only a handful of simple ingredients and about 15 minutes of your time. Forget those thick, rubbery pancake-wannabes. We're diving into the real deal: thin, crispy-edged, and ready to be slathered with your favorite sweet or savory toppings. This guide will walk you through each step, from gathering your ingredients to flipping those beautiful golden rounds, and we'll also cover some common pitfalls and how to avoid them. So, get your apron ready, and let's make some magic!
French Crêpes: The Simple Ingredients

French Crêpes: The Simple Ingredients
The Flour Power
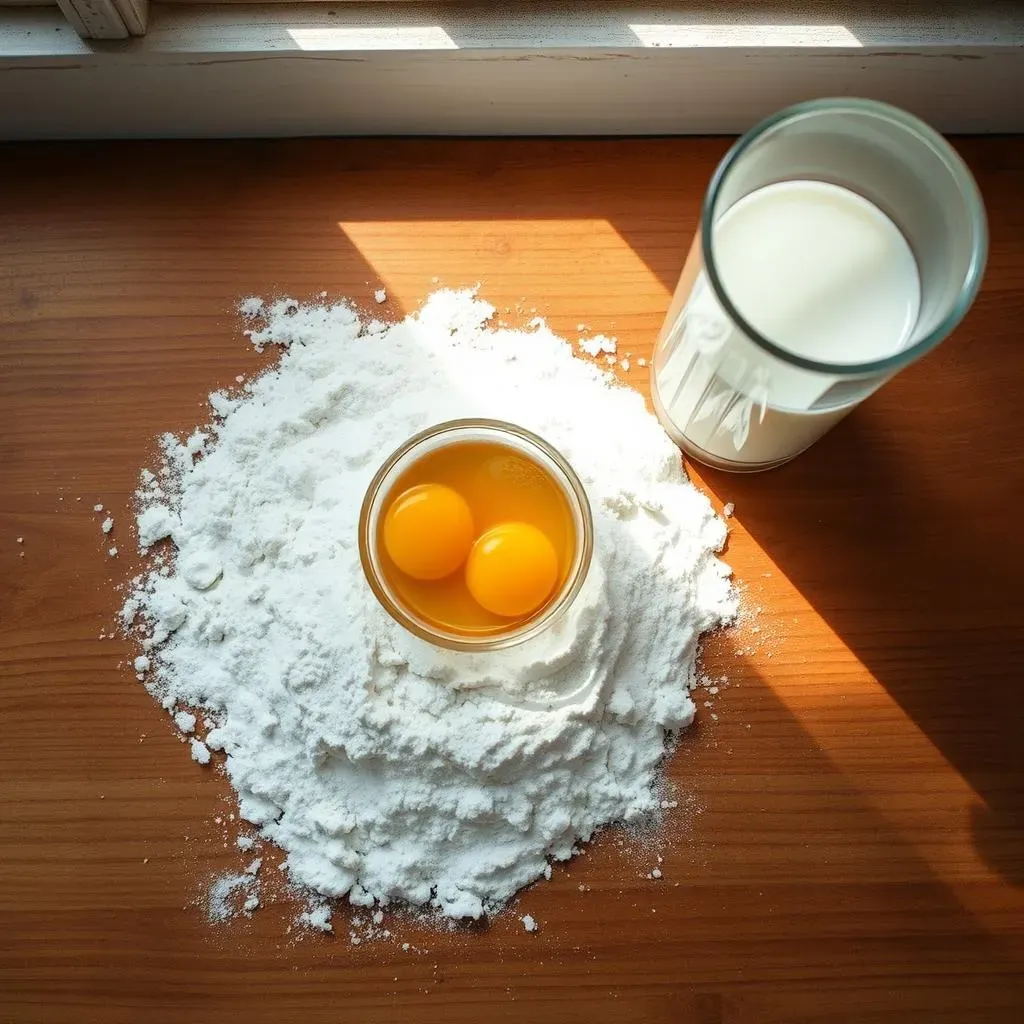
Okay, so first things first, you'll need flour. Nothing fancy here, all-purpose flour is your best friend. It gives the crepes their structure, that nice, flexible texture we all crave. But hey, if you're feeling adventurous, you can try other options, like white spelt flour or even a mix of white and whole-wheat flour. Just keep in mind that different flours might change the final texture a bit. If you are feeling gluten-free, you can try my gluten-free crepes recipe, almond flour or coconut flour crepes as well.
Eggs: The Binding Agent
Next up, we have eggs. These little guys are the glue that holds everything together. They add richness and help create that perfect, slightly chewy texture. The classic recipe uses regular chicken eggs, but if you're going vegan, you can swap them out for a flax egg or other plant-based alternative. Just be aware that the vegan version might have a slightly different consistency, but still delicious, I promise!
Ingredient | Purpose | Notes |
|---|---|---|
All-Purpose Flour | Structure | Can substitute with spelt or whole-wheat flour |
Eggs | Binding Agent | Flax egg for vegan option |
Milk | Liquid Base | Whole milk or skim milk |
Milk Matters
Finally, we need milk. This is the liquid part of our batter, making it smooth and pourable. You can use whole milk for a richer flavor, or skim milk if you want a lighter crepe. The type of milk you choose will affect the crispness of the final product. Whole milk tends to make a slightly softer crepe, while skim milk can result in a crispier texture. I like both, it depends on my mood.
Making Your French Crêpes Batter

Making Your French Crêpes Batter
Mixing It Up: The Batter Basics
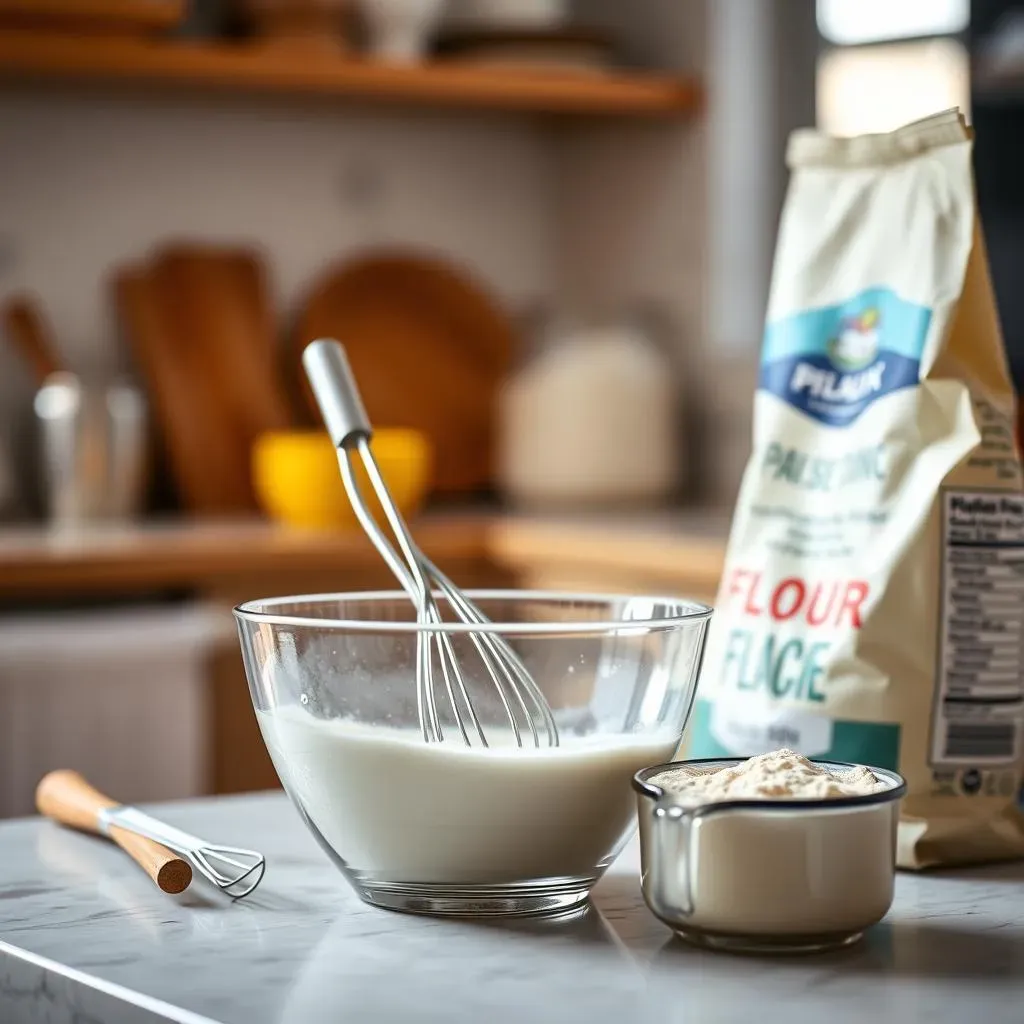
Alright, so you've got your flour, eggs, and milk ready to go. Now, the fun part: mixing the batter! I know, it sounds simple, but there's a little trick to it. The key is to avoid overmixing, which can make your crepes tough. Start by whisking the eggs, then gradually add the milk, mixing as you go. It's like you're creating a smooth, creamy base. Once that's combined, slowly add the flour, whisking until it's just incorporated. Don't worry about a few small lumps; they'll disappear as the batter rests. Think of it like making a smooth, flowing paint, not a thick, gluey paste.
You can use a regular whisk or even a fork, but if you're feeling fancy, you can use a blender. The blender will make the batter extra smooth, but honestly, a whisk does the job just fine. The goal here is to create a batter that is lump-free but not over-worked, keeping it light and airy. Remember, we're aiming for thin, delicate crepes, so we don't want to develop too much gluten in the flour. It's like giving the batter a gentle massage, not a full-on workout!
Resting: The Secret to Success
Now, here's the real magic: let the batter rest! I know, you're probably eager to start cooking, but trust me on this one. Resting the batter for at least 10 minutes, but preferably 30 minutes, makes a HUGE difference. It allows the flour to fully absorb the liquid, which helps create a smoother, more even crepe. It also allows the gluten in the flour to relax, resulting in a more tender crepe. Think of it as a little spa day for your batter; it's relaxing and getting ready to shine. I like to let mine rest while I prep my toppings or clean the kitchen a bit, killing two birds with one stone.
So, while your batter is chilling out, you can get your pan ready. I like to use a non-stick crepe pan, but a regular non-stick skillet will work too. Just make sure it's heated to medium heat. You don't want it too hot, or your crepes will cook too quickly and burn. You also don't want it too cold, or they'll be pale and sad. It's all about finding that sweet spot. The batter should be the consistency of thin cream, and if it is too thick, you can add a tablespoon of milk to thin it out. It's like a Goldilocks situation; you need everything just right.
Step | Action | Why It's Important |
|---|---|---|
1 | Whisk eggs, add milk | Creates a smooth base |
2 | Add flour, whisk gently | Avoids overmixing and lumps |
3 | Rest batter 10-30 min | Allows gluten to relax, improves texture |
Cooking Perfect French Crêpes

Cooking Perfect French Crêpes
The Heat is On: Pan Prep and Pouring
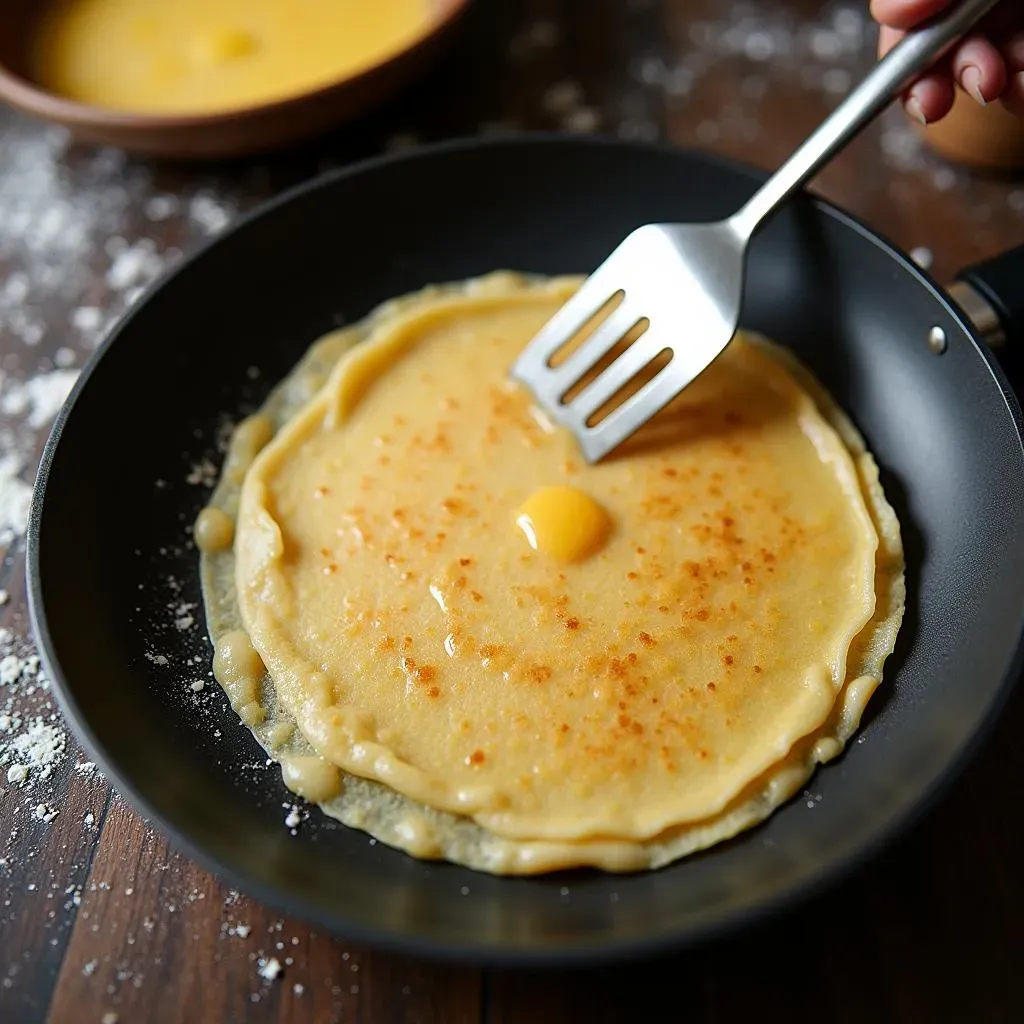
Alright, you've got your rested batter, your pan is hot, now what? First, you’ll want to lightly grease your pan. I usually use a bit of melted butter, because, well, butter makes everything better. But you can use oil too, if you prefer. The key here is "lightly" – you don't want your crepes swimming in grease. Now, for the pouring, grab a ladle or a 1/4 cup measuring cup and pour a small amount of batter into the center of the pan. It should be just enough to cover the bottom in a thin layer.
Quickly tilt the pan in a circular motion so the batter spreads out evenly. If you have a crepe spreader, now's the time to use it, but a simple tilt and swirl works just as well. The goal is to get a thin, even circle, like a perfectly round pancake, but much, much thinner. If you see some holes or uneven spots, don't stress it, it's all part of the charm. It's like you're painting a beautiful picture with batter on a hot canvas, and sometimes, the imperfections make it even more interesting.
Flipping Fantastic: The Art of the Flip
Okay, so your crepe is cooking, and you'll start to see the edges lifting up slightly. That's your cue, it's time to flip! Use a thin spatula (metal works best here) to gently slide under the edge of the crepe. Try to get as much of the spatula under the crepe as possible, and then with a swift, confident motion, flip it over. If you're feeling brave, you can try the aerial flip, but I've had my fair share of crepes landing on the floor, so I usually stick to the spatula method. Don't worry if it's not perfect; it's all part of the learning process.
Once flipped, let the other side cook for about 30-60 seconds, until it's lightly golden brown. The cooking time depends on the heat of your pan, so keep a close eye on it. You can use your spatula to lift it slightly to check the color. Remember, the goal is to cook it until it's set and slightly crispy, but not burnt. It's like you're giving the crepe a quick tan on both sides, just enough to make it look delicious. And if your first one doesn't come out perfect, don't worry, the next one will be even better, practice makes perfect!
Step | Action | Tip |
|---|---|---|
1 | Lightly grease hot pan | Use butter or oil |
2 | Pour batter, tilt pan | Create thin, even circle |
3 | Flip with spatula | Swift, confident motion |
4 | Cook second side | Lightly golden brown |