Table of Contents
Ever looked at a pancake and thought, "That's boring"? I have! That's why I got hooked on pancake art. Forget plain circles; we're talking edible masterpieces! If you're ready to turn your breakfast into a creative adventure, then you're in the right place. This isn't just about flipping pancakes; it's about flipping your imagination. In this article, I'm going to show you how to get started with your own pancake art journey and what you'll learn in pancake art classes. We'll cover everything from the essential tools you'll need, to a simple step-by-step guide that will have you drawing with batter in no time. I'll share a few sneaky tips to make your art pop. So, grab your spatula, and let’s get cooking (and creating!). Get ready to impress your friends and family with your new skills and have a blast during the process!
What You'll Need for Your Pancake Art Class

What You'll Need for Your Pancake Art Class
The Batter Basics
First things first, you can't make pancake art without the batter! But, it's not just *any* batter. You need a smooth, runny consistency, like thick ketchup. I like to use a regular pancake mix and just add a bit more water than the instructions suggest. You don't want it too thick or it will be hard to draw with. Think of it like paint – too thick and it’ll clump; too thin, and it'll run all over the place. It's all about finding that sweet spot. You can also make your batter from scratch, but for beginners, a mix is definitely easier. And don't forget the food coloring! Gel food coloring works best because it doesn’t water down the batter as much as liquid coloring.
Essential Tools for Pancake Artists
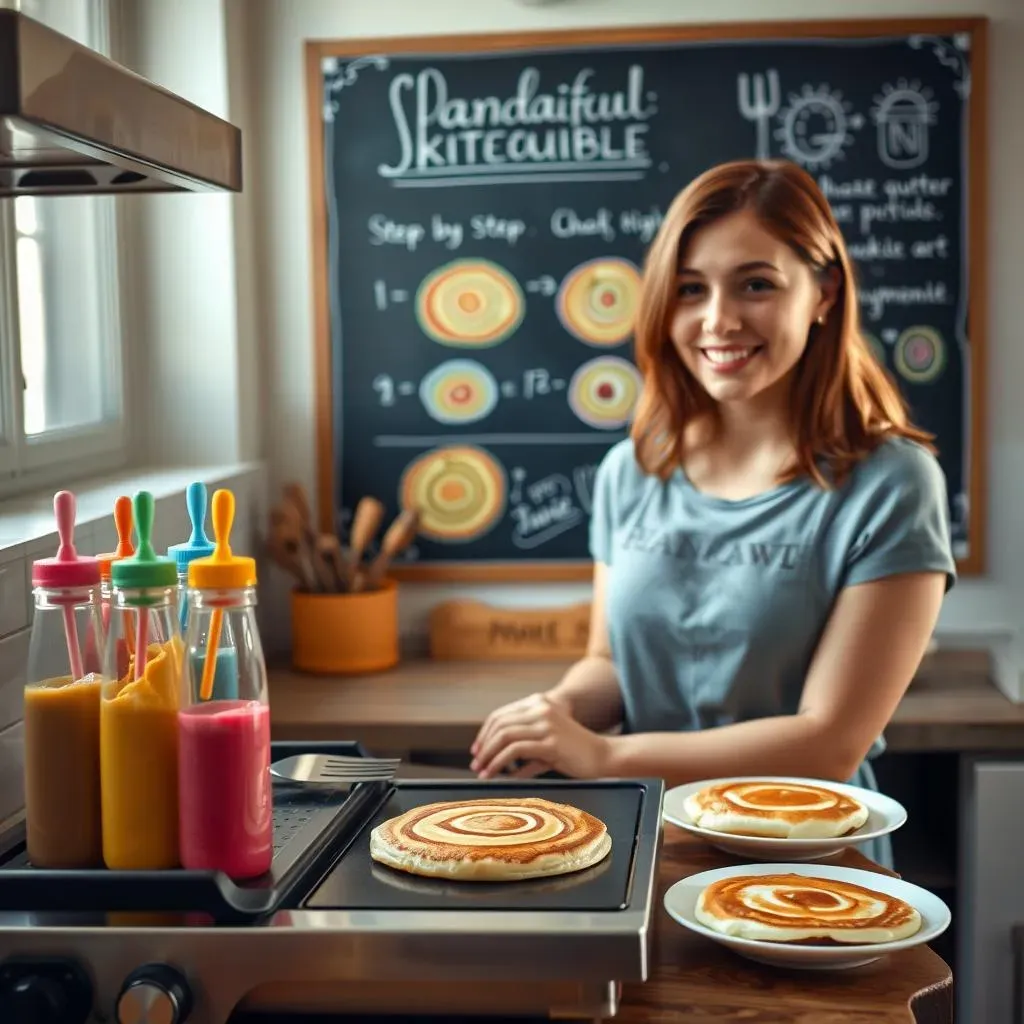
Okay, now for the fun stuff: the tools! You're going to need a few things to make your pancake art dreams a reality. First, squeeze bottles are your best friend. Find some with fine tips, the kind used for decorating cookies work great. These will let you draw precisely. A non-stick griddle or pan is also a must. You do not want your art to stick. A spatula, of course, is needed for flipping, but a thin, flexible one is better. A regular spoon and measuring cups are handy for mixing. And finally, a little creativity! Don’t be afraid to experiment and try different things. This is art, after all, and there are no rules.
Tool | Why you need it |
|---|---|
Squeeze bottles with fine tips | For precise batter drawing |
Non-stick griddle or pan | To prevent sticking and ensure easy flipping |
Thin, flexible spatula | For delicate flipping of your pancake art |
Measuring cups and spoons | For accurate batter mixing |
Gel food coloring | For vibrant colors without watering down batter |
Setting Up Your Workspace
Before you start, make sure you have your workspace ready! It’s kinda like a painter setting up their easel. I always lay out some paper towels in case things get a little messy. It's also helpful to have a small bowl of water nearby to quickly clean the tips of your squeeze bottles if they clog. Keep all your ingredients and tools within easy reach so you are not running around looking for them when you are in the middle of creating. And most importantly, make sure you have a good, flat surface to work on. A cluttered area will just make things more difficult. A clean area will help you focus on the art.
Pancake Art Class: StepbyStep Guide

Pancake Art Class: StepbyStep Guide
Drawing Your Design
Alright, now for the fun part! Start by heating your griddle to a low temperature, around 200°F. You don’t want it too hot or your batter will cook too fast. Next, take your squeeze bottles and start outlining your design directly onto the griddle. Imagine you're drawing with a pen, but instead of ink, you're using pancake batter. It's okay if your first few tries look a little wonky! Mine certainly did! The key is to use smooth, consistent pressure on the bottle. Don’t press too hard or you’ll get a big blob, and don’t press too lightly or you’ll get a thin, broken line. You'll get the hang of it with practice.
Begin with simple shapes, like stars, hearts, or even your initials. Once you get comfortable with those, you can move on to more complex designs. I love making cartoon characters! They’re always a crowd pleaser. Remember, it's all about having fun and experimenting, so don't get too hung up on perfection. If you make a mistake, don’t worry you can use your spatula to scrape it off and try again! That's the beauty of pancake art: it's temporary.
Cooking and Flipping
Now that you’ve got your design drawn, it’s time to cook it. Let the outline cook for a minute or two. You'll start to see the edges turn light golden brown and the surface of the batter will dry a bit. If you’re making a design with different colors, you can add your colored batter now, filling in the outlined parts. Once the surface is dry and you see some bubbles forming, it's time for the flip! This is where that thin, flexible spatula comes in handy. Gently slide it under the pancake art and flip it over carefully. The goal is to flip it without messing up your art. Cook for another minute or so on the other side, until it's golden brown, and then you’re done!
Remember, patience is key. Don’t try to rush the cooking process. If the heat is too high, your pancake will burn before it’s fully cooked through. A low and slow approach will give you the best results. You'll know your pancake is cooked when it’s golden brown and feels slightly firm to the touch. If it's still soft and gooey, it needs more time. And don't be afraid to peek! It's not cheating, it's just good cooking.
Step | Action |
|---|---|
1 | Heat griddle to low temperature (around 200°F) |
2 | Outline your design with squeeze bottles. |
3 | Let the outline cook for a minute or two until golden brown |
4 | Add colored batter to fill in the design |
5 | Flip carefully with a thin spatula |
6 | Cook the other side until golden brown |
Plating and Enjoying
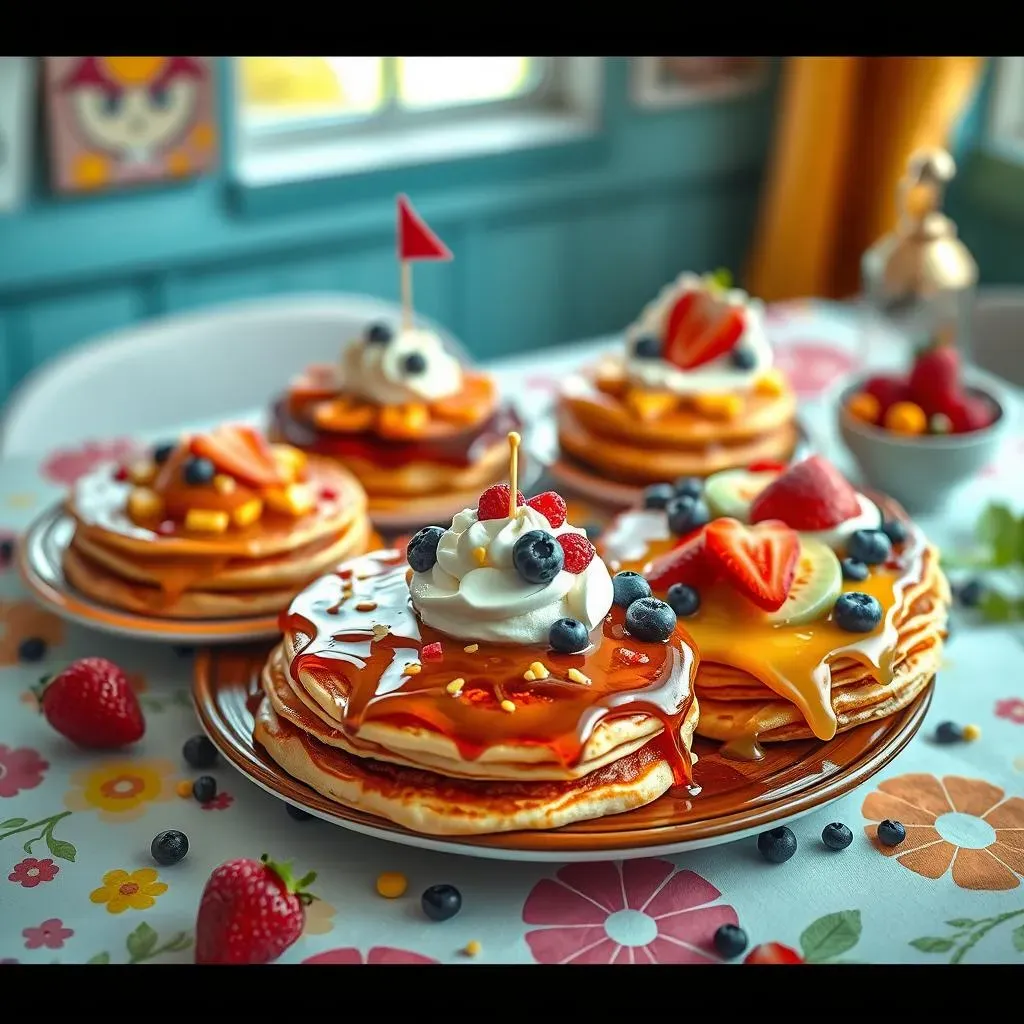
Alright, your pancake art masterpiece is cooked, and now it's time to plate and enjoy. Carefully slide your pancake art onto a plate. You can add some butter and syrup, of course, but I like to add some fresh fruit and whipped cream to make it extra special. The presentation is just as important as the art itself! Think of it as the final touch on a painting. You can arrange the fruit in a creative way, maybe even add some edible glitter for extra flair. And most importantly, enjoy the fruits of your labor! Pancake art is meant to be shared with friends and family.
So gather everyone around the table, show off your amazing creations and watch their faces light up. It's not just about the taste, it's about the fun and the experience of creating something unique and delicious. And who knows, maybe you'll inspire someone else to try their hand at pancake art as well. So go on, get creative, have fun, and enjoy every bite!
Tips and Tricks for Awesome Pancake Art Classes

Tips and Tricks for Awesome Pancake Art Classes
Perfecting Your Batter
Okay, let's talk batter secrets. The right consistency is crucial, and it might take a few tries to nail it. If your batter is too thick, it won't flow smoothly from the squeeze bottle, and you'll get gloppy lines instead of nice, clean ones. If it's too thin, it will spread out too much and lose its shape. Aim for that ketchup-like consistency, and don't be afraid to experiment with small adjustments. Another trick is to let the batter sit for a few minutes after mixing. This allows the gluten to develop a bit, making it easier to work with. And if you're using food coloring, add it gradually and mix it in thoroughly, so you get a nice, even color. Remember, less is more when it comes to coloring, you can always add more but you can't take it away!
Also, consider using a batter dispenser. These handy gadgets can make your life a whole lot easier, especially if you're making a lot of pancakes or doing a complex design. They provide a smooth, consistent flow, and they're much easier to control than a squeeze bottle. Plus, they're great for kids, who might struggle with squeezing the bottles. And finally, if you find that your batter is still too thick, try adding a tiny bit of milk or water, one teaspoon at a time, until you reach the desired consistency. It's all about finding what works best for you, so don't be afraid to play around with it!
Mastering the Art of the Squeeze
Now, let's get down to the nitty-gritty of squeeze bottle technique. It's not as easy as it looks! The key is to hold the bottle at a consistent angle and apply even pressure. Don’t squeeze too hard, or you’ll get big blobs of batter. Instead, use a gentle, continuous pressure to create smooth lines. If you're using different colors, make sure to switch bottles quickly and clean the tips of the bottles between colors to avoid mixing. This can be tricky, but with practice, it will become second nature. It's also a good idea to practice on a piece of parchment paper before you start drawing on the hot griddle. This will help you get a feel for the pressure and the flow of the batter.
And don't be afraid to get creative with your lines. Experiment with different thicknesses, and try to create different effects. You can make thin lines for outlines, and thicker lines for filling in shapes. Another tip is to use a toothpick or a small spatula to correct any mistakes or to add small details. And if you make a mistake, don’t worry about it! It’s all part of the learning process. Just scrape it off with your spatula and try again. The most important thing is to have fun and enjoy the process. If you're relaxed and having fun, your pancake art will be even better!
Tip | Description |
|---|---|
Batter Consistency | Aim for a smooth, ketchup-like consistency. |
Food Coloring | Add gel food coloring gradually for vibrant colors. |
Squeeze Bottle Technique | Apply consistent pressure and hold the bottle at a steady angle. |
Practice | Practice on parchment paper before drawing on the griddle. |
Correct Mistakes | Use a toothpick or spatula to fix errors. |