Table of Contents
Ever look at a stack of pancakes and think, "These need a little something extra?" I get it. I used to just see breakfast, but now I see a blank canvas. It all started with my dad, he'd make Sunday pancakes that were more like edible sculptures. Now, I'm passing on the tradition, but with a twist: pancake art designs for special occasions. Forget those plain circles, we're talking about turning ordinary mornings into festive celebrations, one pancake at a time. This isn't about being a master chef; it’s about making memories and having fun with your family. We'll explore how to start with simple shapes, then we'll move to easy-to-make designs perfect for any holiday or special day, and finally, I'll share all the tips and tricks I've learned to make your pancake art a success. Ready to transform your breakfast into something truly special? Let's get flipping!
Getting Started with Special Occasion Pancake Art Designs

Getting Started with Special Occasion Pancake Art Designs
The Basics: Batter and Tools
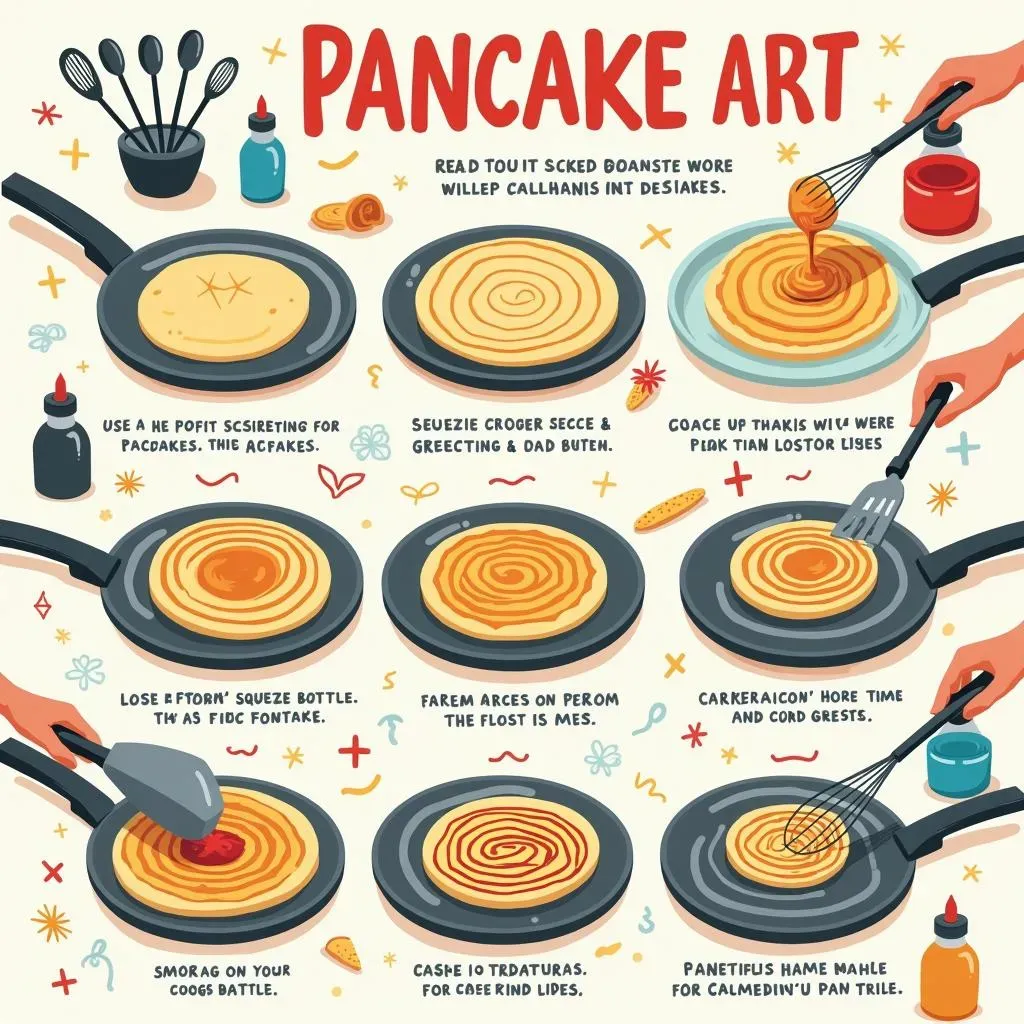
Okay, so you're ready to ditch the boring round pancakes, right? First, let's talk batter. You don't need anything fancy; your favorite pancake mix will work just fine. The key is the consistency – not too thick, not too thin, think of it like melted ice cream. If it's too thick, it will be hard to get those fine lines; too thin, and it will spread everywhere. Now for tools, you don't need to rush out and buy an expensive pancake art kit. I started with a simple squeeze bottle from the dollar store. A regular spoon or even a toothpick can also do the trick. The most important thing is to have a non-stick pan or griddle ready to go.
Here is a quick list of what we will need:
- Pancake mix
- Water or milk
- Mixing bowl
- Squeeze bottles or spoons
- Non-stick pan or griddle
- Spatula
Simple Shapes and Starting Out
Don't try to create a masterpiece right away. Start with the basics. Think simple shapes: circles, hearts, stars. These are great for getting the hang of controlling the batter. I remember my first attempt at a heart looked more like a blob, but hey, it tasted good! Use your squeeze bottle or spoon to gently guide the batter on the hot pan. The trick is to keep the tip close to the surface without touching it. If you are using a spoon, make sure to pour slowly and have a steady hand. Don't worry about perfection; the goal is to have fun and get comfortable with the process. Each pancake is a chance to learn, and even the "failed" ones taste delicious!
Adding Color and Flair
Once you've got the basic shapes down, it's time to add some color! This is where things get really fun. You can use food coloring to create different batter colors. I like to separate the batter into small bowls and add a few drops of color to each. This is great for making rainbow pancakes or holiday-themed designs. For example, red and green for Christmas, orange and black for Halloween, or pastel colors for Easter. Feel free to get creative with sprinkles, chocolate chips, and whipped cream to add extra flair to your designs. Remember, it's your pancake; have fun with it!
Here are some color ideas:
Holiday | Color Idea |
|---|---|
Christmas | Red and Green |
Halloween | Orange and Black |
Easter | Pastel Colors |
Easy and Fun Pancake Art Designs for Special Occasions

Easy and Fun Pancake Art Designs for Special Occasions
Holiday-Themed Designs
Okay, now that we've got the basics down, let's get into some fun designs perfect for special occasions! Holidays are the perfect time to get creative with pancakes. For Valentine's Day, how about a simple heart-shaped pancake, maybe with some pink food coloring? Or for Easter, try making some bunny ears with a few well-placed dollops of batter. Halloween? Ghosts and pumpkins are super easy to create, just a few simple shapes using a squeeze bottle. You don't need to be a professional artist to make something that's both festive and delicious. The key here is to keep it simple and focus on the shapes that represent the holiday.
I remember one year I tried to make a super detailed Santa pancake for Christmas. Let's just say it ended up looking more like a melted snowman. The kids still loved it, though! That's the beauty of pancake art; it's not about perfection, it's about the fun you have making it.
Birthday and Celebration Pancakes
Birthdays are another great occasion for pancake art! A simple number-shaped pancake is always a hit, and it's so easy to do. Just draw the number of the birthday age using your squeeze bottle or spoon. You can also make a basic cake shape and decorate it with sprinkles to look like a birthday cake. If you're feeling a bit more adventurous, you can try making simple shapes that match the birthday theme. For instance, if your child is obsessed with dinosaurs, why not try a simple dinosaur shape? A few simple lines can make a big difference. You can also use different color batters to make it more interesting.
Here are some ideas for Birthday pancakes:
- Number shaped pancakes
- Cake shaped pancakes
- Themed pancakes (dinosaurs, cars, etc.)
Tips and Tricks for Perfect Pancake Art Designs

Tips and Tricks for Perfect Pancake Art Designs
Mastering the Batter Consistency
Alright, let's talk about the real secret sauce—the batter. It's not just about throwing ingredients together; it's about getting that Goldilocks consistency. Too thick, and your batter will be stubborn, refusing to flow smoothly. Too thin, and you'll end up with a blurry mess. The sweet spot is when the batter slowly drizzles off your spoon, like melted ice cream. If you're using a mix, start by adding less liquid than the instructions call for, and then add more, little by little, until you reach the right consistency. This might take a couple of tries, but trust me, it’s worth it. Remember, practice makes perfect, or at least, practice makes edible pancakes.
Another tip? Let your batter rest for a few minutes after mixing. This allows the gluten to relax, and it will result in a smoother batter, which means less bubbles and a better-looking pancake. It’s like giving the batter a mini-spa day before it hits the griddle. If you're adding food coloring, do it after the batter has rested. This helps ensure the color is evenly distributed and doesn't mess with the consistency.
Griddle Temp and Technique
Now, let's get down to the heat. The temperature of your pan or griddle is crucial for pancake success. You want it hot enough to cook the batter but not so hot that it burns before you can finish your design. A medium heat is usually the sweet spot. To check if it’s ready, flick a tiny drop of water on the pan; it should sizzle and evaporate quickly. If it just sits there, the pan is not hot enough; if it instantly pops and disappears, it’s too hot. When you’re ready to start drawing, keep your squeeze bottle or spoon close to the surface but not touching it. This gives you more control, and you can create clean lines.
Don’t move the batter around too much once it's on the pan. Let it cook for a minute or two, and you'll see that the edges will start to turn golden brown, and small bubbles will start to form on the top. That’s when you know it’s time to flip. Use a wide, thin spatula for the flip, and be gentle! You don't want to mess up your masterpiece. Remember, patience is key. Don’t rush the process; take your time and enjoy the art of pancake making. And if the first one doesn’t come out perfect, that's okay. They all taste good anyway.
Tip | Description |
|---|---|
Batter Consistency | Should be like melted ice cream. |
Resting Batter | Let it rest for a few minutes after mixing. |
Griddle Temp | Medium heat, water should sizzle. |
Drawing Technique | Keep tip close to surface, don't move batter much. |