Table of Contents
Ever looked at those amazing pancake art videos and thought, "I wish I could do that?" Well, guess what? You totally can! This guide is designed specifically for pancake art for beginners, meaning no fancy chef skills are required. We're going to break down the whole process into super simple steps, so you can go from zero to pancake Picasso in no time. Forget complicated techniques and expensive tools, we're keeping it real and achievable. We'll start by covering the basic equipment you'll need, then we will look into how to make the perfect batter (it's all about the consistency!), and then we will go through a step-by-step guide on how to actually create your artistic pancakes. Finally, we'll share some beginner tips and tricks to help you avoid common mistakes and make your creations even better. Get ready to impress your friends and family with your newfound pancake art skills. Let's get cooking and creating!
Pancake Art: What You'll Need
Pancake Art: What You'll Need
The Essentials for Your Pancake Canvas
Alright, so you're ready to dive into the world of pancake art? Awesome! Before we get all artistic, let's gather our supplies. Think of it like preparing your painter's palette, but instead of paint, we're using batter. You don't need anything fancy or expensive. For starters, you will need a good non-stick pan or griddle. It's a must-have to avoid a sticky situation. Then, you'll need something to squeeze or pipe the batter, like a squeeze bottle or piping bag, and some basic ingredients that I'm sure you have in your kitchen already.
Now, about the batter containers: squeeze bottles are great because they're easy to use and control, and you can find them in most stores that sell kitchen supplies. Piping bags work well too, especially if you want to make finer details. If you don't have either of these, you can use a plastic bag and cut a small hole in the corner. It's all about making do with what you have! And don't forget the food coloring. This is where the fun really begins. You can use liquid or gel food coloring, but gel tends to give a more vibrant color. So, get ready to splash some color in your pancakes!
Item | Purpose |
|---|---|
Non-stick pan or griddle | Cooking surface for your pancakes |
Squeeze bottle or piping bag | Dispensing batter for designs |
Food coloring | Adding color to your batter |
Batter Basics and Beyond
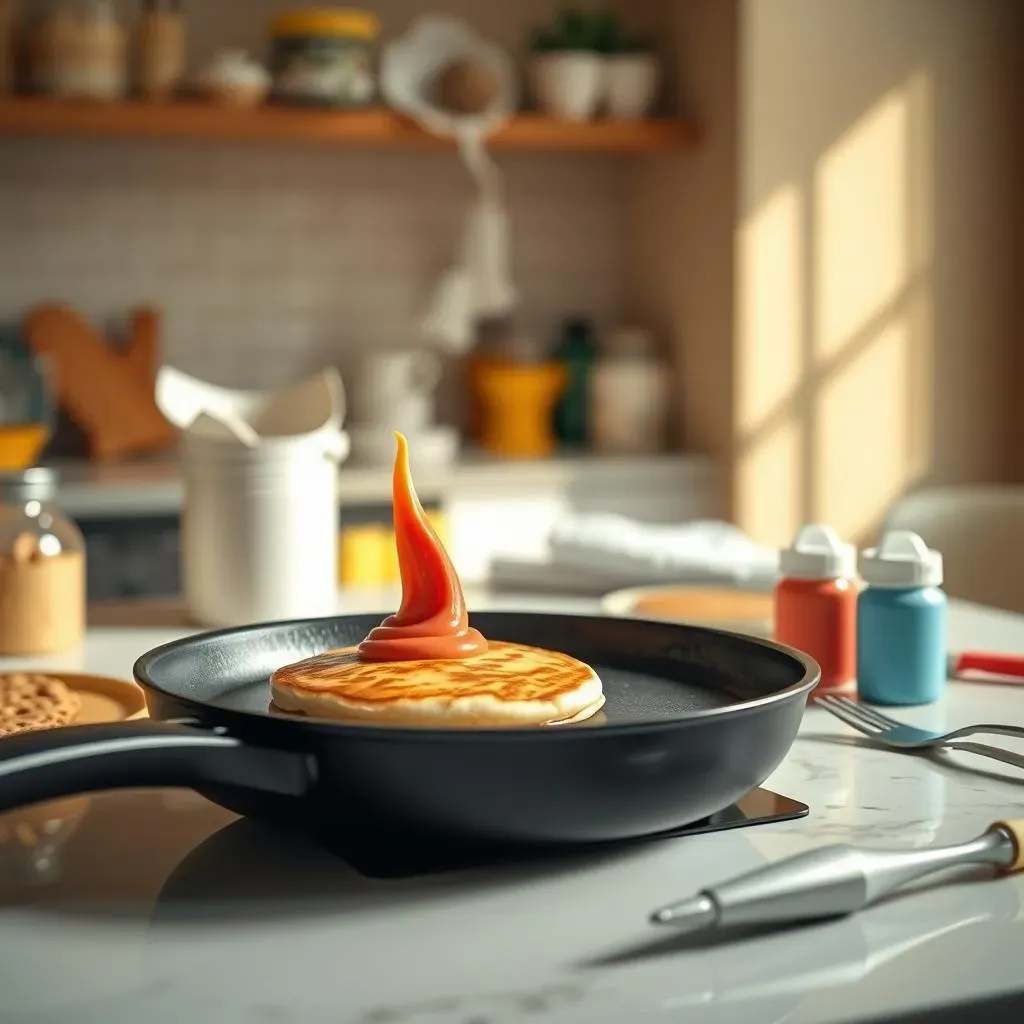
Okay, now that we have our tools, let's talk about the batter. You can use any pancake mix you like or even make your own from scratch if you're feeling ambitious. The most important thing is the consistency. You want it to be runny, like ketchup, but not too watery, if that makes sense. If it's too thick, it will be difficult to squeeze out of the bottle or bag and you'll get blobs instead of lines. If it's too thin, it will spread like crazy on the pan and you'll lose all your details. It's like finding the perfect balance for a tightrope walker.
And finally, you will need a spatula. It's needed to flip the pancakes, and it's a good idea to use a thin one, so it's easier to get under the pancake without messing up your design. You can also use a toothpick or a skewer to make finer adjustments to your design while the pancake is cooking. Oh, and don't forget the most important ingredient: your imagination! Get ready to turn your breakfast into a masterpiece, it's time to get creative with pancake art!
- Pancake mix (or ingredients for homemade)
- Water or milk (as per mix instructions)
- Spatula
- Toothpick or skewer (optional, for adjustments)
Mixing it Up: The Perfect Batter for Pancake Art
Mixing it Up: The Perfect Batter for Pancake Art
The Consistency is Key
Okay, so we've got our gear, now it's time to talk about the star of the show: the batter. You know how sometimes you make pancakes and they're either too thick or too runny? Well, for pancake art, it's all about finding that sweet spot. We're aiming for a consistency that's similar to runny ketchup. Think of it like this, if it's too thick, it won't flow smoothly through your squeeze bottle or piping bag, and you'll end up with blobs instead of nice lines. On the other hand, if it's too thin, it'll spread too much on the pan, and your designs will end up looking like a blurry mess. It's a delicate balance, but once you get it right, it makes all the difference.
I remember the first time I tried making pancake art, my batter was like cement. It just wouldn't come out of the bottle properly, and I ended up with a pancake blob that looked nothing like the cute animal I was trying to make. It was a total disaster. But, I learned from that mistake, and now I always make sure my batter is just the right consistency. It's the foundation of everything, so it's really worth taking the time to get it right. You'll know you've nailed it when the batter flows smoothly and holds its shape on the pan without spreading too much.
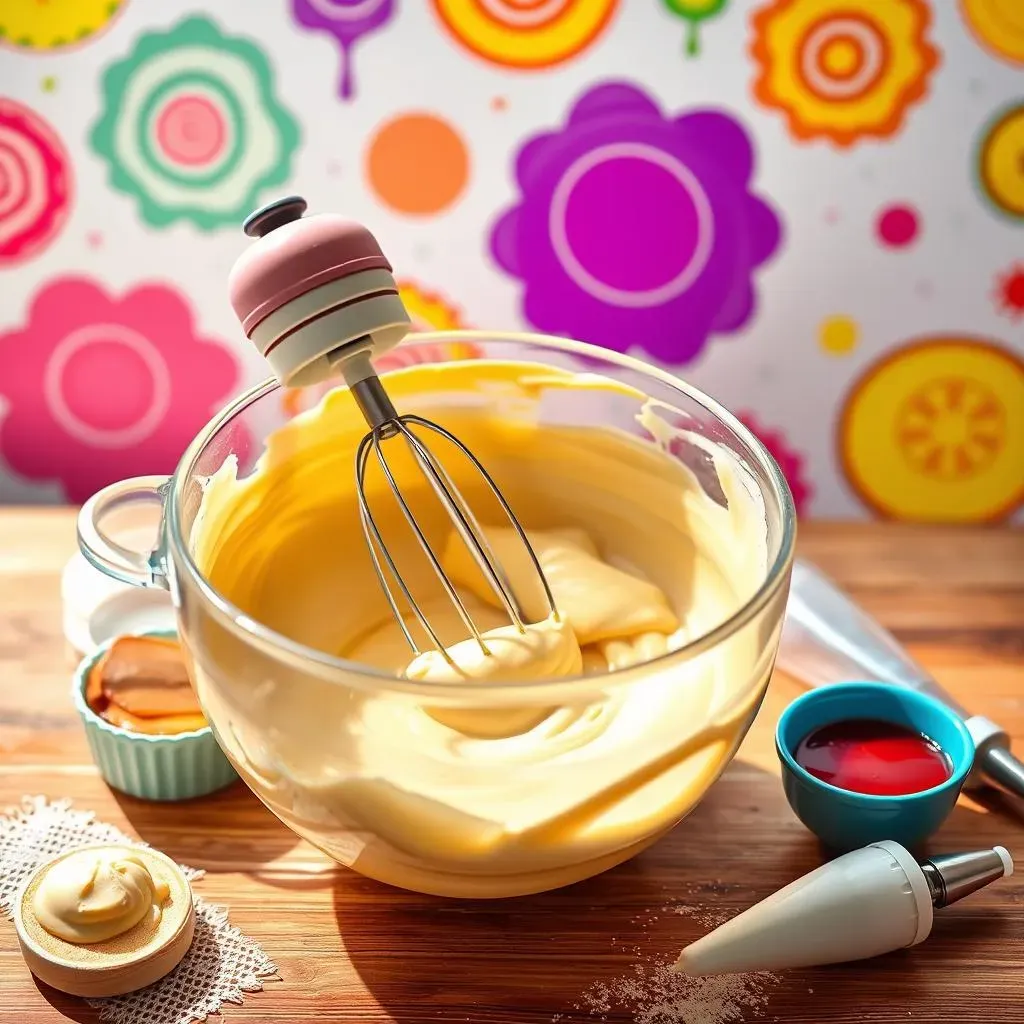
Coloring Your Canvas
Now for the fun part: color! This is where you can really let your creativity shine. Once you've got your batter at that perfect ketchup-like consistency, it's time to divide it up into smaller bowls or containers, depending on how many colors you want to use. Then, you can add your food coloring, a drop at a time, and mix it in until you get the color you want. Remember, a little goes a long way, so don't overdo it. If you add too much food coloring, you can make the batter taste a bit bitter, and no one wants that. Start with a tiny amount, mix it in, and then add more as needed to get the desired shade.
When I first started, I was way too enthusiastic with the food coloring. I ended up with bright neon pancakes that tasted like chemicals. It was not a great experience! So, learn from my mistakes and be cautious when adding the food coloring. It's always better to start with less and add more gradually. And remember, you can mix colors to create your own unique shades. It's like painting, but with pancakes! Oh, and try to use gel food coloring. It tends to give you the best color results and won't make your batter too runny.
Batter Issue | Solution |
|---|---|
Too thick | Add a little more liquid (water or milk) |
Too thin | Add a little more pancake mix |
Color too light | Add more food coloring, a drop at a time |
Color too dark/bitter | Start over with less food coloring (lesson learned!) |
StepbyStep Guide to Easy Pancake Art
StepbyStep Guide to Easy Pancake Art
Getting Started: The Outline
Okay, so you've got your batter prepped and your colors ready to go. Now, it's time to get down to business. The first step is to plan what you want to create. It doesn't have to be super complicated, especially when you're starting out. Think of it like sketching before you paint. You can use a reference photo or just go with your imagination. If you're writing words, remember that they will be flipped when you flip the pancake, so you need to write them backward. It's like looking in a mirror, but on a griddle.
I remember when I first tried to write my name on a pancake, I totally forgot about the mirror effect. It came out looking like a jumbled mess of letters. It was quite funny, but also a good learning experience. So, take a moment to plan it out, maybe even practice on a piece of paper first. It will help you to visualize how your design is going to look like. Start with simple shapes like circles, hearts, or stars, and then you can work your way up to more complex designs as you gain confidence. The key here is to take your time and have fun.
Drawing with Batter
Once you have a plan, it's time to start drawing with your batter. Heat your non-stick pan or griddle over low heat. It's crucial to keep the heat low because we don't want to burn the pancake before the design is finished. You want the pancake to cook slowly and evenly, giving you enough time to create your art. Now, carefully squeeze or pipe your batter onto the hot surface following your design. Start with the outline, and then fill it in with colors. You can use different colors to create details and make your design more vibrant.
When I'm doing pancake art, I always try to be as precise as possible when I'm drawing the outline. It's like drawing with a pen, but with batter. Once you have the outline, you can fill in the rest of the design with your different colored batters. Remember to be patient and take your time. It's not a race. You can even use a toothpick or skewer to make fine adjustments to your design while the pancake is cooking. It's all about experimenting and finding what works best for you. Don't be afraid to get messy and try different things.
Step | Description |
|---|---|
1 | Plan your design. |
2 | Heat your pan over low heat. |
3 | Draw the outline with batter. |
4 | Fill in the design with colors. |
Cooking and Flipping
Now that you have your design on the griddle, it's time to let it cook. Wait until the surface looks dry and the edges are set. This usually takes a few minutes, but it can vary depending on the heat. You’ll know it's ready when you can easily slide a spatula underneath without sticking. Then, with a quick, confident motion, flip the pancake over. Don't be shy, just go for it! It's like turning a page in a book, but with a pancake. Cook for another minute or so on the other side to finish it up.
When I first started, I was so nervous about flipping the pancake that I would end up making a mess. The pancake would either break or fold in half. It took me a few tries to get the hang of it, and now it's second nature. Remember to use a thin spatula to get under the pancake easily, and don't be afraid to use a little bit of force. The most important thing is to be confident. And there you have it! Your very own artistic pancake creation, ready to be served with butter and syrup. Get ready to dig in and enjoy the fruits of your labor. You've earned it!
Beginner Tips for Amazing Pancake Art
Beginner Tips for Amazing Pancake Art
Patience is Your Best Ingredient
Okay, so you've made it this far, and you're probably itching to create some masterpieces. But here’s a secret: patience is key! Rushing the process is a recipe for disaster. Remember, we are cooking on low heat for a reason. This gives you time to draw your design, and it also prevents the pancake from burning. If you try to crank up the heat to speed things up, you'll end up with a dark, uneven mess. Trust me, I've been there. Take your time, and you will see how much better the results are.
I used to think that cooking pancakes was a race. But pancake art taught me to slow down and appreciate the process. It's like meditation, but with batter. When you're patient, you can focus on the details, and that's what makes your art stand out. So, take a deep breath, relax, and enjoy the process. You're not just cooking pancakes, you're creating art, and that takes time and care. Don't be too hard on yourself if your first few attempts aren't perfect, it's all part of the learning curve.
Practice Makes Progress
Another important tip: don't expect to become a pancake art pro overnight. Like any skill, it takes practice to get good at it. You might have a few wobbly lines or uneven shapes at first, and that's okay. The important thing is to keep practicing. Start with simple designs and then gradually move on to more complex ones. The more you practice, the better you'll get at controlling the batter and creating the art you want. It's like learning to ride a bike. You might fall a few times, but eventually, you'll get the hang of it.
I remember when I first started, I would practice simple shapes like hearts and stars over and over again. It might seem boring, but it helped me to understand how the batter flows and how to control it. It's also a good idea to watch some videos online to see how other people do it. You can learn a lot from watching the techniques of others. And don’t be afraid to experiment and try new things. The most important thing is to have fun and enjoy the process. It's all about learning and growing, one pancake at a time.
- Start with simple shapes.
- Practice your lines and outlines.
- Watch videos for inspiration.
- Don't be afraid to experiment.
Embrace the Imperfect
Finally, and most importantly, don't strive for perfection. Sometimes, the best art is the art that has a little bit of imperfection. So, if your pancake art isn't exactly what you pictured in your head, that’s perfectly fine! It's what makes it unique. Embrace the wobbly lines, the uneven shapes, and the little imperfections. They are part of the charm of your creation. It's like how a hand-drawn sketch has more character than a perfectly printed image. It's the human touch that makes it special.
I've learned to appreciate the imperfections in my pancake art. Sometimes, the mistakes are what make the design more interesting. It's like life, it's not supposed to be perfect, and that's what makes it beautiful. So, relax, have fun, and don't take it too seriously. Pancake art should be a fun and creative outlet, not a source of stress. And remember, the most important thing is to enjoy the process. So, go ahead and create some amazing pancake art, and don't forget to share it with your friends and family. They're going to be amazed by what you can do!
Tip | Why it helps |
|---|---|
Use low heat | Prevents burning and allows for even cooking. |
Practice often | Improves batter control and design skills. |
Embrace imperfection | Adds character and charm to your art. |
Have fun! | It's all about enjoying the process. |