Table of Contents
Ever stared at a plain pancake and thought, "This needs more pizzazz?" I have! Pancake art isn't just about making breakfast; it's about turning a simple meal into a fun, creative project. Forget boring circles, we're talking about edible masterpieces! This guide is your go-to for all things pancake art tips. We'll start by gathering the right ingredients and tools. I'll walk you through the basic techniques, from outlining shapes to adding vibrant colors. You'll learn how to avoid common pancake art fails, like burnt edges and runny batter. Get ready to discover cool ideas that will impress everyone at the breakfast table. Whether you’re a beginner or a seasoned pancake flipper, this article is full of tips to take your skills to the next level. Let’s ditch the ordinary and get flipping awesome pancakes!
Pancake Art: Essential Ingredients and Tools
Pancake Art: Essential Ingredients and Tools
The Batter Basics
Alright, let’s get down to it. You can't make awesome pancake art without the right batter, right? Forget that thick, gloopy stuff you might use for regular pancakes. For art, we need a batter that's more like a runny ketchup – easy to squeeze and control. I usually mix about 3 cups of pancake mix with 2 ½ to 3 cups of water. The key is to add water slowly until you get the right consistency. Don't worry if you add a little too much; you can always add a bit more mix to even it out. It's all about trial and error, and you'll get a feel for it after a couple of tries. Remember, we are going for art, not just breakfast, so a good base is key!
Coloring Your Canvas
Now, for the fun part – adding color! Forget those watery liquid food colorings. They'll make your batter too thin and the colors won't pop. I swear by gel food coloring; it's concentrated, so you only need a tiny bit to get vibrant results. It's like painting with batter! I usually divide the batter into small bowls or squeeze bottles, then add a drop or two of gel coloring to each. Start with just a little; you can always add more. Remember, less is more, and it is way easier to add more color than it is to take it away. Mix well until you get your desired shade. This is where you can really let your imagination run wild.
Ingredient | Why It's Important |
|---|---|
Pancake Mix | Provides the base for the pancake art |
Water | Adjusts the batter to the correct consistency |
Gel Food Coloring | Provides vibrant colors without thinning the batter |
Essential Tools for Precision
Okay, so you’ve got your batter and colors ready. Now, let's talk tools. The most important thing is a good squeeze bottle or piping bag with a fine tip. I find that plastic squeeze bottles with a narrow nozzle are the best for detailed work. They give you more control than a spoon. You'll also need a non-stick griddle or pan. Low heat is your friend here! Forget about cranking it up high; low and slow is the way to go for pancake art. And, of course, a good spatula to flip your creations is a must. I like a thin, flexible one that can slide easily under the pancake without tearing it. With the correct tools, you’ll be able to create some amazing artwork.
StepbyStep Guide: Mastering Pancake Art Techniques
StepbyStep Guide: Mastering Pancake Art Techniques
Start with the Outline
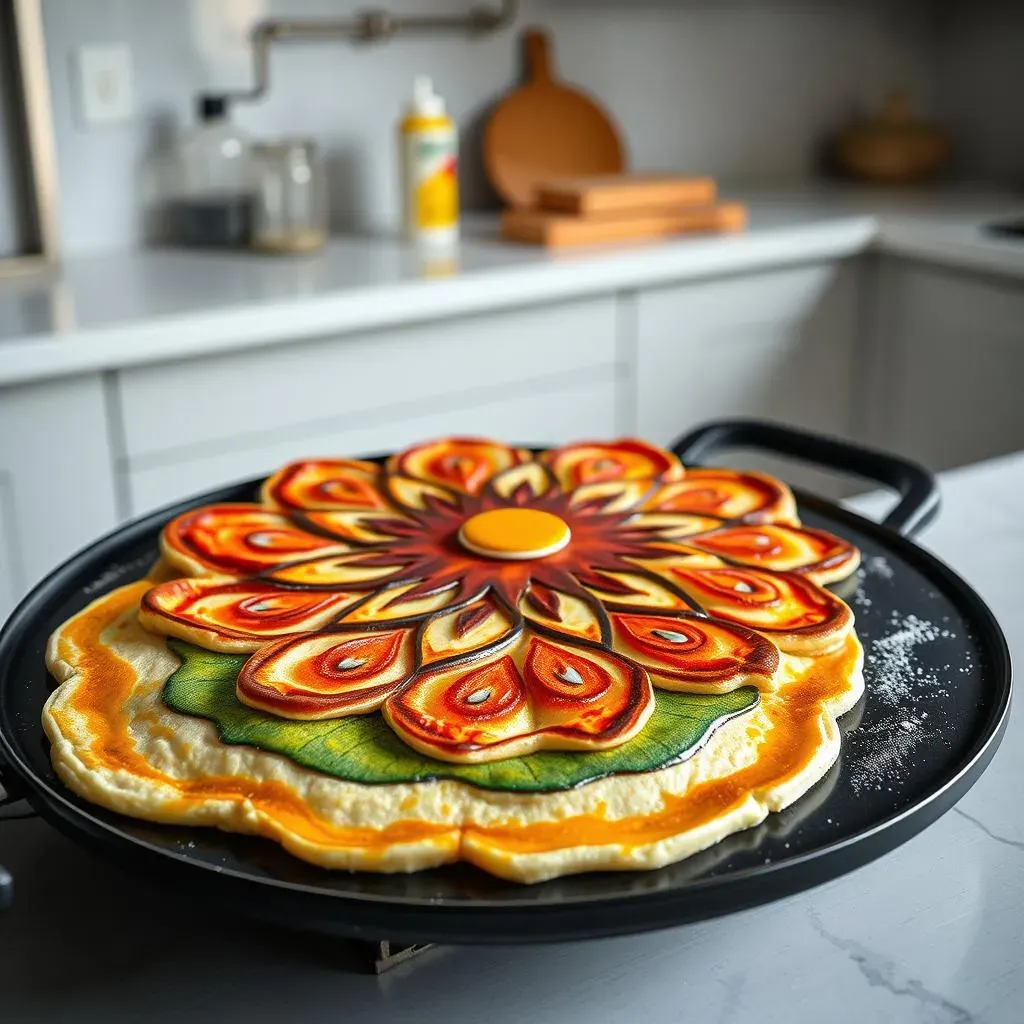
Okay, so you've got your batter ready, now what? First, always start with the outline. I like to think of it as sketching before painting. Keep your griddle on the lowest heat setting. It's crucial to start with no heat if you’re a beginner. Draw your design, keeping in mind that any words will need to be written backward. Don't worry if it's not perfect; this is just the base. It's like building a house; the foundation is the most important part. Use your squeeze bottle to create the main lines of your picture. Remember, slow and steady wins the race!
Filling in the Colors
Once your outline is set, it's time to fill in the colors. Use your squeeze bottles to add batter to the sections. I usually start with the lightest colors first and then add the darker shades. It's like layering paint on a canvas. If you want to create a gradient effect, try using a toothpick to blend the colors while the batter is still wet. Don't overfill each area; you want the colors to stay separate. This stage is where your design really starts to come to life. Remember to take your time and have fun with it.
Cooking and Flipping Like a Pro
Now comes the crucial part, cooking your pancake art. Once your design is complete, turn the heat up just a little, maybe to 250°F. Wait until the surface of the pancake looks dry and you can easily slide a spatula under it. This usually takes a few minutes. Patience is key here. When you feel confident, flip it over quickly and gently. Cook for another minute or so, just to set the other side. And there you have it, your edible masterpiece! It takes practice, but you will get there.
Step | Description |
|---|---|
Outline | Draw your design on a cool griddle |
Fill Colors | Add different colored batters to your design |
Cook | Turn the heat on low and cook until ready to flip |
Flip | Carefully flip your pancake art and cook until done |
Top Pancake Art Tips: Avoiding Common Mistakes
Top Pancake Art Tips: Avoiding Common Mistakes
The Heat Is On (But Not Too Much!)
Okay, so you’re ready to create some amazing pancake art, but hold up! One of the biggest mistakes I see is people cranking up the heat way too high. It's like trying to bake a cake in a furnace – disaster! Your pancake art will burn before you even get a chance to flip it. Keep the heat super low, around 200-250°F. It’s all about patience and slow cooking. This way, you can control the cooking process, and your pancake art will cook evenly. Trust me, low and slow is the secret to success here. It’s like a gentle simmer, not a raging boil.
Batter Consistency is Key
Another common pitfall is using batter that is either too thick or too thin. Remember that runny ketchup consistency we talked about? If your batter is too thick, it’ll be hard to squeeze out of the bottle, making your lines chunky and messy. If it’s too thin, it’ll spread all over the griddle and lose its shape. It’s a real Goldilocks situation; it’s got to be just right. If you’re struggling with consistency, try adding a tiny bit of water or pancake mix to adjust. You’ll get a feel for it over time.
Mistake | Why It Happens | How to Fix It |
|---|---|---|
Too High Heat | Impatience | Keep heat low (200-250°F) |
Too Thick Batter | Not enough water | Add water slowly until runny |
Too Thin Batter | Too much water | Add more pancake mix |
Practice Makes Perfect (and Less Messy)
Let's be real; your first few attempts at pancake art might look a bit… abstract. Mine sure did! Don't get discouraged if your lines are wobbly or your colors bleed together. It's all part of the learning process. The more you practice, the better you'll get. Start with simple shapes and designs, and then work your way up to more complex creations. And remember, it's just a pancake! Even if it doesn't look perfect, it'll still taste delicious. It’s like learning any new skill; you wouldn’t expect to play the guitar like a rock star on day one, would you?
Creative Pancake Art Ideas: From Simple to Complex

Creative Pancake Art Ideas: From Simple to Complex
Easy Peasy Shapes and Characters
Okay, so you're ready to move beyond basic circles? Awesome! Let's start with some super simple ideas. Think basic shapes: stars, hearts, and smiley faces are a great place to begin. They're easy to outline, and kids love them. Once you've mastered those, try simple characters. A basic outline of a cat or a dog is always a hit. You can use different colored batters for the eyes, nose, and other details. These designs are quick and fun, perfect for those busy mornings when you still want to add a little bit of flair to breakfast. It's all about building your confidence and getting comfortable with the tools.
Remember, even the simplest designs can look amazing with a little bit of practice. Don't be afraid to experiment and have fun with it. The goal here is to be creative and enjoy the process. I find that starting with something easy is the best way to learn the basics before you move on to more complex designs. And honestly, who doesn't love a smiley face pancake?
Stepping Up the Complexity
Alright, feeling confident? Let's crank it up a notch! Once you’ve mastered those simple shapes, it's time to try more intricate designs. Think about cartoon characters, logos, or even simple landscapes. I've had a lot of fun making pancake versions of my favorite video game characters. It's like bringing your fandom to the breakfast table! Try using different shades of batter to create depth and dimension. For example, you can add lighter and darker shades to create a gradient effect. Or, use a toothpick to blend colors while the batter is still wet. It’s like a mini art project you can eat.
Don't be afraid to get a little messy, it's all part of the fun. And remember, even if it doesn't look exactly like the picture, it will still be delicious. I like to look online for inspiration. Pinterest is a goldmine for pancake art ideas. Once you get comfortable with the techniques, the sky's the limit. I have seen people make incredible dragons, detailed portraits, and even entire cityscapes out of pancakes! The key is to practice and build your skills up slowly.
Design Type | Description | Difficulty |
|---|---|---|
Basic Shapes | Stars, hearts, circles | Easy |
Simple Characters | Cats, dogs, smiley faces | Easy |
Cartoon Characters | Video game characters, logos | Medium |
Landscapes | Mountains, trees, sun | Medium to Hard |
Detailed Designs | Dragons, portraits | Hard |
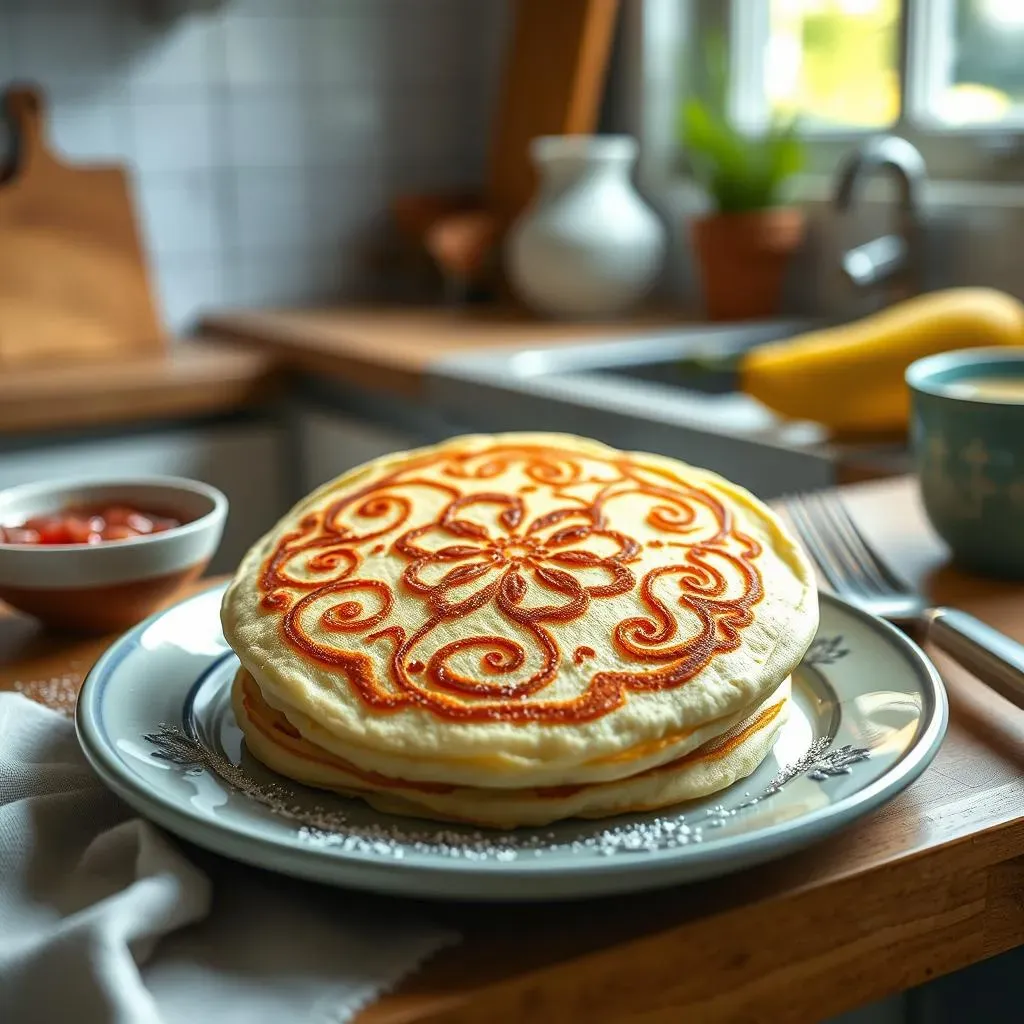
Adding the Finishing Touches
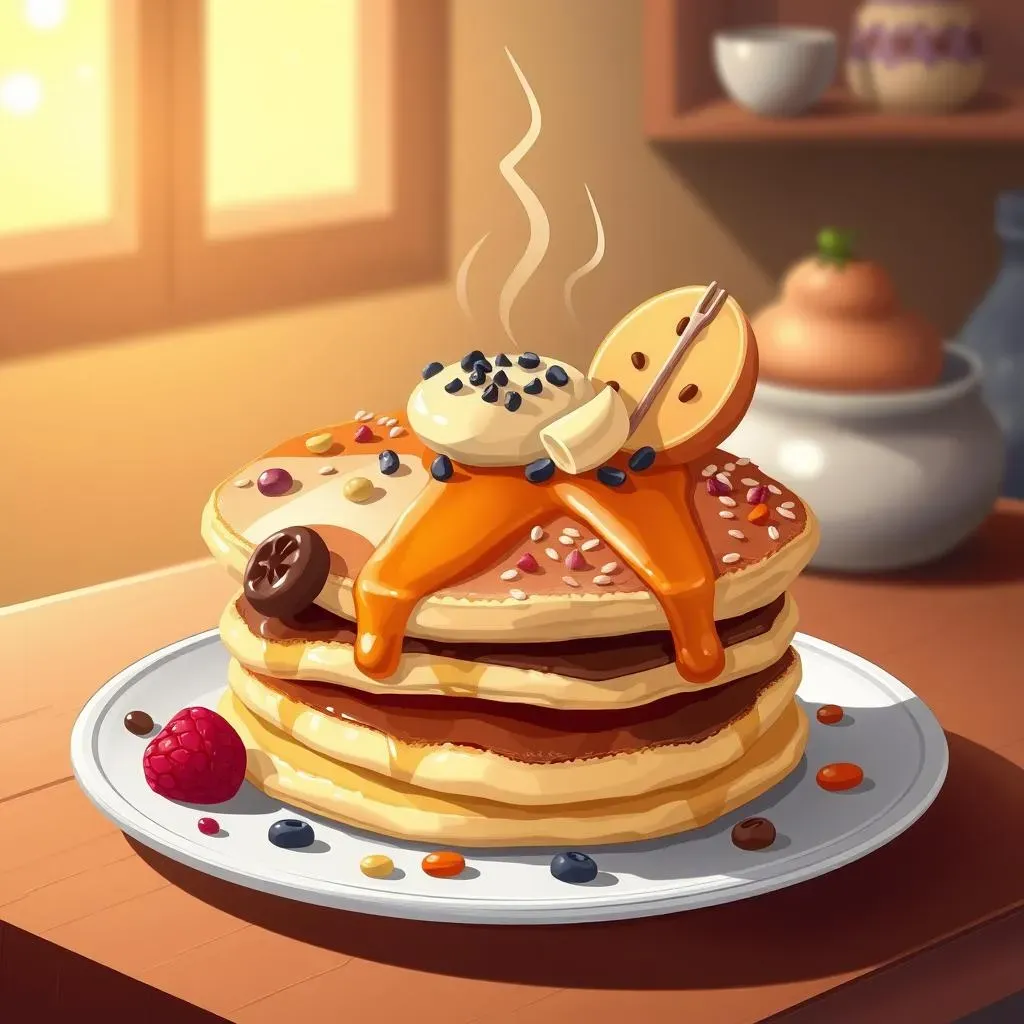
Your pancake art is cooked and looking pretty good, but what about adding a bit more? It’s time to think about the finishing touches. You can add sprinkles, chocolate chips, or even a dusting of powdered sugar to make your designs pop. Fresh fruit is also an amazing option! Arrange some sliced strawberries around the edge to make a flower, or add a few blueberries for eyes. It’s all about making it visually appealing. You can even drizzle some honey or syrup to add extra flavor. The toppings can really bring your pancake art to life.
And remember, it’s not just about the look; the taste matters too. So, choose toppings that complement the flavor of the pancake. I love adding a dollop of whipped cream on mine, it makes it feel like a fancy dessert. The key is to have fun, experiment, and make it your own. The more you practice, the more creative you’ll get. So, don't be afraid to try new things and see what you can create. There's no limit to what you can do with a little imagination and some pancake batter.