Table of Contents
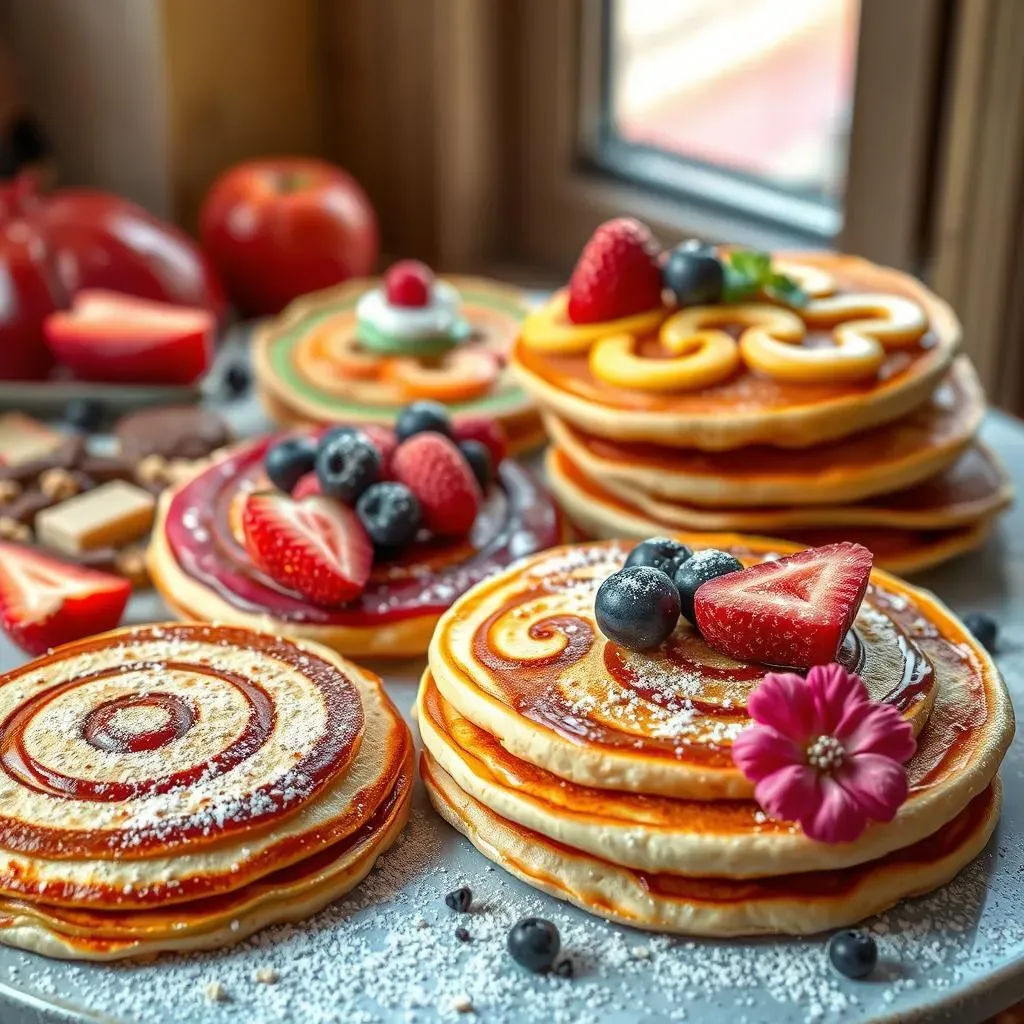
Ever looked at a pancake and thought, "This could be art"? Well, you're not alone! Forget boring circles; we're diving into the delicious world of pancake art. This pancake art tutorial will show you how to transform your breakfast into edible masterpieces. We'll start with the basics, exploring the essential ingredients and tools you'll need. Then, we'll move step-by-step through the process, from mixing batter to flipping your creation. Don't worry if you're not a seasoned artist; I'll share some tips and tricks to help you avoid common mistakes and get the best results. Get ready to impress your family and friends, or just yourself, with some seriously fun and tasty pancake art. Let's get cooking!
Pancake Art: What You'll Need to Get Started

Pancake Art: What You'll Need to Get Started
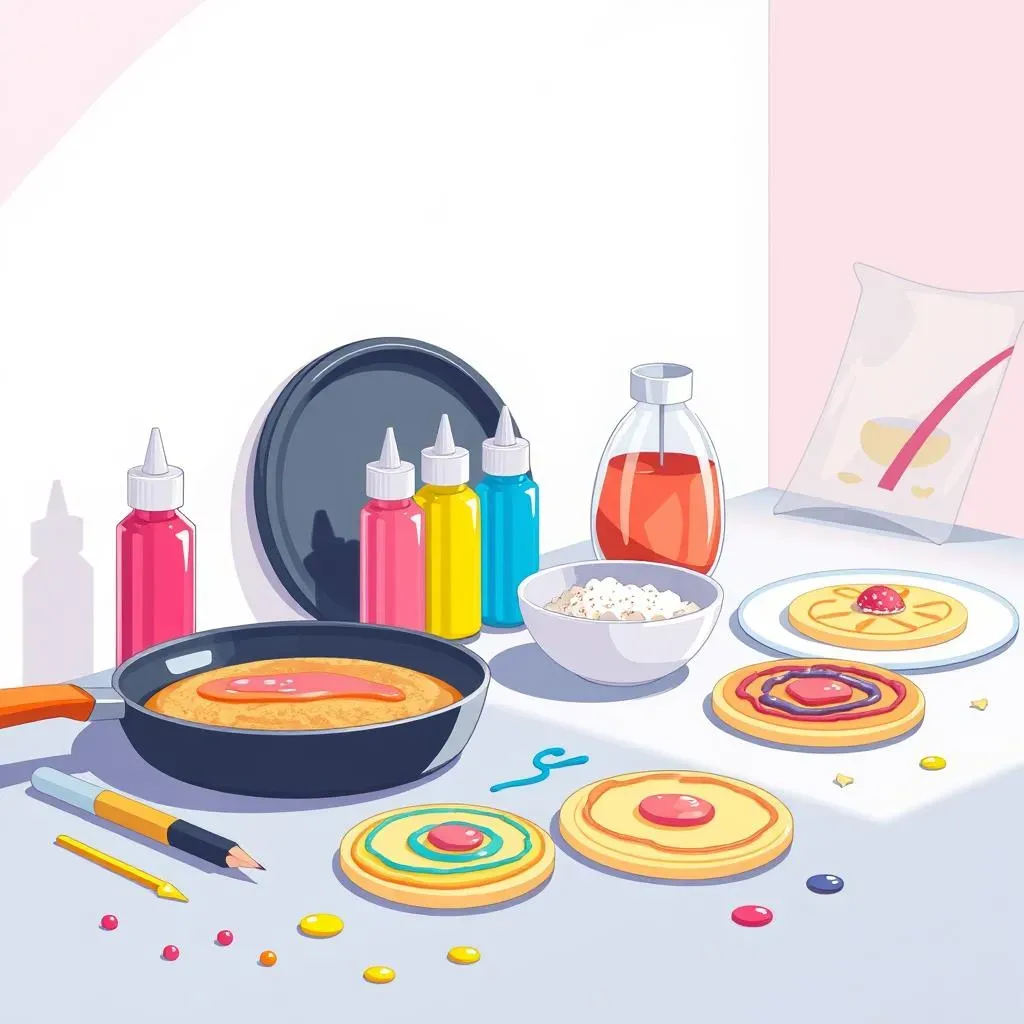
Okay, so you wanna make some awesome pancake art? First, you need the right stuff. Think of it like gathering your tools before you build a Lego castle, you wouldn't start without the bricks, right? We're talking about basic pancake mix – your canvas – and water to turn it into batter. But here's where the magic starts: food coloring! Gel food coloring is the way to go, it gives you those vibrant, eye-catching colors that make your designs pop. You'll also need some squeeze bottles or piping bags. They’re your brushes for this edible art form. Don't worry, they don't need to be fancy, even old ketchup bottles will do the trick. And lastly, a non-stick pan or griddle is a must to cook your art.
StepbyStep: Creating Your Pancake Art

StepbyStep: Creating Your Pancake Art
Mixing Your Masterpiece
Alright, let's get this batter going! It's not just about dumping stuff in a bowl, we're aiming for the perfect consistency. Think runny ketchup – that's what we need. Start by mixing your pancake mix with water, keep adding water until it looks like a thick, but pourable liquid. Now, the fun part – coloring! Divide your batter into separate small bowls or cups. Add a few drops of your gel food coloring to each one, and stir it well. It's like mixing paint, but tastier! Once your batter is colored, carefully pour each color into its own squeeze bottle or piping bag.
Drawing with Batter
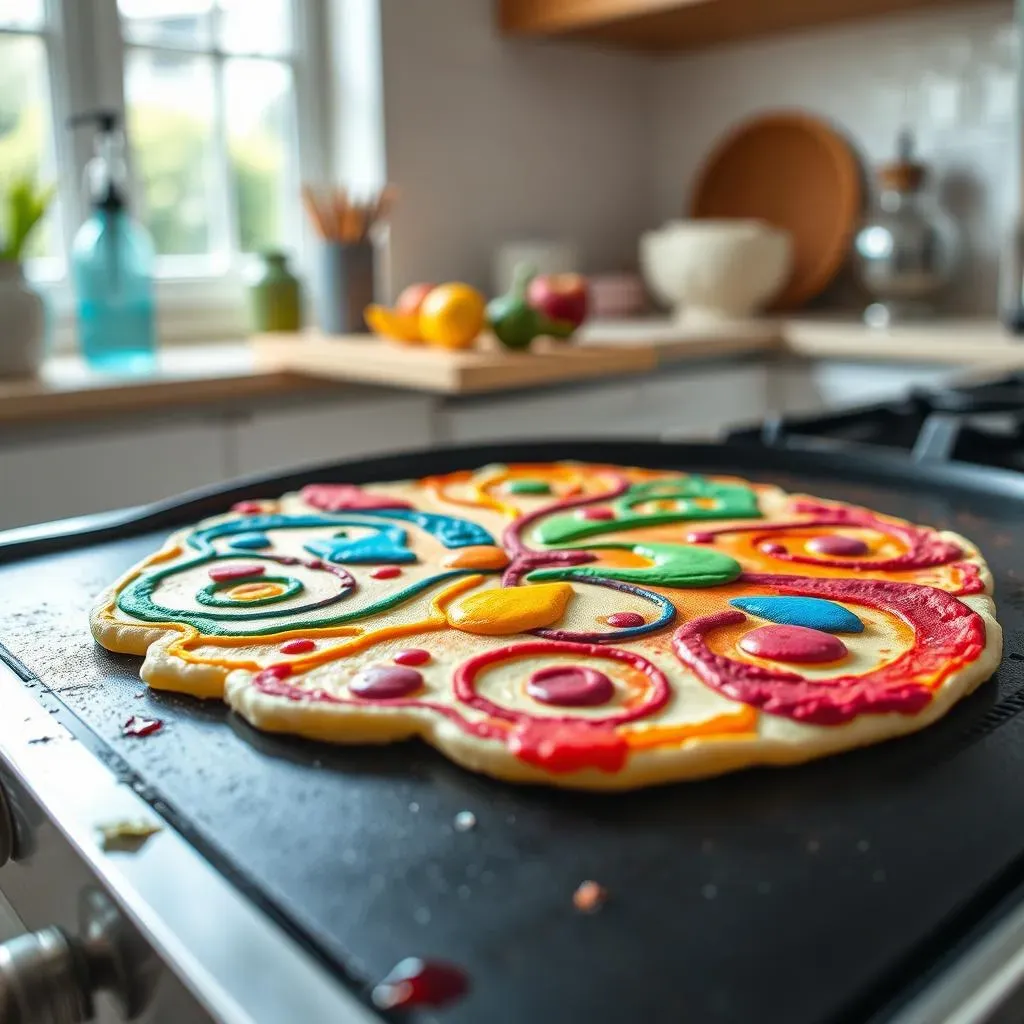
Now for the real art! Get your griddle or non-stick pan nice and warm – low heat is key, we don't want to burn our designs. Think of it like drawing with a pen, but instead of ink, you're using pancake batter. If you're doing something with words, remember to write backwards. Start by outlining your design with your darkest color. This is your base layer. Then, use your other colors to fill in the rest of your design. It's like coloring inside the lines, but on a griddle! Don't be afraid to get creative; there are no rules here, just tasty possibilities.
Step | Description |
|---|---|
1 | Mix pancake mix and water to a runny ketchup consistency. |
2 | Divide batter into small bowls and add gel food coloring. |
3 | Pour colored batter into squeeze bottles or piping bags. |
4 | Heat griddle or pan on low heat. |
5 | Outline design with a dark color, then fill in with other colors. |
Tips and Tricks for Amazing Pancake Art

Tips and Tricks for Amazing Pancake Art
Heat Control is Key
Okay, listen up, this is super important! Low heat is your best friend when it comes to pancake art. I know it's tempting to crank up the heat to get things going faster, but trust me, patience is key. If the pan is too hot, your batter will cook too quickly, and you won't have time to create your designs. Plus, you'll end up with burnt spots, and no one wants a charcoal pancake. Start with the lowest setting on your stove, and don't be afraid to adjust if needed. We want a nice, even cook that lets you draw without fear of burning. Think of it like a slow dance, not a sprint.
Another thing, don't flip too early! You know how you sometimes try to flip a pancake and it's all gooey and falls apart? Same thing here. Wait until the surface of the pancake looks dry and you can slide a spatula under it easily. This is when it's ready for the flip. A good flip is like a magician's trick, it takes practice, but it's worth it for that perfect, golden-brown finish on your pancake art.
Practice Makes Perfect (and Delicious)
Don't get discouraged if your first attempt looks like a toddler's drawing, that's totally normal. Pancake art takes practice, just like any other skill, it is not a race. I've made some pretty wonky looking pancakes in my time, but each attempt makes you better. Start with simple designs, like basic shapes, before you try to draw a detailed portrait of your pet hamster. The simpler the design, the less chance of messing up. Use a reference photo to help you with your design. It's like having a map, it helps you stay on track. I usually look at pictures for inspiration.
And here's a little secret, don't be afraid to experiment with different techniques. Maybe try swirling your batter, or using different nozzle sizes on your squeeze bottles. There are no wrong answers in pancake art, as long as you have fun and create something delicious. And remember, even if it's not perfect, it's still a pancake, and that's pretty awesome in itself. Don't stress too much about perfection, focus on enjoying the creative process.
Tip | Description |
|---|---|
Low Heat | Keep the griddle on the lowest heat setting to avoid burning. |
Patience | Wait until the pancake surface looks dry before flipping. |
Start Simple | Begin with basic shapes and designs. |
Experiment | Try different techniques and colors. |