Table of Contents
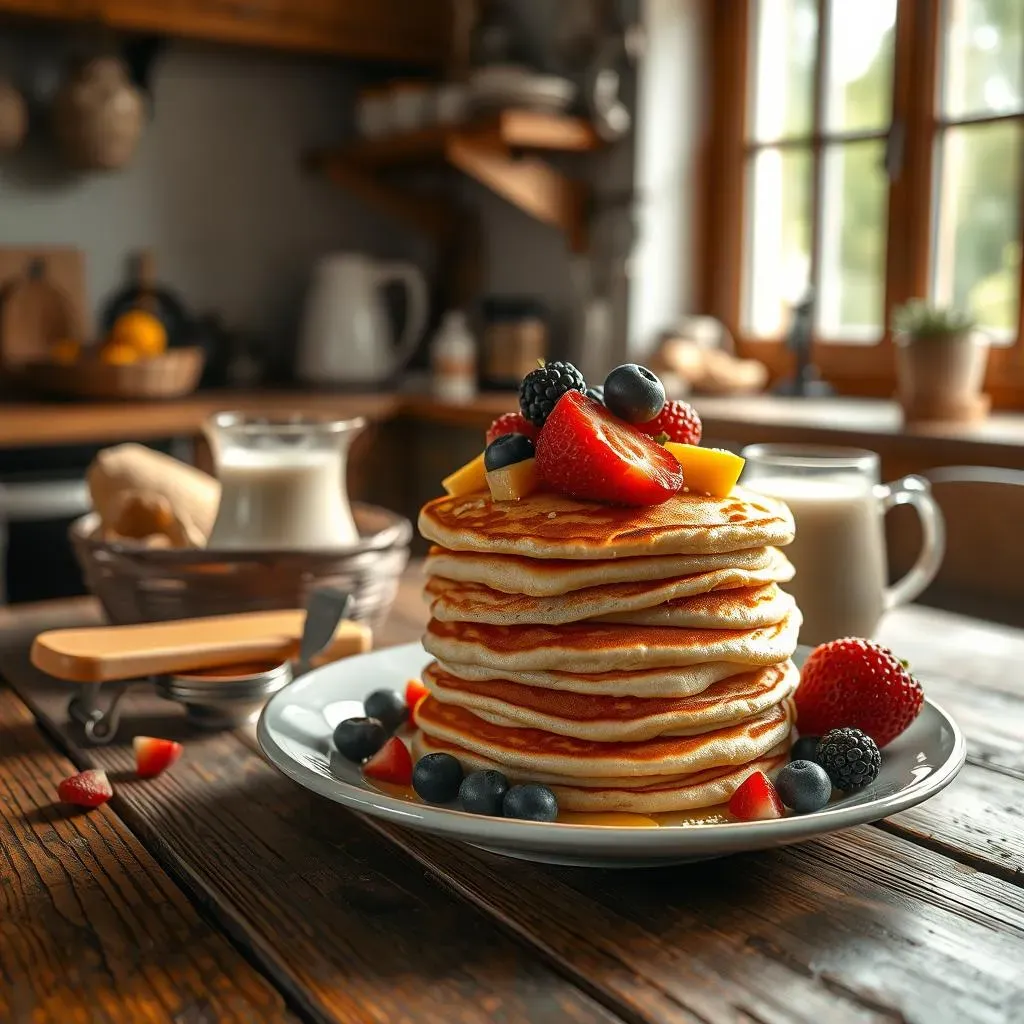
Ever dream of waking up to a stack of fluffy, golden pancakes? You know, the kind that make your kitchen smell like a cozy bakery? Well, you're in luck! This isn't just any pancake recipe at home; it's your ticket to pancake perfection. Forget those sad, flat discs you might have made before. We're talking tall, light, and utterly delicious pancakes that'll have everyone asking for seconds. This guide will walk you through every step, from gathering the simple ingredients to mastering the cooking process. We'll also share our best tips for making sure your pancakes turn out amazing every time, plus how to store any extras (if there are any!). So, grab your mixing bowl, and let's get started on this pancake adventure. You'll be a pancake pro in no time, and your breakfasts will never be the same. Get ready to unlock the secret to a perfect pancake recipe at home.
Gathering Your Ingredients for the Perfect Pancake Recipe at Home
Gathering Your Ingredients for the Perfect Pancake Recipe at Home
The Basics: What You Absolutely Need
so you're ready to make some killer pancakes, right? First things first, let's talk ingredients. It's not rocket science, but having the right stuff on hand is key to fluffy success. You'll need some all-purpose flour, the stuff that’s probably already in your pantry. Baking powder is next, it's what gives those pancakes their lift. Don't skimp on this! A bit of sugar for sweetness, and a pinch of salt, because everything tastes better with a little salt. Milk is a must for moisture, and an egg to bind it all together. Oh, and butter! You can't forget the butter for the griddle. See? Nothing too crazy.
Now, before you go grabbing any old flour, let's just check what you've got. Make sure it's all-purpose, not self-rising. The baking powder should be nice and fresh, not something that’s been sitting in the back of the cupboard for ages. This stuff loses its oomph after a while. And for the milk, any kind will do – whole, 2%, even almond or oat milk if that’s your thing. The egg, well, it should be an egg, not a rock. So, let's make sure we have fresh ingredients and good to go!
Optional Extras: Level Up Your Pancakes
Alright, now that we've covered the basics, let’s talk about how to make these pancakes truly your own. Want to add a little something extra? Vanilla extract is a game changer, just a splash will do the trick. Cinnamon can add a warm, cozy flavor, and a dash of nutmeg can make it feel really special. If you’re feeling fancy, a bit of lemon zest can add a bright, citrusy note. And if you're a chocolate lover, throw in some chocolate chips – because why not? The options are endless, really. It's all about what makes you happy and what you have in your kitchen.
These extras are like the secret weapons in your pancake arsenal, they're not essential, but they can take your pancakes from good to amazing. Don't be afraid to experiment a little. Maybe you've got some berries in the fridge, or some chopped nuts? Toss them in! The best part about making pancakes at home is that you can customize them to your heart's content. So, take a peek in your cupboards and see what treasures you can find to make your pancakes extra special. Let's get creative!
Ingredient | Purpose | Notes |
|---|---|---|
All-Purpose Flour | Base of the pancake | Make sure it is not self-rising |
Baking Powder | Leavening agent | Check for freshness |
Sugar | Sweetness | Any granulated sugar will work |
Salt | Flavor enhancer | Just a pinch |
Milk | Moisture | Any kind of milk works |
Egg | Binding agent | Use a fresh egg |
Butter | Cooking fat | For the griddle |
Vanilla Extract | Flavor enhancer (optional) | Adds a nice touch |
Cinnamon | Flavor enhancer (optional) | Adds warmth |
Chocolate Chips | Flavor and texture (optional) | For the chocolate lovers |
StepbyStep: Mastering the Pancake Recipe at Home
StepbyStep: Mastering the Pancake Recipe at Home
Mixing the Batter
so you've got all your ingredients ready, now for the fun part: making the batter. First, grab a big bowl, it's gotta be big enough to hold everything. Toss in your flour, baking powder, sugar, and salt. Give that a good whisk, just to make sure everything is mixed evenly. Now, in a separate bowl or measuring cup, whisk together the milk and egg. If you’re adding vanilla extract, toss it in there too. Now, this is the important part; slowly pour the wet ingredients into the dry ingredients while stirring with a whisk. You don't want to overmix, just combine until you see no more flour streaks. A few lumps are okay, we don’t want to over mix. Overmixing makes the pancake tough.
The batter should be smooth, but not too thin. It should be thick enough to pour, but not so thick that it's hard to work with. If it's too thick, add a splash of milk, if it's too thin, add a bit more flour. It’s like Goldilocks, you want it just right. This is your chance to add any extras like cinnamon, nutmeg, or lemon zest. Give it a quick stir and you're all set. Now, let the batter sit for about five minutes, this will give the baking powder a chance to do its thing. This is a good time to heat up your griddle or pan.
Cooking the Pancakes
Alright, your batter is resting, time to start cooking. Heat up your griddle or a large non-stick pan over medium heat. Now, this is important, don’t crank the heat up too high, or you’ll burn the outside before the inside is cooked. Add a bit of butter or oil to the hot griddle. Once the butter is melted and the pan is hot, pour about ¼ cup of batter onto the hot surface for each pancake. You can make them bigger or smaller if you like, but ¼ cup is a good starting point. Don’t overcrowd the pan, give them some space to cook evenly.
Now, watch the pancakes carefully. You’ll start to see bubbles forming on the surface, and the edges will look a little set. This is when it's time to flip. Use a spatula and gently flip each pancake. The other side should cook for another minute or two, until it's golden brown. Don’t press down on the pancakes, just let them cook naturally. Once they’re cooked through, transfer them to a plate. You can keep them warm in a low oven while you cook the rest of the batter. And that’s it! A perfect pancake, cooked at home!
Step | Action | Notes |
|---|---|---|
1 | Combine dry ingredients | Whisk together in a large bowl |
2 | Combine wet ingredients | Whisk together in a separate bowl |
3 | Mix wet and dry | Pour wet into dry, mix until just combined |
4 | Let batter rest | Let it sit for 5 minutes |
5 | Heat griddle | Medium heat, add butter or oil |
6 | Pour batter | ¼ cup for each pancake |
7 | Flip pancakes | When bubbles form and edges set |
8 | Cook other side | Until golden brown |
Checking for Doneness
How do you know when your pancakes are perfectly cooked? It's not just about the color, though that's a good indicator. You want a nice golden brown on both sides. The inside should be cooked through, not doughy. When you flip the pancake, it should feel firm, not squishy. If you’re unsure, you can gently poke the center with a toothpick, if it comes out clean, the pancake is cooked. If it's still doughy, cook it for another minute or two.
Another thing to watch out for is the heat of your pan. If your pancakes are browning too fast, lower the heat. It's better to cook them slower over lower heat, they will cook evenly and be fluffy. Don’t be afraid to experiment a little. Maybe the first one isn't perfect, but that's okay. It’s all about practice. Once you get the hang of it, you'll be making perfect pancakes every time. Now, get out there and make some breakfast!
Tips and Tricks for the Best Homemade Pancakes
Tips and Tricks for the Best Homemade Pancakes
Alright, let's talk secrets to pancake greatness. It's not just about following the recipe; it's about understanding the little things that make a big difference. First off, don't overmix your batter. Seriously, this is a cardinal sin in the pancake world. Overmixing develops the gluten in the flour, which leads to tough, chewy pancakes. Mix it just until the ingredients are combined, a few lumps are totally okay. Think of it like you're gently folding clothes, not like you're trying to beat a drum.
Another tip is to let the batter rest. It’s like letting it take a little nap. This gives the baking powder time to activate and helps create those light, fluffy pancakes we all love. While it's resting, don't peek. And make sure your griddle or pan is at the right temperature. You want medium heat, not scorching hot. If the pan is too hot, the outside of the pancake will burn before the inside is cooked. It’s all about a nice, even heat. So be patient, don’t rush the process, and you will be rewarded with the best pancakes ever. These little things really do make a difference.
Tip | Why it Works |
|---|---|
Don't overmix the batter | Prevents tough pancakes |
Let the batter rest | Allows baking powder to activate |
Use medium heat | Ensures even cooking |
Now, let's talk about flipping, it’s an art form. Wait until you see bubbles forming on the surface of the pancake and the edges are set before you flip. If you flip too early, you’ll end up with a messy pancake. Be gentle when you flip, don't smash it down. Just a quick, smooth motion with your spatula. And don't press down on the pancake while it's cooking. Let it cook naturally. It’s not a burger, it’s a pancake. Finally, use a good non-stick pan, or a well-seasoned griddle. This will prevent the pancakes from sticking and making a mess. These are not just tips, these are the secrets to pancake success, so pay attention!
Finally, the last and most important tip I can give you is practice, practice, practice. The more you make pancakes, the better you’ll get. Don’t be discouraged if your first few attempts aren't perfect. It’s all part of the learning process. Each time you make pancakes, you will learn something new. Maybe you'll find that you like your pancakes a little thinner, or a little thicker. Or maybe you’ll discover a new flavor combination that you love. The best thing about making pancakes at home is that you can experiment and make them your own. So, get out there and start flipping, and don't be afraid to get a little messy.
- Wait for bubbles before flipping
- Use a gentle flip
- Don't press down while cooking
- Use a non-stick pan
Serving and Storing Your Delicious HomeMade Pancakes

Serving and Storing Your Delicious HomeMade Pancakes
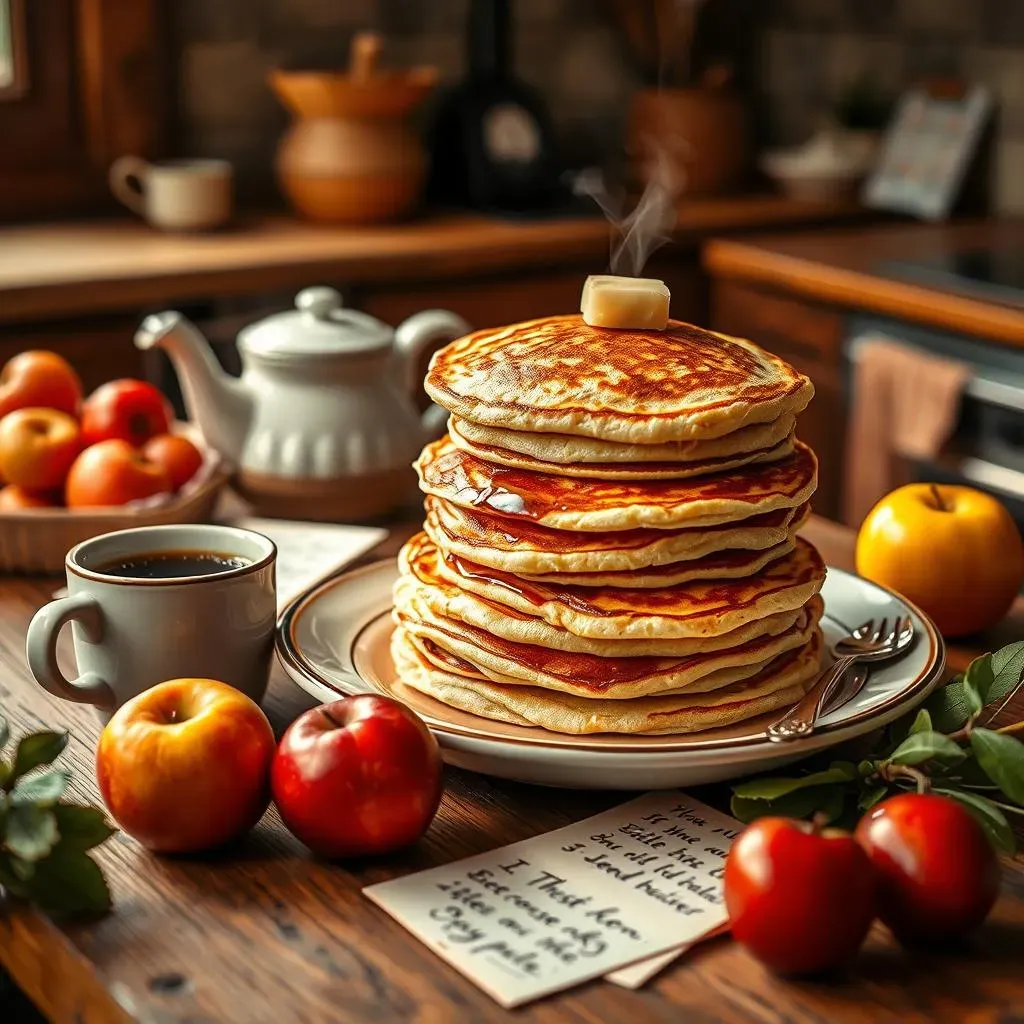
so you've made a glorious stack of pancakes, now what? Let's talk about serving them up like a pro. First, get those pancakes onto a nice plate, don't just leave them on the griddle. Think about presentation, it makes a difference. A little drizzle of maple syrup is always a winner, but don't be afraid to get creative. Fresh berries, a dollop of whipped cream, a sprinkle of powdered sugar, you name it. You can even add some chocolate sauce or a scoop of ice cream for a real treat. The possibilities are endless, really. It's all about making them look as good as they taste. And of course, serve them while they're still warm, no one likes a cold pancake.
Now, sometimes you make too many pancakes, it happens. So, let's talk storage. Leftover pancake batter can be stored in the fridge for a day or two. Just make sure you keep it in an airtight container. When you're ready to cook, just give it a quick stir. And those cooked pancakes can also be stored. Let them cool completely, then layer them between sheets of parchment paper in an airtight container or a zip-top bag. They’ll keep in the fridge for a few days. You can also freeze them for longer storage, just pop them in the freezer. When you’re ready to eat, you can reheat them in the oven or microwave, or even in a toaster. So, no more wasted pancakes!
Serving Suggestion | Why it's Great |
|---|---|
Maple Syrup | Classic and delicious |
Fresh Berries | Adds freshness and flavor |
Whipped Cream | Makes it extra indulgent |
Powdered Sugar | Simple and elegant |
Reheating pancakes is super easy. If you’re using the oven, preheat it to 350 degrees, place the pancakes on a baking sheet and heat them for about 5 to 10 minutes. If you are using the microwave, place them on a microwave-safe plate and heat them in 30-second intervals until they’re warm. If you want to use the toaster, just pop them in and toast them on a low setting. The key is to reheat them gently, so they don’t get tough or dry. And remember, when you’re reheating frozen pancakes, you don’t need to thaw them first. Just pop them straight into the oven, microwave, or toaster. They’ll be just as delicious as when you first made them.
So there you have it, everything you need to know about serving and storing your homemade pancakes. From the perfect toppings to the best reheating methods, you’re all set. Now, go forth and make some amazing pancakes, and don't be afraid to experiment and make them your own. And remember, even if you have a pancake fail, it's still a pancake, and that's a win in my book. Happy pancake making!
- Oven: 350 degrees for 5-10 minutes
- Microwave: 30-second intervals
- Toaster: Low setting
Wrapping Up Your Pancake Recipe at Home Journey
So, there you have it – your very own guide to making incredible pancakes right at home. From the simple ingredients to the satisfying sizzle on the griddle, you've now mastered the art of the perfect pancake recipe at home. Remember, practice makes perfect, so don’t be discouraged if your first batch isn't flawless. The most important thing is to enjoy the process and the delicious results. Whether you're making a weekend brunch for the family or just treating yourself to a weekday breakfast, these homemade pancakes are sure to bring a smile to your face. Now go forth, create some pancake magic, and maybe even experiment with some fun toppings. Happy cooking!