Table of Contents
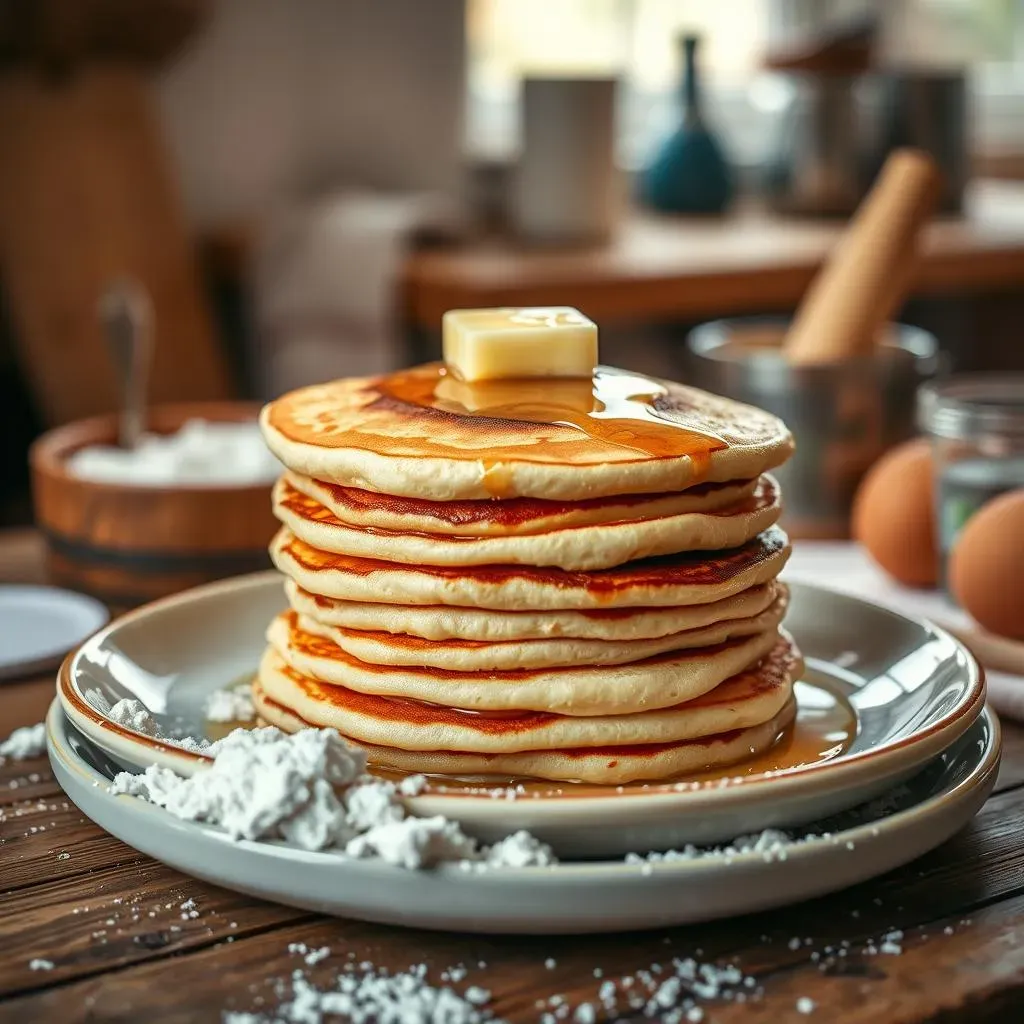
Ever dream of flipping pancakes like a pro? You know, those perfectly golden, fluffy stacks that look like they belong on a magazine cover? Well, you're not alone. Many of us have faced the pancake struggle, ending up with flat, rubbery discs instead of breakfast bliss. But what if I told you that mastering the art of the perfect pancake is easier than you think, especially when you follow a trusted guide? That's where the "pancake recipe from Martha Stewart" comes in. This isn't just another recipe; it's a masterclass in pancake perfection, designed to turn even kitchen novices into breakfast heroes. In this article, we’ll walk through Martha's tried-and-true method, from gathering the right ingredients to mastering the cooking techniques. We'll also explore some creative twists and tips to make your pancake experience even more delightful. Get ready to transform your mornings with a stack of pancakes that will impress everyone at the table!
The Secret to Fluffy Pancakes: Martha Stewart's Method

The Secret to Fluffy Pancakes: Martha Stewart's Method
The Foundation of Fluffiness
so you're chasing that cloud-like pancake, right? It's not about magic; it's about the method. Martha Stewart's approach isn't some closely guarded secret, but it's all about understanding the science behind those bubbles. The key is to not overwork your batter. Think of it like this: you're gently coaxing the ingredients together, not wrestling them into submission. Overmixing develops gluten, which leads to tough, chewy pancakes, and nobody wants that. We're aiming for tender and airy.
Another crucial step is letting the batter rest. This isn't just a break for you; it’s a crucial time for the baking powder and soda to do their thing. Think of it as a mini science experiment happening right in your mixing bowl. That rest allows the leavening agents to activate, creating those tiny air pockets that give you that desirable lift. So, while it may be tempting to rush, patience is your best friend when aiming for that perfect pancake.
The Science Behind the Bubbles
Ever wondered why some pancakes look like they've been deflated? It's all about the heat. Martha's method emphasizes the importance of cooking your pancakes on a moderately hot griddle or pan. If the heat is too low, the pancakes will spread and become flat; too hot, and they'll burn on the outside before the inside is cooked. It's a delicate balance, like walking a tightrope, but it's achievable. The goal is even cooking for a golden-brown exterior and a fully cooked, fluffy interior.
And here's a pro tip: resist the urge to press down on your pancakes with the spatula. I know, it's tempting, but that's like popping all those lovely air bubbles we worked so hard to create. Gently flip them when you see those bubbles forming on the surface and the edges begin to look set. This will help maintain their airy structure, ensuring they stay nice and fluffy. It's a gentle touch that makes all the difference.
Key Factor | Why It Matters | Martha's Tip |
|---|---|---|
Mixing Batter | Prevents tough pancakes | Mix gently, don't overmix |
Resting Batter | Activates leavening agents | Rest for 5-10 minutes |
Cooking Heat | Ensures even cooking | Moderate heat is key |
Flipping Technique | Maintains fluffy texture | Flip gently, no pressing |
Essential Ingredients for the Best Martha Stewart Pancake Recipe
Essential Ingredients for the Best Martha Stewart Pancake Recipe
The Pantry Staples
let's talk ingredients. It's not about some fancy, hard-to-find stuff. It's about getting the basics right. For Martha's pancakes, you'll need all-purpose flour. I know some people get fancy with cake flour, but for everyday pancakes, all-purpose works great. You also need baking powder and baking soda, the dynamic duo that gives your pancakes their lift. Don't mix them up, it matters! And of course, a little salt to balance the sweetness. Sugar is also key, do not skip it if you want a good result.
Now, for the wet ingredients. You'll need eggs, which bind everything together and add richness. Milk is another essential ingredient; it's what makes the batter smooth and creamy. And finally, melted butter, which adds flavor and tenderness. Some people use oil, but butter gives you that classic pancake taste. Fresh is best, so if your baking powder is ancient, it's time to replace it. Trust me, it makes a difference.
The Optional Upgrades
While the basic ingredients are all you need for a great pancake, Martha also gives you some options to take it up a notch. For instance, if you want a bit of tang and extra fluffiness, try using buttermilk instead of regular milk. It adds a lovely depth of flavor and makes the pancakes even more tender. You can also use yogurt for a similar effect, though it will make the pancakes slightly more dense.
And for those who want to be a little healthier, you can swap out some of the all-purpose flour for whole wheat flour. It adds a bit of nutty flavor and extra fiber, but be careful not to use too much, or you’ll end up with dense pancakes. These are all options to play with, and customize your pancakes to your liking, but always start with the basics.
Ingredient | Why It's Important | Optional Upgrade |
|---|---|---|
All-Purpose Flour | Base of the pancake | Cake flour for extra tenderness |
Baking Powder & Soda | Leavening agents | Fresh is key |
Milk | Adds moisture | Buttermilk for tang |
Eggs | Binds and adds richness | None |
Melted Butter | Adds flavor | None |
Sugar | Adds sweetness | None |
Salt | Balance the sweetness | None |
Mastering the Technique: Cooking Perfect Martha Stewart Pancakes
Mastering the Technique: Cooking Perfect Martha Stewart Pancakes
The Heat is On: Setting Up Your Cooking Surface
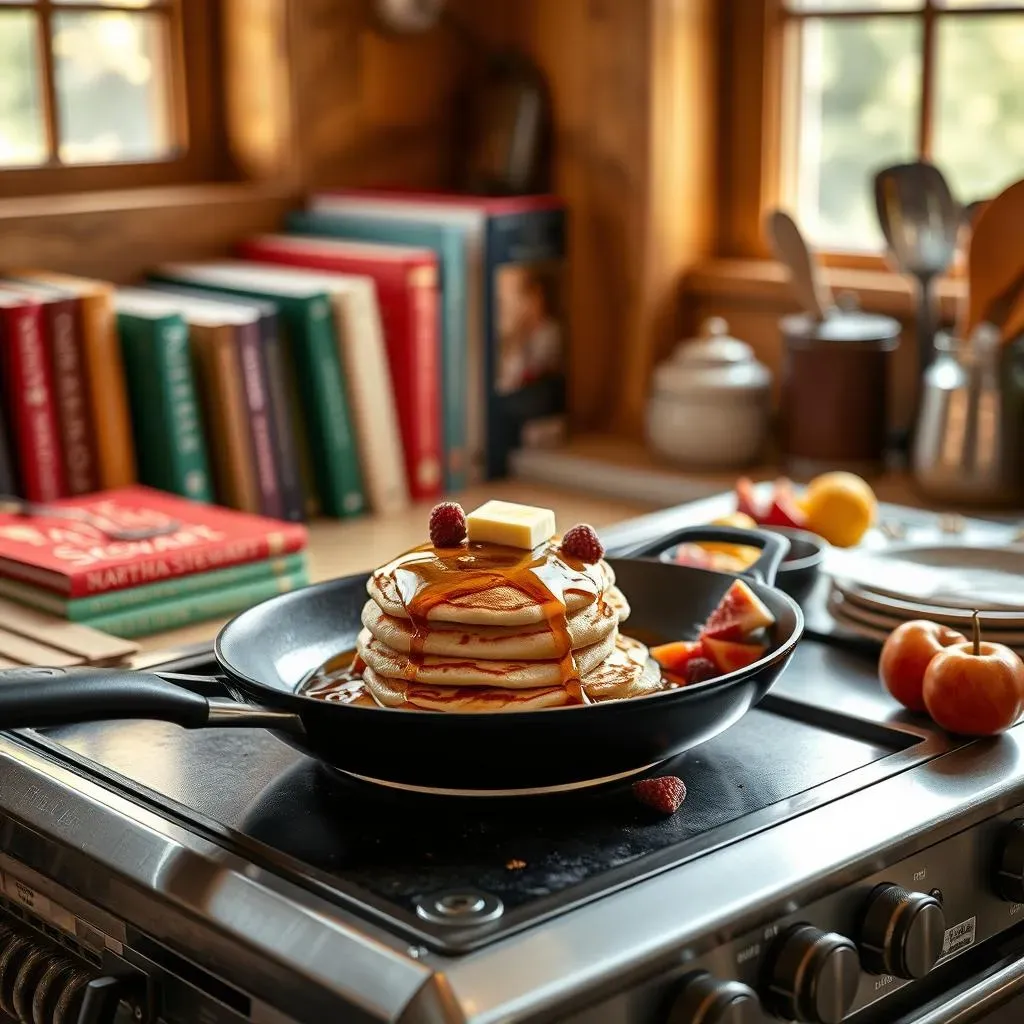
Alright, so you've got your batter, you're excited, but hold up a sec. The cooking surface is where a lot of pancake dreams go to die, so let's get it right. Martha's all about using a griddle or a large skillet over medium heat. It's not about blasting the pan with high heat. You want a nice, even temperature that allows the pancakes to cook through without burning. If you’re using an electric griddle, set it around 350°F (175°C). If it’s a stovetop pan, medium heat should do the trick. This is not a race, it's a slow and steady win.
And before you even think about pouring the batter, make sure your cooking surface is lightly greased. You can use butter, of course, but a neutral oil works well too. Just a thin layer is all you need, don't go overboard. This helps prevent the pancakes from sticking and gives them that beautiful golden-brown crust. It's like a tiny spa treatment for your pancakes, ensuring they slide off the pan with ease.
Pouring and Patience: The Art of the First Flip
so the pan is hot, it's greased, now comes the fun part: pouring the batter. Martha recommends using about ¼ cup of batter for each pancake. This gives you a nice, standard size without overcrowding the pan. Gently pour the batter onto the hot surface, and try not to move it around too much. Let it do its thing and start cooking.
Now, this is where patience is key. You'll know it's time to flip when you see bubbles forming on the surface and the edges look set. This usually takes about 2-3 minutes, depending on your heat. Use a thin spatula, gently slide it under the pancake, and flip it over. It’s like a delicate dance, and you’re the lead. Cook for another 1-2 minutes on the second side, until golden brown and cooked through. Resist the urge to press down!
Step | Action | Why It Matters |
|---|---|---|
Heat | Medium heat | Ensures even cooking |
Grease | Lightly grease pan | Prevents sticking |
Pour | 1/4 cup per pancake | Creates uniform size |
Flip | When bubbles form | Cooks second side |
Keeping Them Warm: Stacking and Serving
So, you've cooked your first batch of pancakes, and they look amazing. But now what? If you're cooking for a crowd, you'll want to keep those pancakes warm while you finish the rest. Martha suggests placing them on a wire rack in a warm oven (about 200°F or 95°C). This prevents them from getting soggy and keeps them at the perfect temperature for serving.
Once you're ready to serve, stack those fluffy beauties high and add your favorite toppings. Butter, maple syrup, fresh fruit, whipped cream— the possibilities are endless. The best part about mastering the art of the pancake is that you can make it your own with all kinds of toppings. And, of course, enjoy the fruits of your labor with a big smile.
Creative Variations and Tips for Your Martha Stewart Pancake Recipe
Creative Variations and Tips for Your Martha Stewart Pancake Recipe
Flavor Twists and Add-Ins
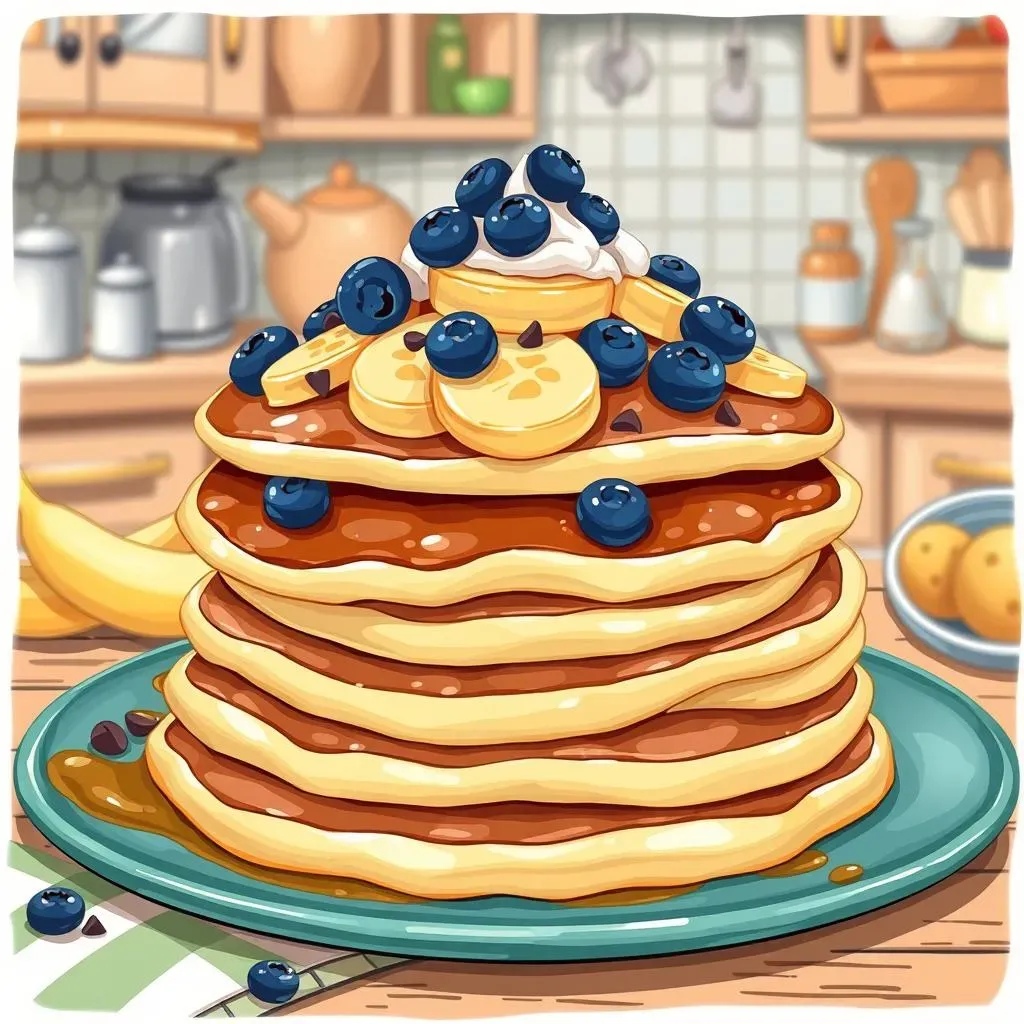
so you've nailed the classic Martha Stewart pancake recipe. Now, let's get a little adventurous, shall we? One of the best things about pancakes is how versatile they are. You can tweak the batter with a variety of flavors and add-ins to create something totally new. Want to go fruity? Fold in some fresh blueberries, raspberries, or sliced bananas into the batter. The heat will make them all warm and gooey, it's like a party in your mouth. If you’re feeling a little indulgent, try adding a handful of chocolate chips or a swirl of Nutella. It's a sweet tooth's dream come true.
For a bit of spice, you can add a dash of cinnamon, nutmeg, or even a pinch of cardamom to the batter. It adds warmth and depth of flavor that’s just perfect for cozy mornings. And if you're into nuts, chopped pecans, walnuts, or almonds will give your pancakes a satisfying crunch. Don't be afraid to experiment and mix different flavors together. The kitchen is your playground, so have some fun. Just remember to add your add-ins just before cooking the pancakes, so they don't sink to the bottom of the batter.
Pro Tips and Troubleshooting
Even with the best recipe, sometimes things don't go exactly as planned. So, here are some pro tips and troubleshooting to help you out. If your pancakes are too thick, add a tablespoon or two of milk to thin the batter. If they are too thin, add a tablespoon of flour. It's all about finding the right balance. If your pancakes are burning on the outside but still raw on the inside, your heat is too high. Reduce the heat and give them a little more time to cook through. Remember, patience is key.
And here's a golden tip: if you’re making a big batch of pancakes, keep them warm in the oven to make sure they’re still fluffy when you serve. Another thing to remember is that you can store your leftover pancakes in the fridge for a couple of days or in the freezer for longer. When you're ready to eat them, you can reheat them in the oven, toaster, or even a skillet, and they will taste just as good as fresh. With these tips, you will be a pancake master in no time.
Problem | Solution |
|---|---|
Batter too thick | Add milk, one tablespoon at a time |
Batter too thin | Add flour, one tablespoon at a time |
Burning outside, raw inside | Reduce heat and cook slower |
Keeping warm | Use oven at low temp |
Storing leftovers | Fridge or freezer |
Wrapping Up Your Perfect Pancakes
So, there you have it – the secrets to a flawless "pancake recipe from Martha Stewart," all laid out for you. From the importance of fresh ingredients to the gentle art of flipping, each step contributes to that stack of fluffy perfection we all crave. Remember, practice makes perfect, and even a few slightly wonky pancakes along the way are still delicious. Don't be afraid to experiment with different variations, from buttermilk to whole-wheat, and make this recipe your own. Now, go forth, conquer your kitchen, and create some seriously amazing pancakes. Your breakfast table, and anyone lucky enough to share it with you, will thank you.