Table of Contents
Ever craved a stack of fluffy, golden pancakes but dreaded pulling out the kitchen scale? I get it. Measuring ingredients can feel like a chore, especially when you're half-asleep on a weekend morning or trying to whip up a quick breakfast for the kids. That’s where this pancake recipe in cups comes to the rescue! Forget about precise measurements and complicated steps. This recipe is all about simplicity and ease, using just your everyday kitchen cups to create the most delicious pancakes you've ever tasted. We'll start with gathering the few ingredients you need, then we'll jump into the super easy method. I’ll share my secret tips for achieving that perfect fluffiness every time. Plus, we’ll explore how you can customize your pancakes with yummy toppings and even how to store them for later. So, let's ditch the scales and embrace the simplicity of cup measurements and get flipping!
Pancake Recipe in Cups: What You'll Need
Pancake Recipe in Cups: What You'll Need
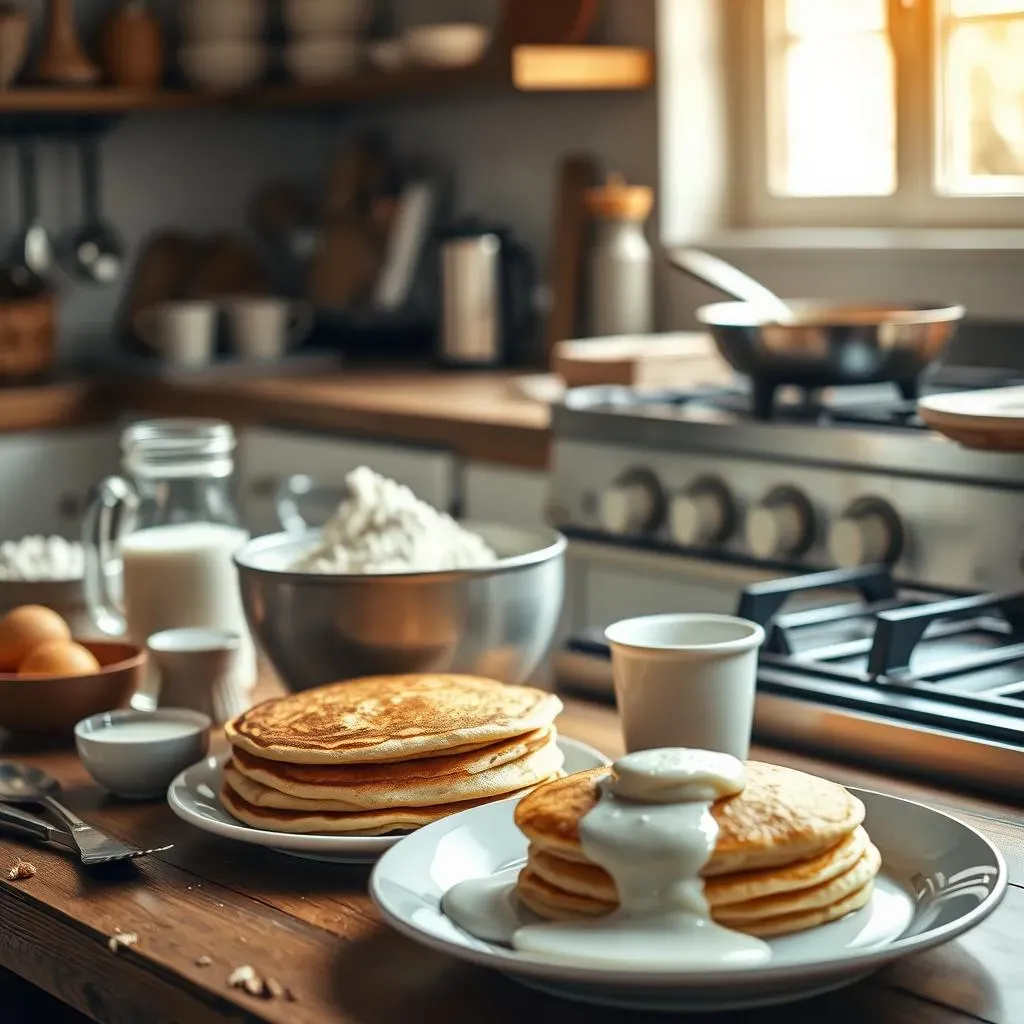
Alright, let's talk about what you need to make these awesome pancakes using just cups! No fancy scales or measuring tools required. We’re keeping it simple, because who has time for complicated first thing in the morning? You’ll need some all-purpose flour, the kind you probably already have in your pantry. Then, grab some milk—any kind will do, dairy or non-dairy, whatever you fancy. Don’t forget an egg to bind everything together, a bit of sugar for some sweetness, and a touch of baking powder to make them nice and fluffy. And finally, a little pinch of salt to balance the flavors. That's it! Six simple ingredients, and you're on your way to pancake heaven.
Ingredient | Amount |
|---|---|
All-Purpose Flour | 1 cup |
Milk | 1 cup |
Egg | 1 |
Sugar | 1 tablespoon |
Baking Powder | 2 teaspoons |
Salt | 1/4 teaspoon |
StepbyStep: Making Pancakes with Cups
StepbyStep: Making Pancakes with Cups
so you've got your ingredients ready, that's great! Now, let's dive into the fun part: actually making the pancakes. First, grab a large bowl. It doesn't need to be fancy. Just something big enough to mix everything in. Toss in your cup of flour, then add the sugar, baking powder, and salt. Give it a quick whisk with a fork or whisk to make sure it's all mixed up. Next, in that same bowl, crack in the egg and pour in the milk. Now, grab your whisk again and gently stir everything together until you have a smooth batter. Don't overmix it though. A few lumps are totally okay. We want these pancakes to be light and airy, not tough. If you overmix, the gluten will develop too much and you'll end up with something more like a hockey puck than a pancake. Trust me, I've done it before.
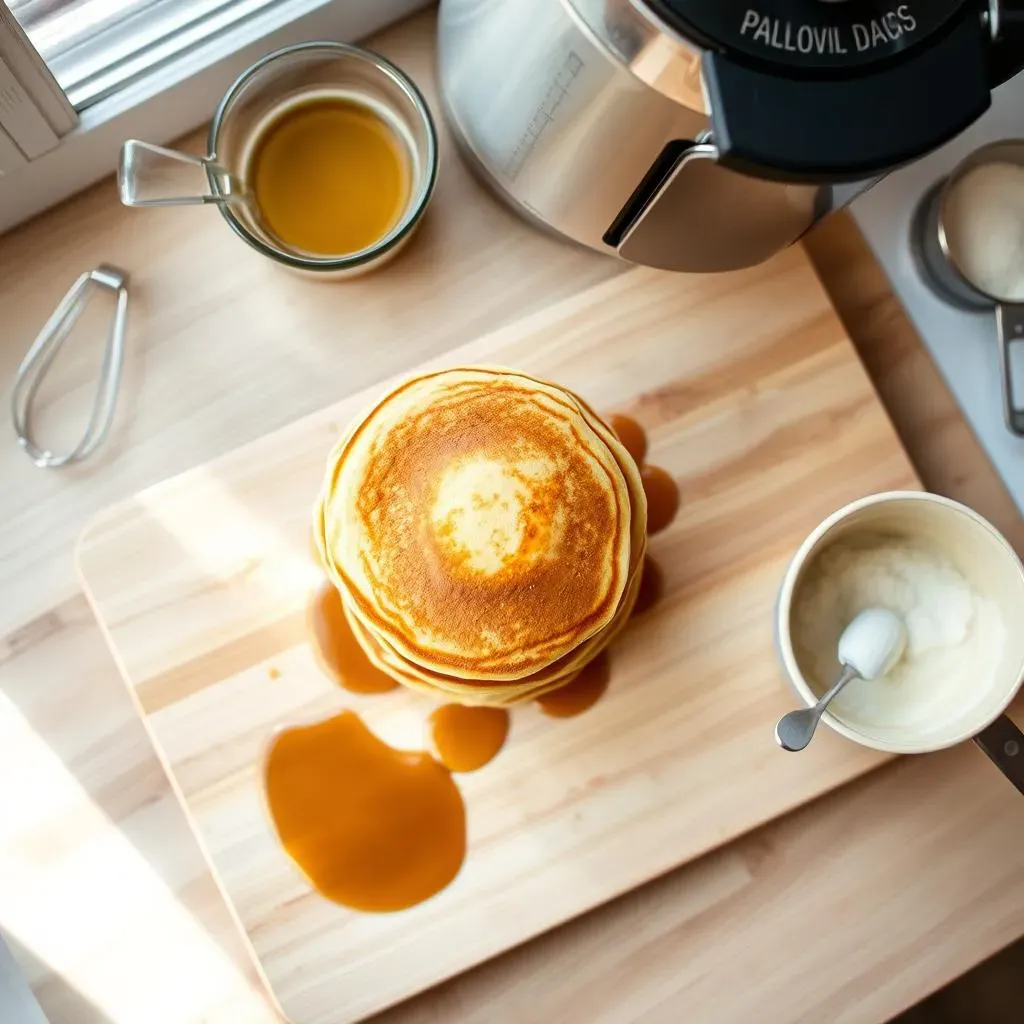
Now that your batter is ready, it's time to get cooking. Put a pan or griddle on the stove over medium heat. I like to add a little butter or oil to the pan to prevent sticking. Once the pan is hot, pour about ¼ cup of batter onto the hot surface for each pancake. You should start to see little bubbles forming on the surface after a minute or two. That’s when you know it’s time to flip! Use a spatula to gently flip each pancake and cook the other side until it’s golden brown. It usually takes another minute or two. Once they’re cooked, stack them up on a plate and get ready to dig in.
Pancake Recipe in Cups: Tips for Fluffy Perfection
Pancake Recipe in Cups: Tips for Fluffy Perfection
Don't Overmix the Batter
so you've got the basic pancake recipe in cups down, but how do we get those light, fluffy pancakes we all dream about? The number one rule is: don't overmix the batter! Seriously, this is where most people go wrong. When you mix the wet and dry ingredients, only stir until everything is just combined. It's okay if there are still a few lumps. Overmixing develops the gluten in the flour, which can make your pancakes tough and chewy. We're going for cloud-like, not hockey-puck-like. Think of it like this: you're gently folding the ingredients together, not beating them into submission.
It’s like when you’re trying to make a new friend, you don’t want to be too intense. Let the batter rest for a minute or two after mixing too. This lets the baking powder do its magic and creates those air pockets we need for fluffy pancakes. So, mix gently, let it rest, and you'll be on your way to pancake perfection.
The Heat is Key
Another big secret to perfect pancakes? The heat! You want your pan or griddle to be hot, but not too hot. Medium heat is usually the sweet spot. If the pan is too cold, the pancakes will be pale and flat. If it’s too hot, the outside will burn before the inside is cooked through. A good way to test the heat is to flick a tiny drop of water onto the pan. If it sizzles and evaporates quickly, you’re good to go. But if it just sits there, you need to crank up the heat a little more. Once you pour the batter onto the hot surface, you should see those bubbles forming on the top after a minute or two. That's how you know it's time to flip. And remember, patience is key. Don’t rush the cooking process. Let each side cook until it’s golden brown and perfectly delicious.
Also, don't overcrowd the pan. Give each pancake enough space to cook evenly. This might mean doing a few batches, but it's worth it for that perfect result. And a little tip from me: use a light touch when flipping. Don't smash the pancakes down with your spatula, just a gentle flip to keep them light and airy.
Fluffy Pancake Secret | How to Achieve |
|---|---|
Don't Overmix | Mix until just combined, few lumps are okay. |
Rest the Batter | Let the batter sit for a minute or two after mixing. |
Perfect Heat | Medium heat, test with water drop. |
Gentle Flip | Flip with a spatula, no smashing. |
Customize Your Cup Pancakes & Storage
Customize Your Cup Pancakes & Storage
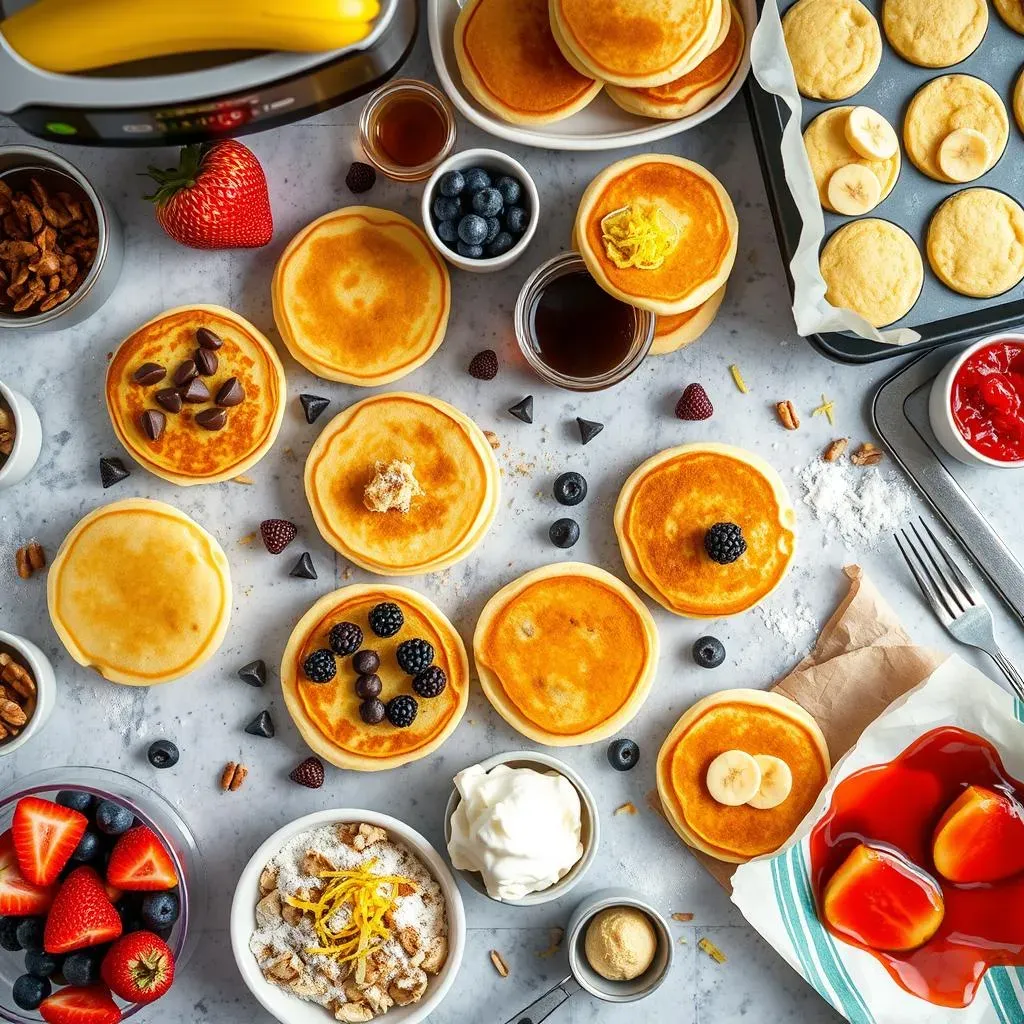
so you've mastered the basic pancake recipe in cups, now let's get creative! This is where the fun really begins. Think of the base recipe as a blank canvas, ready for your personal touch. Want to add some extra sweetness? Throw in a tablespoon of chocolate chips or a dash of cinnamon. Craving something fruity? Add a handful of fresh berries or sliced bananas to the batter. Maybe you're feeling nutty? Some chopped walnuts or pecans can add a nice crunch. The possibilities are pretty much endless. Don't be afraid to experiment and find your favorite combinations. I love adding a bit of lemon zest for a bright, citrusy flavor. It's like a little sunshine in every bite.
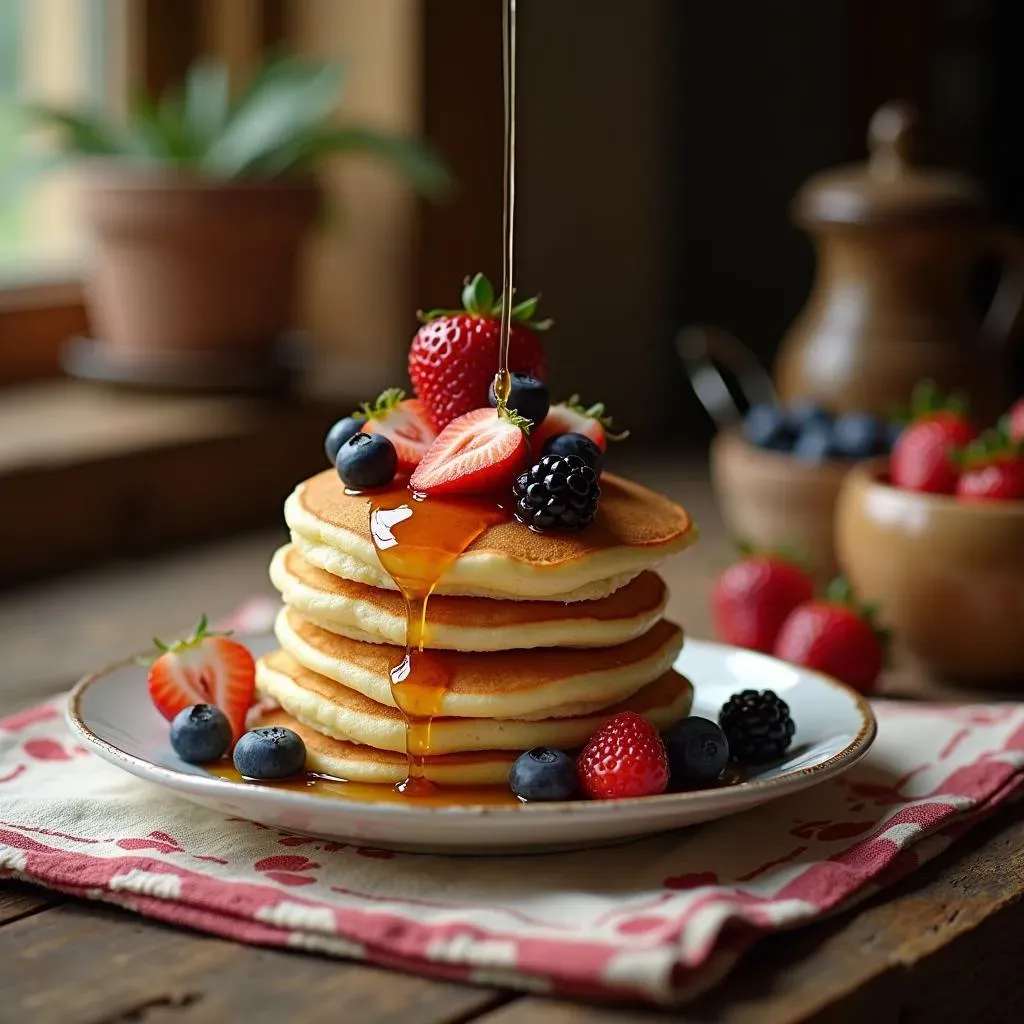
And what about toppings? Oh, the toppings! Maple syrup is a classic for a reason, but why stop there? Consider a dollop of whipped cream, a drizzle of honey, or a dusting of powdered sugar. You could even make a quick fruit compote by simmering some berries with a touch of sugar and lemon juice. And if you're feeling really adventurous, try adding a scoop of ice cream on top. It might not be the healthiest option, but hey, it's your pancake party! Just remember, the best toppings are the ones you love. So go wild and make those pancakes your own.
Add-In Ideas | Topping Ideas |
|---|---|
Chocolate Chips | Maple Syrup |
Berries | Whipped Cream |
Bananas | Honey |
Nuts | Powdered Sugar |
Lemon Zest | Fruit Compote |
Cinnamon | Ice Cream |
Now, let's talk storage. What if you make a big batch of these cup pancakes, but you can't eat them all at once? No problem! You can easily store them for later. Let the pancakes cool completely, then stack them up and store them in an airtight container in the refrigerator. They'll keep for up to three days. When you're ready to eat them, you can reheat them in the microwave, in a toaster, or in a pan on the stove. If you're planning to store them for longer, you can freeze them. Place the cooled pancakes on a baking sheet lined with parchment paper and freeze them for about an hour, then transfer them to a freezer bag or container. This way, they won't stick together. Frozen pancakes will keep for up to two months. Just pop them in the toaster or microwave to reheat them, and you’ll have a quick and delicious breakfast, ready whenever you want it.
I've found that reheating them in a pan with a little butter brings them back to life the best, but honestly, they’re pretty good no matter how you reheat them. It’s like having a little pancake time capsule in your freezer. And here’s a little secret: sometimes I even sneak a cold pancake straight from the fridge. Don’t judge me, they’re that good!
Wrapping Up Our Cup Pancake Adventure
And there you have it! Making fantastic pancakes doesn't require fancy equipment or complicated techniques. This simple pancake recipe in cups proves that. With just a few basic ingredients and your trusty cup, you can whip up a delicious breakfast any day of the week. Remember, the key is not to overmix and to let the batter rest. Feel free to experiment with different toppings and make this recipe your own. Now go on, enjoy those fluffy pancakes, and don't forget to share your creations with your friends and family. Happy cooking!