Table of Contents
Ever wondered about those tiny, delightful pancakes you see in fancy restaurants or maybe on a cooking show? Those are likely Russian blinis, and they're not as hard to make as you might think! This isn't just another pancake recipe; it's a little journey into a different culture, a tasty trip to Russia right from your kitchen. We'll start by exploring what exactly makes a blini a blini. Forget those thick, fluffy breakfast cakes; these are thin, delicate, and versatile. Then, I will share the secrets that make the best Russian blinis recipe, including some common mistakes to avoid. I'll walk you through the cooking process step by step, so you can whip up a batch like a pro, even if you've never made pancakes before. Finally, we'll talk about how to serve your blinis, from classic toppings like caviar to sweeter options. Get ready to create a dish that's sure to impress your friends, family, or just yourself!
What Exactly Are Russian Blinis?

What Exactly Are Russian Blinis?
Beyond the Pancake: The Blini Story
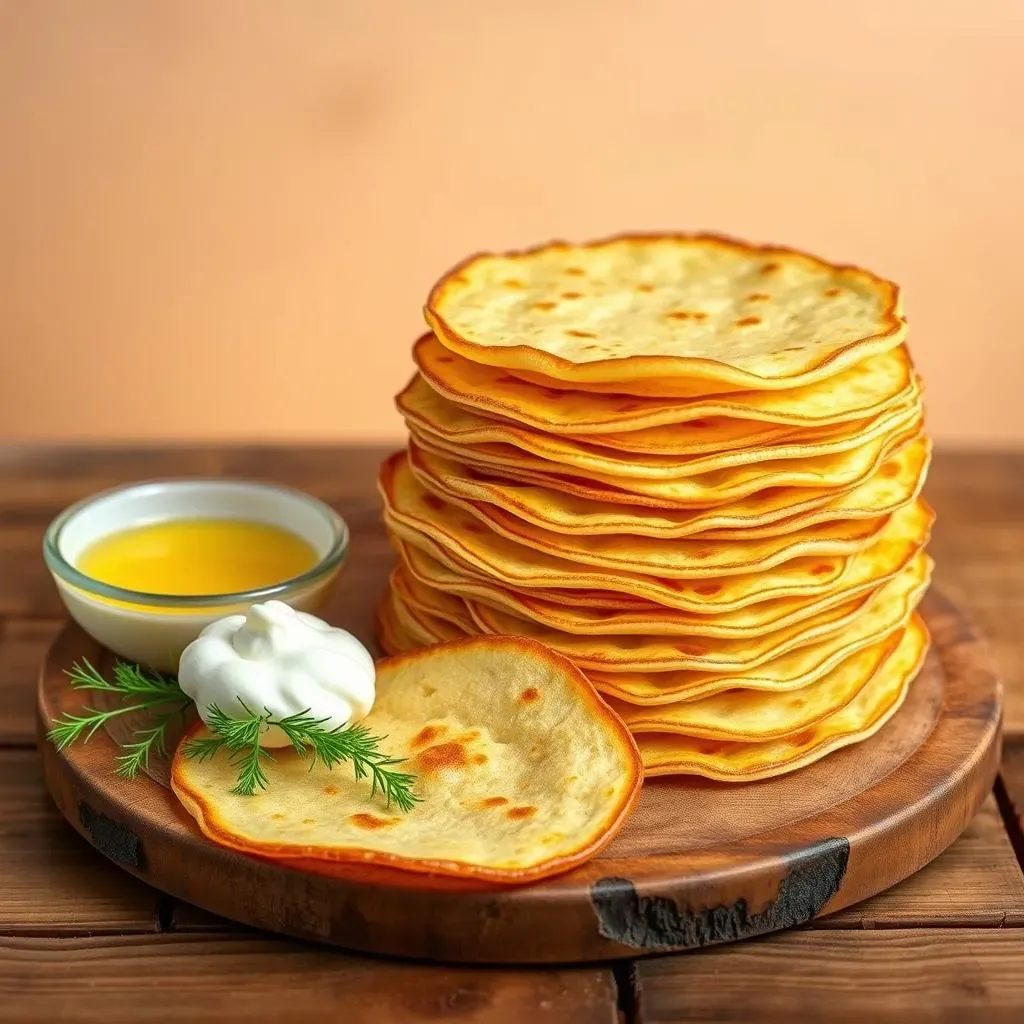
Okay, so you've heard the word "blini," maybe seen them on a menu, and wondered, "What's the deal?" Well, they're not your average stack of fluffy pancakes. Think of them more like thin crepes, but with a slightly different vibe. They're a staple in Russian cuisine, often served during celebrations, especially during Maslenitsa, a festival that marks the end of winter. They're not just food; they're part of a tradition, a way to welcome spring and enjoy good company. They're also super versatile. You can top them with savory things like smoked salmon, sour cream, and caviar, or go sweet with jam, honey, or fruit. It really depends on what you're in the mood for.
Unlike American pancakes that tend to be thick and fluffy, blinis are thin and more delicate, almost like a crepe. They can be made from various flours, most traditionally buckwheat or wheat, which gives them a slightly nutty flavor. The batter is usually very liquid, creating a thin pancake that cooks quickly. The texture is light and airy, making them perfect for soaking up all kinds of toppings. They are usually small, making them easy to pick up and eat, unlike a giant pancake that requires a knife and fork. So, when you hear "blini," think of a versatile, thin, and delicious Russian pancake that's more than just a breakfast food.
Blini vs Pancakes: A Quick Comparison
Feature | Blini | Pancakes |
|---|---|---|
Thickness | Thin, crepe-like | Thick, fluffy |
Main Flour | Wheat or Buckwheat | Wheat |
Texture | Light, airy | Dense, fluffy |
Typical Occasion | Celebrations, Maslenitsa | Breakfast, Brunch |
The Secret to a Perfect Russian Blinis Recipe

The Secret to a Perfect Russian Blinis Recipe
The Right Ingredients Make All the Difference
Okay, so you're ready to make some blinis that will knock people's socks off? It all starts with the ingredients. You don’t need anything fancy, but you do need to pay a little bit of attention to what you're using. For the flour, while all-purpose works just fine, a mix of all-purpose and buckwheat flour gives that authentic nutty flavor, a little something extra that makes them special. And don't skimp on the liquids; milk, or even better, a mix of milk and kefir (a fermented milk drink) will give you the right consistency. Eggs are also important for binding everything together, and a touch of sugar and salt just to balance the flavors.
The fat in the recipe, usually melted butter or oil, is also very important. It helps to create that delicate, slightly crispy edge that is a hallmark of a well-made blini. And a little baking soda or baking powder helps to keep them light and airy. It is important to remember that the batter should be thin, almost like a very light cream. The consistency of the batter is the secret to achieving those paper-thin blinis that are the hallmark of a great Russian blinis recipe. Don't be tempted to add more flour to thicken it up. Just trust the process.
Mastering the Batter
Now, let's talk about the batter. It's not just about throwing everything in a bowl and mixing it up. There's a method to the madness. The best way to get a smooth batter is to start by whisking the wet ingredients together first. Then, gradually add the dry ingredients, whisking constantly to avoid any lumps. You want a batter that’s smooth and lump-free, kind of like a light cream. You might be tempted to overmix, but don’t! Overmixing develops the gluten in the flour, which makes the blinis tough, and we don't want that. Gentle mixing is key to a tender blini.
Also, let the batter rest for a bit, around 20-30 minutes. This lets the gluten relax and the flour to fully absorb the liquid. This rest period is like a little spa day for your batter, making it much easier to work with and resulting in a better final product. It also allows for the baking powder or baking soda to activate, which makes the blinis light and airy. It’s a step that you don't want to skip. Trust me, it makes a big difference. You’ll notice the batter thickens slightly after the rest, that is normal, and it’s exactly what you want.
Ingredient | Why it's important |
|---|---|
Buckwheat Flour | Adds nutty flavor |
Kefir | Adds tanginess and makes blinis light |
Melted Butter | Adds flavor and crispy edges |
Resting Batter | Relaxes gluten for tender blinis |
The Heat is On: Cooking to Perfection
Okay, you've got your batter, it looks good, now it's time to get cooking! The key here is to use a non-stick pan or a well-seasoned skillet. Heat it over medium heat, and add a tiny bit of butter or oil. You don’t need a lot, just enough to coat the pan. The pan should be hot enough that the batter sizzles when it hits it, but not so hot that it burns immediately. The first blini might not be perfect, that’s okay, it’s like the practice run. Use a small ladle or a spoon to pour a small amount of the batter onto the hot pan, and quickly tilt the pan to spread the batter out into a thin circle. Remember, thin is the goal here.
Cook for about 1-2 minutes per side, or until golden brown. Don’t flip it too early, you want it to be set enough to flip easily without tearing. Once cooked, stack them on a plate and cover them with a clean towel to keep them warm. If you are making a large batch, you can keep them warm in a low oven. The trick is to be patient, and don’t rush the process. With a little practice, you'll be a blini-flipping master in no time. Remember, each blini is a little work of art, and the goal is to make them thin, delicate, and delicious.
Making Your Own Russian Blinis: Step by Step

Making Your Own Russian Blinis: Step by Step
Let's Get Started: Mixing the Batter
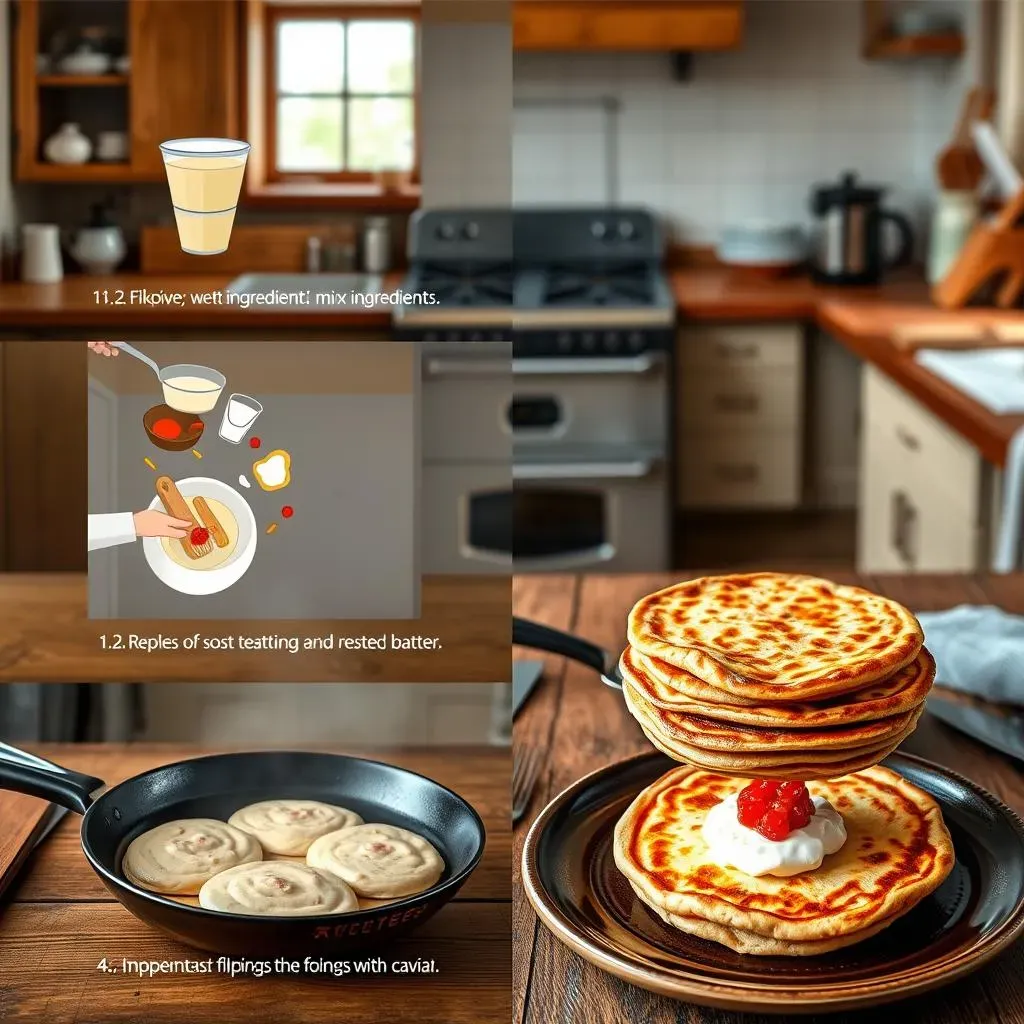
Alright, let's get down to business. First, grab a big mixing bowl. You'll want to whisk together your wet ingredients: the eggs, milk (or milk and kefir, if you're feeling fancy), and any melted butter or oil you're using. Whisk it all together until it's nice and smooth. Then, in a separate bowl, mix your dry ingredients: the flour (remember, all-purpose or a mix with buckwheat), sugar, salt, and baking soda or baking powder. Now, the key here is to gradually add the dry ingredients to the wet ingredients, whisking constantly. Do this slowly to prevent any lumps from forming. Don’t overmix; just mix until everything is combined, and the batter is smooth, like a light cream. Once you get to this stage, cover your bowl and let the batter rest for 20-30 minutes, this step is not optional it is very important.
While the batter is resting, you can get your pan ready. Place it over medium heat and add a tiny bit of butter or oil, just enough to lightly coat the pan. Once the pan is nice and hot, you are ready to start cooking the blinis. Remember, the first one is always a test, so don't worry if it's not perfect. The resting time allows the gluten in the flour to relax, which gives you those delicate and tender blinis. It's also a great time to prep your toppings, so you're ready to go once the blinis are done. Once the resting time is done, give the batter one last stir, and you are ready to get cooking.
Cooking the Blinis: Time to Flip
Okay, the batter's rested, the pan is hot, it's showtime! Grab a small ladle or a spoon, and pour a small amount of batter onto the hot pan. Quickly tilt the pan to spread the batter into a thin circle. Remember, thin is the aim here, so don’t make them too thick. Cook for about 1-2 minutes per side, or until golden brown. You'll know it's time to flip when the edges start to look set and the bottom is a light golden brown. Use a thin spatula to carefully flip the blini over, and cook for another minute or so on the other side. The goal is to get a nice, even golden-brown color on both sides.
Once cooked, carefully remove the blini from the pan and place it on a plate. You can stack them up, and cover them with a clean towel to keep them warm while you cook the rest of the batch. If you are making a large batch, you can keep them warm in a low oven. Repeat this process until you've used all of the batter. Don’t worry if some of them are not perfect, they are still going to be delicious. The key is to be consistent with the amount of batter you use, and to keep the heat consistent. With a little practice, you’ll get the hang of it, and you’ll be making blinis like a pro in no time.
Step | Action |
|---|---|
1 | Whisk wet ingredients |
2 | Mix dry ingredients |
3 | Combine wet and dry, rest batter |
4 | Cook on hot pan until golden |
5 | Flip and cook other side |
Serving and Enjoying Your Homemade Russian Blinis

Serving and Enjoying Your Homemade Russian Blinis
Classic Toppings: Savory Delights
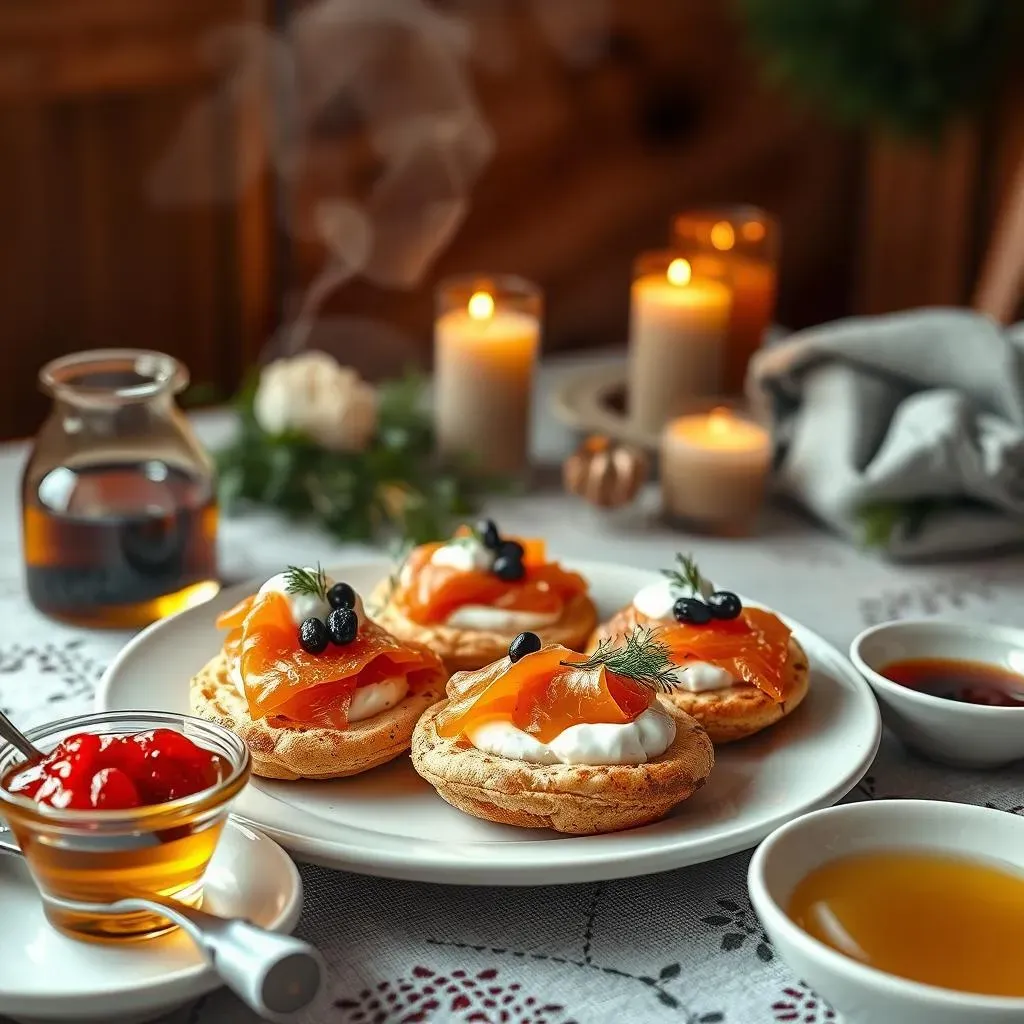
Alright, you've made a beautiful stack of blinis, now what? The fun part, toppings! For a truly classic Russian experience, you can't go wrong with savory options. Think about some good quality smoked salmon, some creme fraiche or sour cream, and a dollop of caviar. If caviar is a little out of your price range, you can use salmon roe, which is also delicious and more affordable. You can also add some fresh dill or chives for a pop of color and flavor. These are the toppings that you would typically find in Russia, especially during Maslenitsa. The combination of the creamy, salty, and smoky flavors is just delicious, and it pairs perfectly with the delicate blinis.
Don't be afraid to experiment with other savory toppings too. You can try some sauteed mushrooms, some caramelized onions, or even some cream cheese with herbs. The beauty of blinis is that they're incredibly versatile, and they can be a blank canvas for your culinary creativity. You can also set up a blini bar with various toppings and let everyone build their own. It is a fun way to get everyone involved, and it allows people to customize their blinis to their own tastes. Remember, the key is to use good quality ingredients, and don't be afraid to try new things.
Sweet Sensations: Indulge Your Sweet Tooth
If you are more of a sweet tooth person, don't worry, blinis are just as good with sweet toppings. You can go for the classic combination of jam or preserves with a dollop of sour cream or yogurt. Honey is also a great option, especially if you use a good quality local honey. Fresh berries, like strawberries, raspberries, or blueberries, are also a great addition, and they add a lovely burst of freshness. You can also add a sprinkle of powdered sugar for extra sweetness. The combination of the sweet toppings and the delicate blinis is just divine, and it makes for a perfect dessert or a sweet treat any time of the day.
You can also try some more decadent options, such as Nutella or other chocolate spreads, or some whipped cream and chocolate shavings. You can also try some caramelized apples or pears with a dusting of cinnamon. The possibilities are endless! The key is to use toppings that you love, and don't be afraid to get creative. Blinis are a great vehicle for all kinds of flavors, and they can be a great way to satisfy your sweet cravings. Whether you prefer classic flavors or something more adventurous, there's a sweet topping out there for you.
Topping Type | Examples |
|---|---|
Savory | Smoked salmon, caviar, sour cream, dill |
Sweet | Jam, honey, fresh berries, Nutella |
Other | Sauteed mushrooms, caramelized onions |