Table of Contents
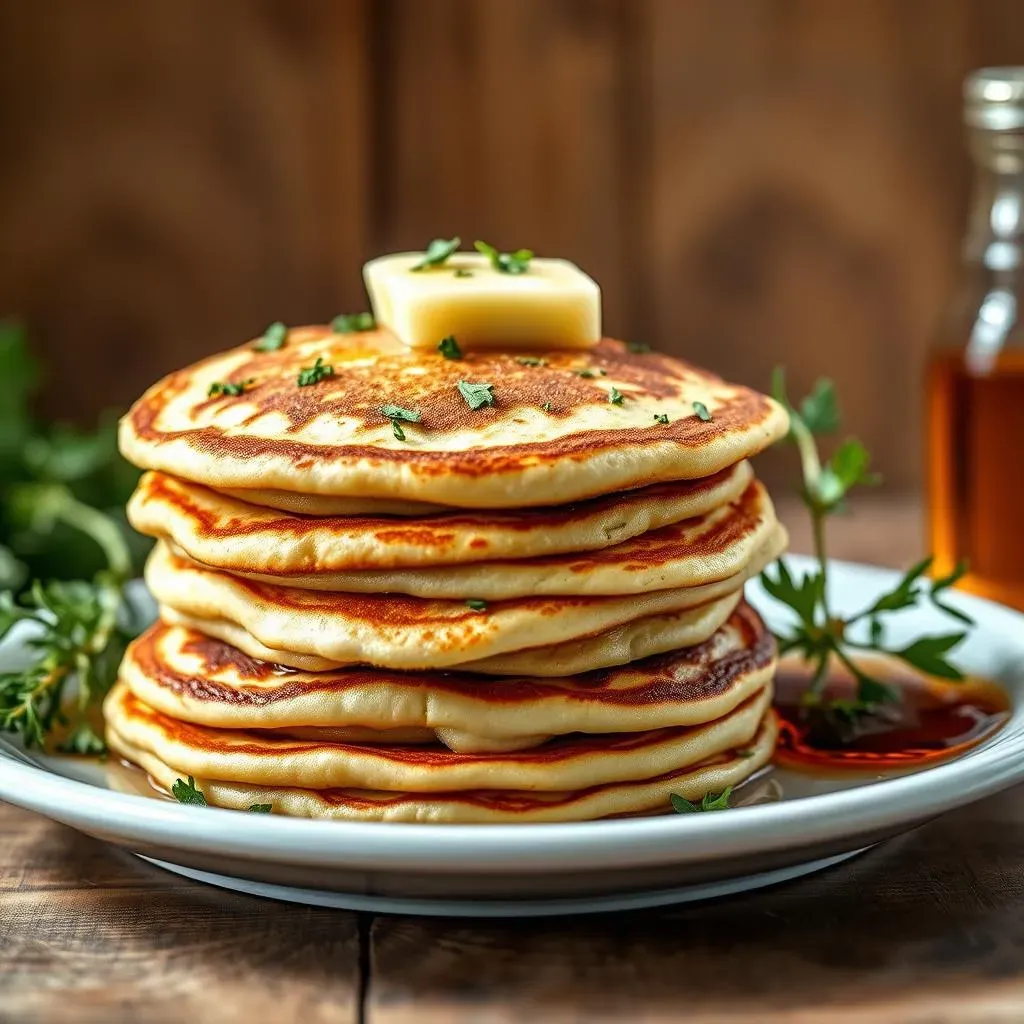
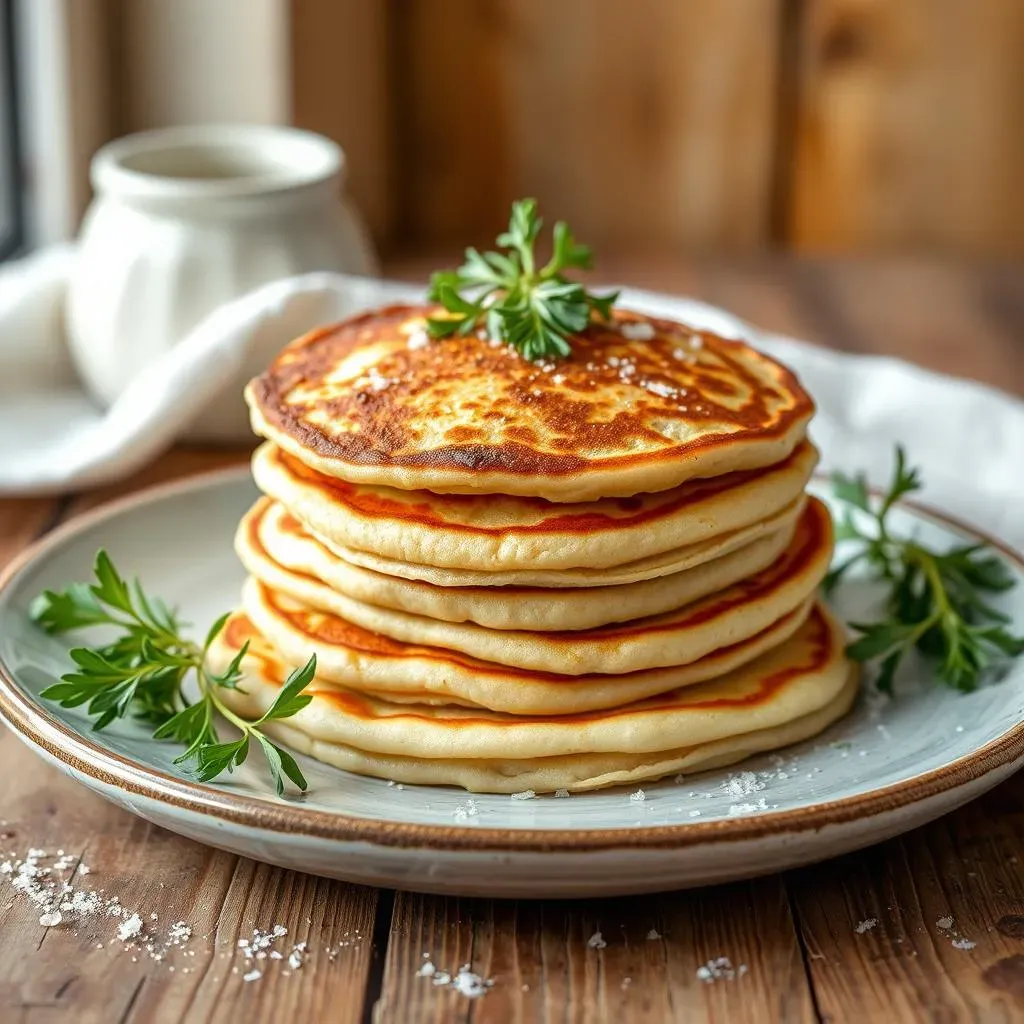
Tired of the same old sweet breakfast routine? Ready for a flavor explosion that's both comforting and exciting? Then you've landed in the right spot! We're about to flip your pancake world upside down with a fantastic savory pancake recipe with herbs. Forget those sugary stacks; these are light, fluffy, and packed with fresh, vibrant flavors that'll make your taste buds sing. Think of it: a warm, golden pancake infused with aromatic herbs and a hint of savory goodness. This isn't just breakfast; it's a versatile dish perfect for any meal. In this article, we’ll explore why these savory herb pancakes are a must-try, the essential ingredients you’ll need, a step-by-step guide to making them, and some pro tips to ensure pancake perfection. Get ready to discover a new favorite that’s easy to make, endlessly customizable, and absolutely delicious. Let's get cooking!
Why You'll Love This Savory Pancake Recipe with Herbs

Why You'll Love This Savory Pancake Recipe with Herbs
A Flavorful Twist on a Classic
Let's be honest, sometimes sweet pancakes just don't cut it. They can be a bit too much, right? That's where these savory herb pancakes swoop in to save the day. They offer a fantastic change of pace, bringing a delightful combination of savory and herbaceous notes that’ll wake up your taste buds in a way that maple syrup never could. It's like giving your breakfast (or lunch, or dinner!) a sophisticated upgrade without any extra fuss. Plus, who doesn't love the idea of a guilt-free pancake that's packed with flavor?
I remember the first time I tried a savory pancake. I was so used to the sweet version, I was a little skeptical. But one bite, and I was hooked! The herbs made it so fresh and flavorful, and I loved how light it felt compared to the usual sugary breakfast. It opened up a whole new world of pancake possibilities.
Endless Customization Options
Another amazing thing about this recipe is how incredibly versatile it is. You’re not stuck with just one flavor profile. Think of it as a blank canvas for your culinary creativity. Want to add some cheese? Go for it! How about some sun-dried tomatoes or roasted peppers? Absolutely! Feel like experimenting with different herbs? The sky's the limit. This recipe is perfect for using up whatever fresh herbs you have on hand, making it both delicious and practical. It's a great way to get creative in the kitchen and tailor your pancakes to your exact liking.
Herb | Flavor Profile | Best Uses |
|---|---|---|
Thyme | Earthy, slightly minty | Pairs well with cheese and eggs |
Chives | Mild onion flavor | Great with creamy toppings |
Parsley | Fresh, clean taste | Adds brightness to any dish |
A Quick and Healthy Meal
Beyond the amazing taste and adaptability, this savory pancake recipe is also incredibly quick and easy to make. We all have those days when we're short on time but still crave something satisfying and healthy. These pancakes come together in minutes, making them perfect for busy mornings or weeknight meals. They're also a great way to sneak in some extra veggies and herbs into your diet. So, not only are they delicious, but they're also a smart and nutritious choice. What more could you ask for? It's a win-win situation for your taste buds and your well-being.
Key Ingredients for the Best Savory Herb Pancakes

Key Ingredients for the Best Savory Herb Pancakes
The Foundation: The Batter
Alright, let’s talk about the base of our savory pancake masterpiece: the batter. It’s not that different from your regular sweet pancake batter, but we're making a few key swaps to ensure it's savory perfection. You'll need all-purpose flour, that's our go-to for that classic fluffy texture, but feel free to experiment with a mix of all-purpose and whole wheat if you're feeling adventurous. Baking powder and baking soda are a must, they're the magic behind those light and airy pancakes. Don’t forget the milk, it adds moisture and helps bind everything together. You can use any kind you have on hand, dairy or non-dairy, it’s all good. And, of course, a pinch of salt is essential to enhance all the other flavors. It’s the unsung hero, trust me.
I remember once I forgot the salt, and the pancakes were just...blah. It's amazing how such a small thing can make such a big difference. So, don't skip that pinch! The batter is really the foundation of your pancake, so we want to make sure it's perfect before we add in the herbs and other goodies. Getting the basics right is key to a great final product.
The Stars of the Show: Herbs and Flavor Boosters
Now for the fun part: the herbs! This is where you can really let your creativity shine. Fresh herbs are the way to go here; they bring a burst of flavor that dried herbs simply can’t match. Some of my favorites include thyme, with its earthy notes, chives for a mild oniony kick, and parsley for that fresh, clean taste. But honestly, use whatever you have on hand or whatever strikes your fancy. Rosemary, dill, or even a little bit of mint can work wonders too. Don't be shy about mixing and matching! Garlic is also a game-changer. A clove or two of minced garlic adds a wonderful savory depth that complements the herbs beautifully. And if you’re a fan of a little heat, a pinch of red pepper flakes or some finely chopped jalapeño can take things to the next level.
I love going to the garden and picking fresh herbs. It feels so good to use something I grew myself, and the smell is just incredible. It makes the whole cooking process more enjoyable. When I don't have fresh herbs, I have a little herb garden in my window. It's a great way to always have fresh herbs on hand.
Ingredient | Purpose |
|---|---|
All-Purpose Flour | Provides structure to the pancakes |
Baking Powder & Baking Soda | Creates a light and fluffy texture |
Milk | Adds moisture and binds ingredients |
Fresh Herbs (Thyme, Chives, Parsley) | Adds fresh, aromatic flavor |
Garlic | Adds a savory depth of flavor |
StepbyStep Guide to Making Savory Pancakes with Herbs

StepbyStep Guide to Making Savory Pancakes with Herbs
Mixing the Batter
Alright, let's get down to business and make some magic happen! First, grab a large mixing bowl. Toss in your all-purpose flour, baking powder, baking soda, and a pinch of salt. Whisk these dry ingredients together until they're well combined. This ensures that the baking powder and soda are evenly distributed, which is key for those fluffy pancakes we're aiming for. Next, pour in your milk. Use a whisk or a fork to gently mix the wet and dry ingredients. Don't overmix; just stir until everything is just combined. A few lumps are totally fine, so don't worry about making it perfectly smooth. Now, add your minced garlic and chopped fresh herbs into the batter. Give it a gentle stir to distribute them evenly. And that's it – your savory pancake batter is ready to go!
I find that using a whisk is best for this part. It helps to break up any clumps and ensures that everything is nicely mixed. But, if you only have a fork, that works too. Remember, the key here is to not overmix, so just stir until everything is just combined.
Cooking the Pancakes
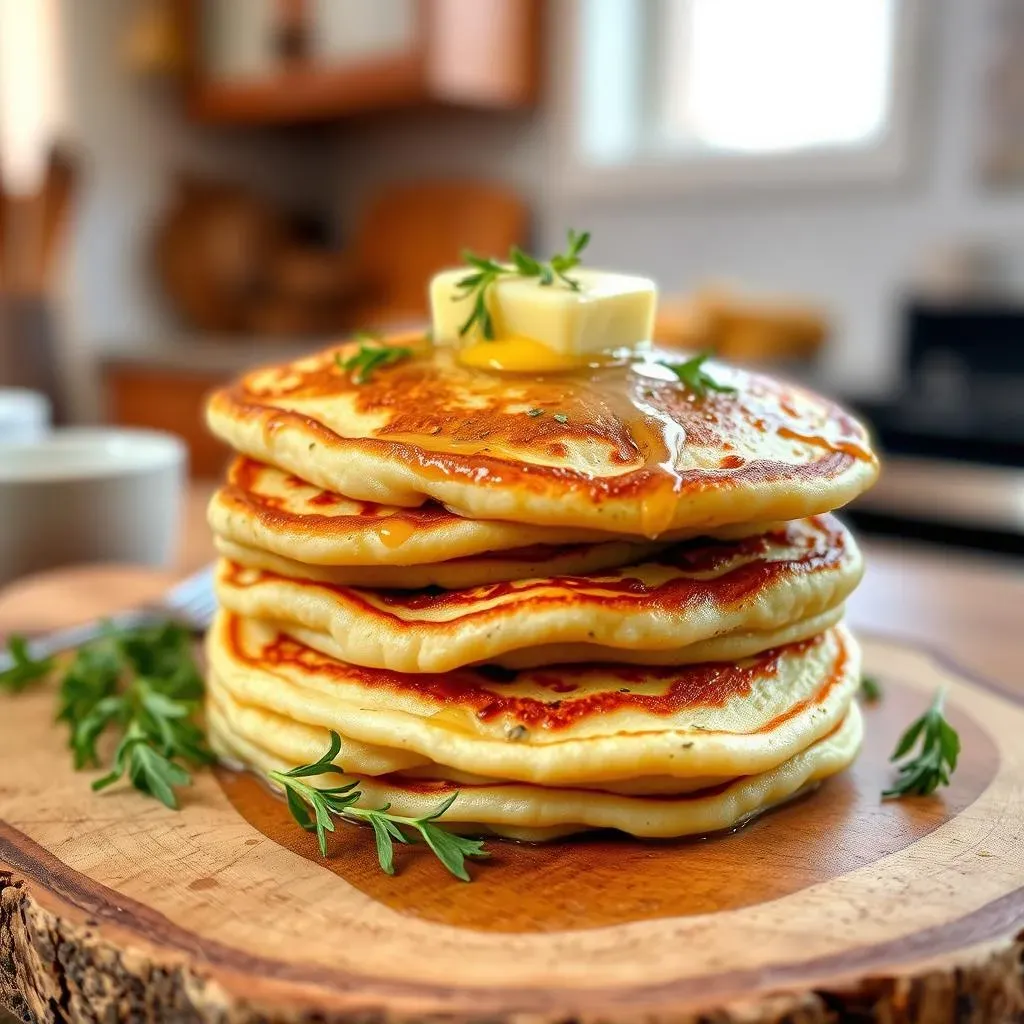
Now for the fun part: cooking the pancakes! Heat a lightly oiled griddle or non-stick frying pan over medium heat. Once the pan is hot, pour about 1/4 cup of batter onto the pan for each pancake. You can cook a few at a time, depending on the size of your pan. Let the pancakes cook for about 2-3 minutes per side, or until golden brown and cooked through. You'll know it's time to flip when you see bubbles forming on the surface and the edges start to look set. Use a spatula to carefully flip each pancake and cook for another 2-3 minutes on the other side. Once they're cooked through and have that beautiful golden-brown color, remove them from the pan and set them aside. Repeat this process with the remaining batter.
Pro-tip: if you want to keep the pancakes warm while you’re cooking the rest of the batch, place them on a wire rack in a warm oven (around 200°F). This prevents them from getting soggy.
Step | Action | Time |
|---|---|---|
1 | Combine dry ingredients | 2 minutes |
2 | Add wet ingredients and mix | 1 minute |
3 | Add herbs and garlic | 1 minute |
4 | Cook pancakes on griddle | 2-3 minutes per side |
Serving and Enjoying
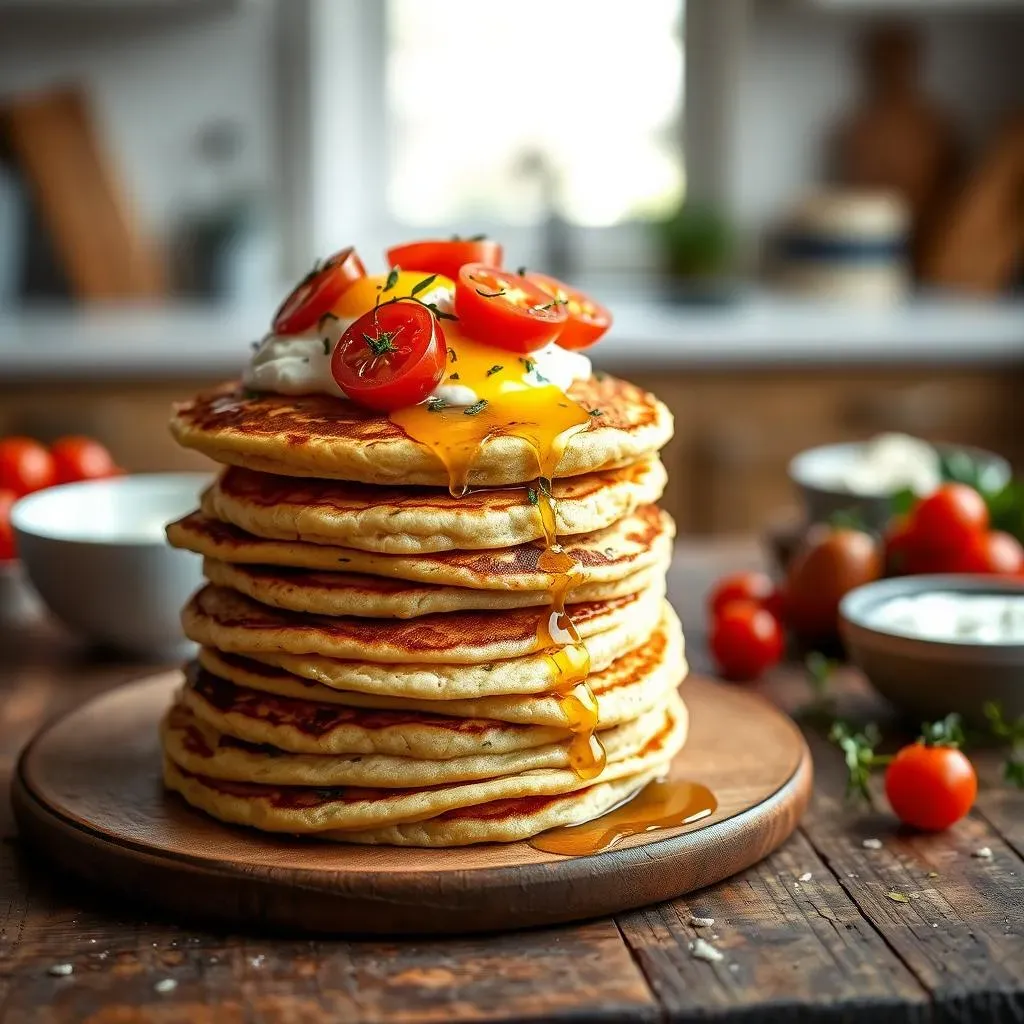
Finally, the moment we've all been waiting for: serving and enjoying these delicious savory herb pancakes! You can serve them as is, or you can get creative with toppings. A fried or poached egg on top is a classic choice. Some fresh cherry tomatoes and a sprinkle of extra herbs add a pop of color and freshness. A dollop of Greek yogurt or sour cream is also a fantastic addition. And for those who like a little extra flavor, a drizzle of olive oil or a sprinkle of flaky sea salt can take these pancakes to the next level. Don’t be afraid to experiment and find your favorite combination. These pancakes are so versatile that you can enjoy them for breakfast, lunch, or even a light dinner. So, go ahead, dig in and enjoy the fruits of your labor!
I love to add a little bit of hot sauce to mine. It adds a nice kick and compliments the herbs really well. But honestly, the best part about this recipe is that you can customize it to your own taste. So have fun with it!
Tips and Tricks for Perfect Savory Herb Pancakes

Tips and Tricks for Perfect Savory Herb Pancakes
Achieving the Ideal Texture
Okay, let's talk texture. Nobody wants a flat, dense pancake, right? The key to getting that light and fluffy texture is all in the batter. First, don't overmix! Overmixing develops the gluten in the flour, which can lead to tough pancakes. Mix just until the wet and dry ingredients are combined, and a few lumps are okay. Second, make sure your baking powder and baking soda are fresh. If they're old, they won't give you the lift you need. Also, don't skip the resting time! Letting the batter sit for about 5-10 minutes allows the gluten to relax and the baking powder to activate, which results in a lighter, fluffier pancake. It's a simple step, but it makes a huge difference. I've definitely learned this the hard way, serving up some pretty dense pancakes before figuring it out.
Another trick I've found helpful is to use slightly warm milk. It can help the baking powder activate even better. Not hot, just a little warmer than room temperature. And if you’re feeling fancy, you can even separate the egg and whip the egg white to soft peaks before folding it into the batter. This will give you the fluffiest pancakes you've ever tasted. But let's be honest, sometimes we don’t have time for that, and that’s okay too! The basic recipe is pretty great as is. It’s all about finding what works best for you and your schedule.
Mastering the Cooking Process
Now, let's move on to the cooking stage. The temperature of your pan is crucial. You want it hot enough so the pancakes cook evenly and get that nice golden-brown color, but not so hot that they burn on the outside and stay raw on the inside. Medium heat is usually the sweet spot. Before you pour the batter, make sure the pan is lightly oiled or buttered. This prevents the pancakes from sticking and ensures they cook evenly. Use a 1/4 cup measuring cup to pour the batter onto the hot pan for each pancake. This helps to keep them uniform in size. Don't overcrowd the pan; give each pancake enough space to cook properly. Once you see bubbles forming on the surface and the edges start to look set, it's time to flip. Be gentle when you flip them, and use a spatula to turn them over carefully. Cook for another 2-3 minutes on the other side, or until golden brown and cooked through. And remember, practice makes perfect! Don’t be discouraged if your first pancake isn't magazine-worthy.
I remember one time I was in a hurry and I tried to cook the pancakes on too high of heat. They ended up burnt on the outside and raw on the inside. It was a total disaster! So, take your time, be patient, and don't rush the cooking process. And if you're like me and you tend to make a mess when you cook, just know that it's all part of the fun. Embrace the chaos, and don't be afraid to experiment. After all, that's how you become a better cook.
Tip | Action | Why it works |
|---|---|---|
Don't overmix batter | Mix until just combined | Prevents tough pancakes |
Use fresh baking powder/soda | Check expiration dates | Ensures proper lift |
Let batter rest | 5-10 minutes | Allows gluten to relax |
Cook on medium heat | Avoids burning | Cooks pancakes evenly |
Flip gently | Use a spatula | Maintains pancake shape |