Table of Contents
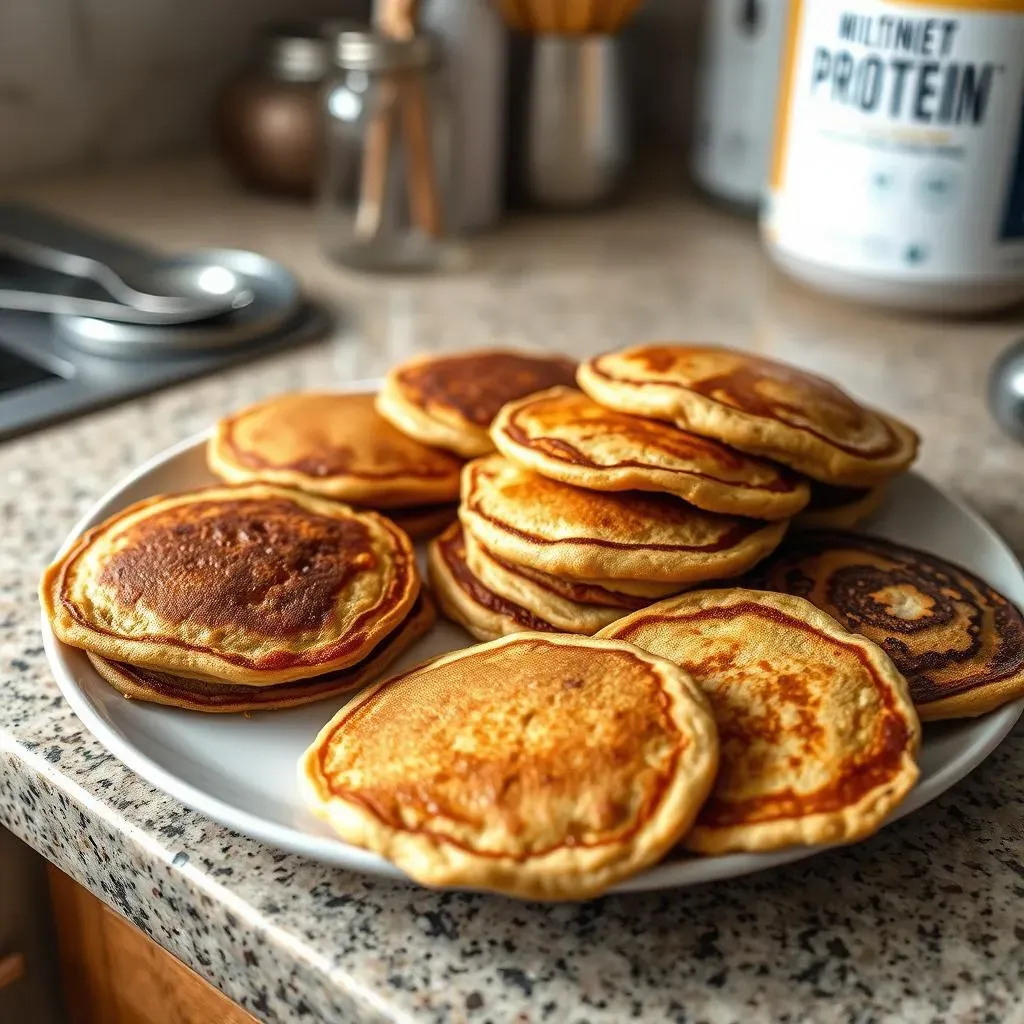
Protein pancakes: the perfect blend of deliciousness and muscle-building fuel. But what happens when you whip up a batch bigger than your appetite? Fear not, fellow pancake enthusiast! This article is your ultimate guide to mastering the art of storing protein pancakes, ensuring every bite remains as fluffy and flavorful as the first. We'll explore two primary methods: refrigeration for short-term storage and freezing for longer-term preservation. Learn the best practices for each, from proper packaging to optimal temperatures. Then, we'll tackle the art of reheating, ensuring your pancakes retain their texture and taste. Finally, we’ll address common issues you might encounter while storing protein pancakes, providing simple solutions to keep your protein pancake game strong. So, whether you're a seasoned protein pancake pro or a curious newbie, get ready to unlock the secrets to perfectly preserved protein pancakes! Let's dive into the delicious details of storing protein pancakes – because no delicious pancake should go to waste!
Refrigerating Your Protein Pancakes: The ShortTerm Solution

Refrigerating Your Protein Pancakes: The ShortTerm Solution
Refrigerating Your Protein Pancakes: The Short-Term Solution
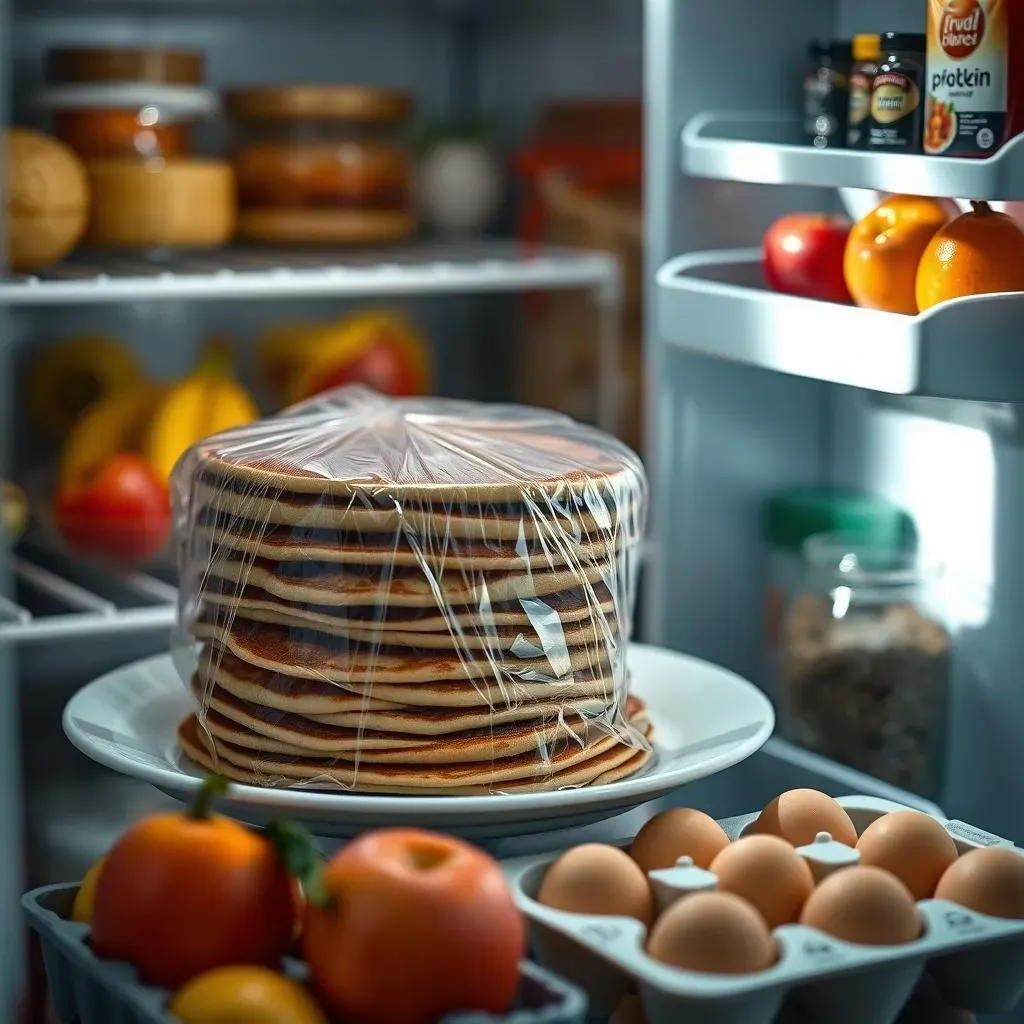
So, you've made a glorious stack of protein pancakes, but you're not quite ready to devour the whole lot. Refrigeration is your best friend for keeping those pancakes fresh and delicious for a few days. Think of your fridge as a pancake time machine, slowing down the march of staleness. The key here is proper storage. Don't just toss them onto a plate and shove them in; that's a recipe for disaster (and soggy pancakes). Instead, let them cool completely before storing them. This prevents condensation, which can make your pancakes sad and gummy.
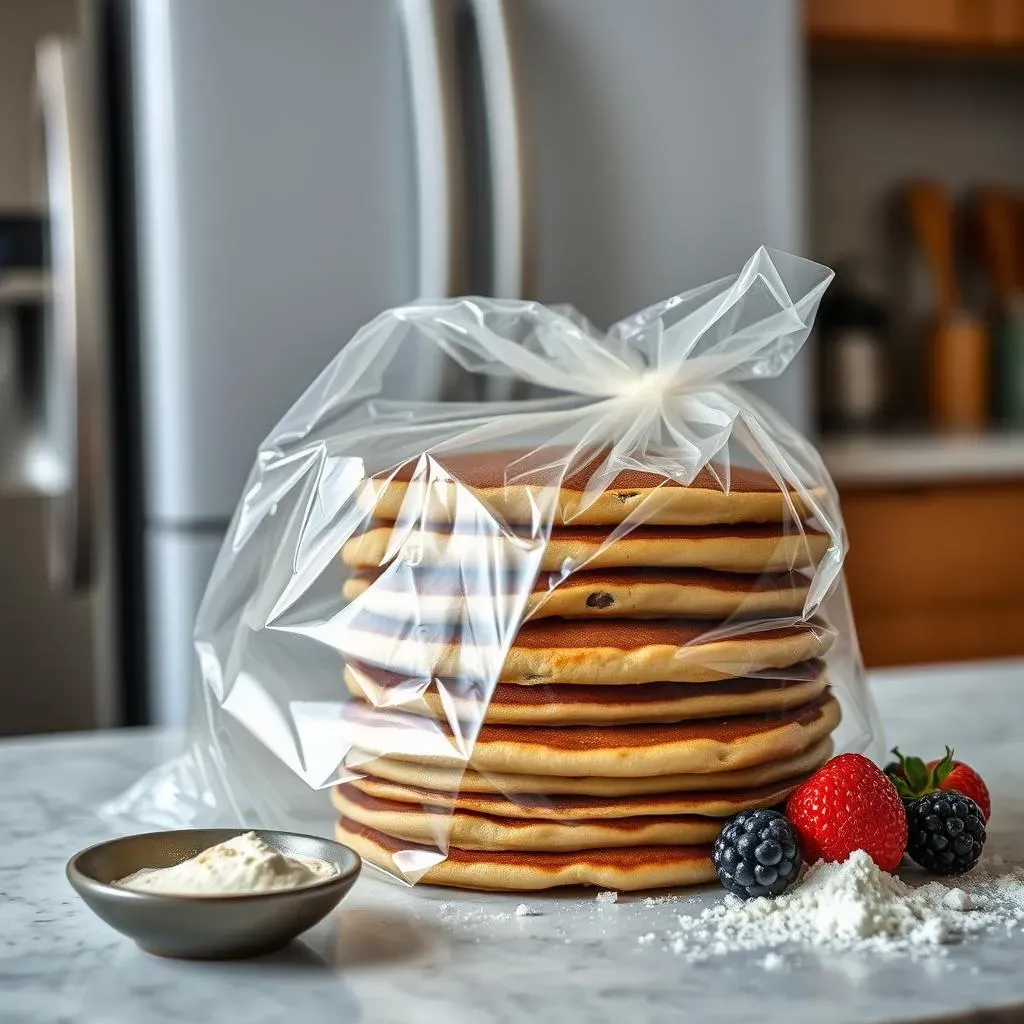
Once cooled, place your protein pancakes in an airtight container. A good quality container will keep out air and moisture, the enemies of fluffy pancakes. If you're short on containers, you can also wrap them tightly in plastic wrap or aluminum foil, but an airtight container is definitely the superior choice. And remember, even with the best storage, your protein pancakes are best enjoyed within 3-5 days of making them. After that, they start to lose their vibrancy. For longer storage, check out our guide on freezing protein pancakes for long-term preservation!
Storage Method | Shelf Life | Tips |
|---|---|---|
Airtight Container | 3-5 days | Ensure the container is completely sealed. |
Plastic Wrap/Aluminum Foil | 3-5 days | Wrap tightly to minimize air exposure. |
Now, let's talk about what kind of protein pancakes you might want to refrigerate. If you're looking for a quick and easy recipe, try our easy protein pancake recipe. It's a lifesaver on busy mornings. Or, if you're aiming for a healthier option, consider our healthy protein pancake recipe. It's packed with nutrients and will keep you feeling full and energized. And if you're watching your carb intake, don't miss our guide on low-carb protein pancake recipes!
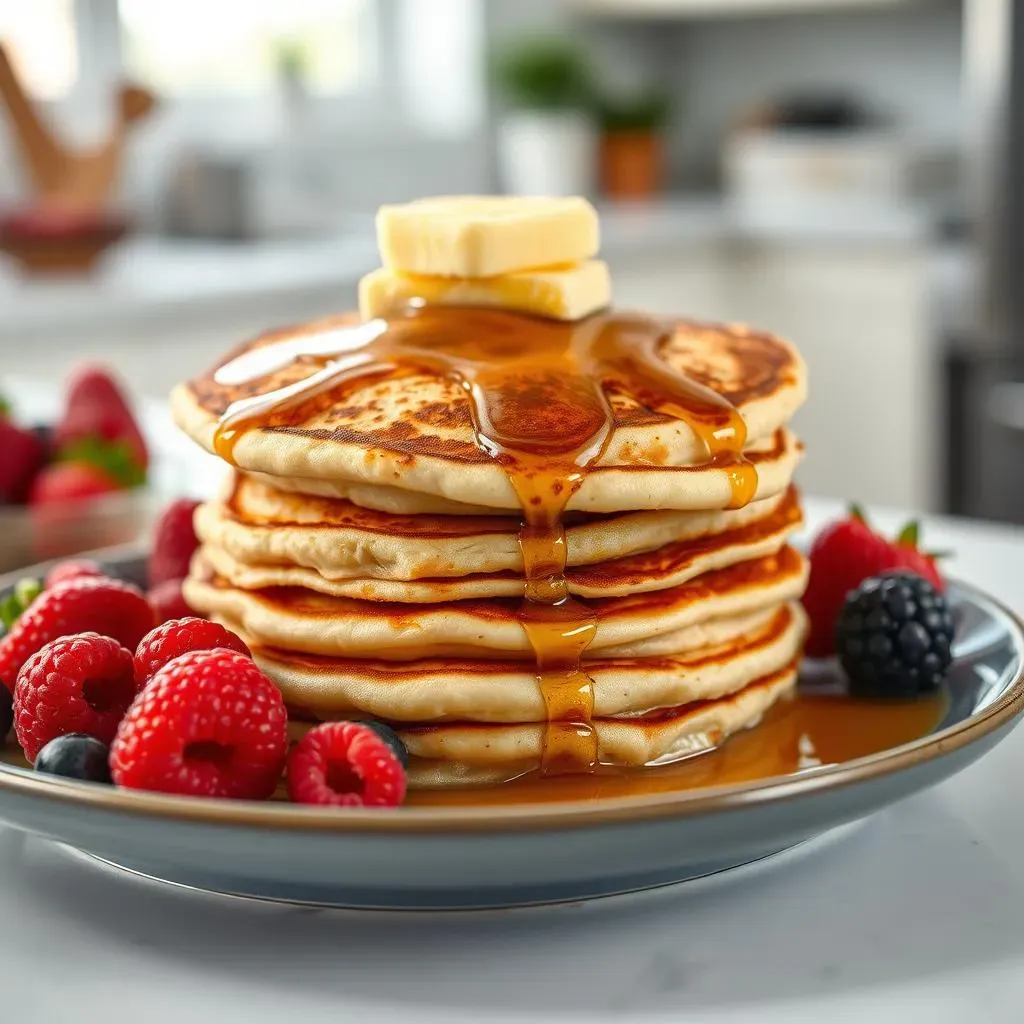
Remember, even the best-stored pancakes won’t last forever. Think of it like this: refrigerating your protein pancakes is a bit like putting your favorite toy in a protective case—it keeps it safe for a while, but it's not a permanent solution. For truly long-term storage, you'll want to explore freezing. But, for a few days of deliciousness, refrigeration is your reliable friend. And speaking of deliciousness, have you tried our protein pancake toppings guide? It's full of yummy ideas!
- Let pancakes cool completely before refrigerating.
- Use an airtight container for optimal freshness.
- Consume within 3-5 days for best quality.
Freezing Protein Pancakes: Your LongTerm Storage Strategy

Freezing Protein Pancakes: Your LongTerm Storage Strategy
Preparing Pancakes for the Freezer
Freezing your protein pancakes is like sending them on a delicious, slumber party. They'll be perfectly preserved until you're ready to enjoy them again. The key is to freeze them individually to avoid a giant, frozen pancake brick. Let your pancakes cool completely. Then, place them on a baking sheet lined with parchment paper. This prevents them from sticking together. Once frozen solid (about 2-3 hours), you can transfer them to a freezer-safe bag or container. This method makes grabbing a single or a couple of pancakes super easy!
For extra protection against freezer burn, consider wrapping each pancake individually in plastic wrap before placing them in a freezer bag. Think of it as giving each pancake its own cozy, protective blanket. This extra step can significantly extend their shelf life and keep them tasting their best. If you’re making a big batch for the week, check out our guide on making pre-made batch protein pancakes for easy meal prep! Proper freezing is your secret weapon against sad, freezer-burnt pancakes.
- Cool pancakes completely.
- Freeze individually on parchment paper.
- Transfer to freezer bag or container.
- Wrap individually in plastic wrap (optional).
Optimal Freezing and Storage
Once your protein pancakes are safely tucked away in the freezer, they can happily reside there for up to 2-3 months. Beyond that, they might start to lose some of their deliciousness, although they’ll still be safe to eat. Remember to label your freezer bag with the date, so you know exactly how long they've been in there. This helps you prioritize the oldest pancakes first, ensuring you don't let any go to waste. This is especially useful if you're whipping up different flavors or using various protein powders – like our whey protein pancake recipe versus our casein protein pancake recipe.
Consider the type of protein pancakes you're freezing. If you're using a recipe with fresh fruit, like our protein pancake recipe with berries, they might not hold up as well as plain pancakes in the freezer. Fresh fruit can sometimes become mushy after freezing. For long-term storage, simpler recipes tend to fare better. Also, be sure to use a freezer-safe container or bag, as some materials can become brittle and crack in the freezer. It's a small detail, but it makes a big difference in keeping your pancakes in tip-top shape.
Pancake Type | Freezing Time | Notes |
|---|---|---|
Plain Protein Pancakes | 2-3 months | Maintain quality best. |
Fruit-filled Protein Pancakes | 1-2 months | Fruit may become softer. |
Thawing and Reheating
When you’re ready for a protein pancake feast, you have a few options for thawing and reheating. For the quickest method, you can microwave your frozen pancakes directly from frozen. Just be careful not to overcook them; start with short bursts of 30 seconds and check for doneness. Over-microwaving can lead to rubbery pancakes, which is definitely not what we're aiming for. If you're not in a rush, you can thaw your pancakes overnight in the refrigerator. This method is gentler and often preserves the texture better.
Another great reheating method is to pop your pancakes in a toaster. This is a fantastic way to get a nice, crispy exterior while keeping the inside warm and fluffy. Alternatively, you can reheat them in a skillet over medium heat, adding a tiny pat of butter or oil for extra deliciousness. No matter which method you choose, be sure not to overcook your pancakes. A little care and attention during reheating will ensure your frozen protein pancakes are just as delicious as the day they were made. If you need more detailed instructions, check out our guide on freezing and reheating pancakes!
- Microwave (short bursts)
- Refrigerator thawing (overnight)
- Toaster
- Skillet (medium heat)
Reheating Protein Pancakes: Tips for Perfect Texture

Reheating Protein Pancakes: Tips for Perfect Texture
Microwave Reheating: Quick & Easy
The microwave's speed is tempting, but it can be tricky. Think of it as a high-powered heat gun – too much power, and your pancakes will end up rubbery. The secret? Short bursts! Start with 30 seconds, then check for doneness. If they need more time, add another 15-second burst and repeat until heated through. Avoid overcooking—we want warm, fluffy pancakes, not hockey pucks. For extra moisture, consider adding a few drops of water or milk to the plate before microwaving. This simple trick can help prevent dryness.
Remember, microwave power varies, so adjust times accordingly. A lower-wattage microwave might need longer heating times. This method is ideal for a quick breakfast when you're short on time. If you're making pancakes ahead for the week, you might find our pre-made batch protein pancake guide helpful! And for those who like a bit of extra sweetness, check out our protein pancake toppings suggestions.
- Use short bursts of 30 seconds.
- Add a few drops of water or milk for extra moisture.
- Adjust time based on microwave wattage.
Toaster Reheating: Crispy Perfection
For a crispy exterior and a warm, fluffy interior, the toaster is your friend! Simply pop your frozen protein pancakes in the toaster, just like you would a regular slice of bread. Keep an eye on them, as toasting times can vary depending on your toaster's power and the thickness of your pancakes. If you're unsure, start with a lower setting and increase the time as needed. This method is perfect for those who enjoy a slightly crispier pancake.
The toaster method is best for single-serving reheating. It's not ideal for reheating a large batch, as it can be a bit time-consuming. However, it's a quick and easy way to get a perfectly reheated pancake for a quick breakfast or snack. Want to make your pancakes extra special? Check out our protein pancake recipe with berries for a delicious twist! Or, for a more substantial breakfast, try our protein pancake recipe for muscle gain.
Reheating Method | Pros | Cons |
|---|---|---|
Toaster | Crispy exterior, quick | Not ideal for large batches |
Stovetop Reheating: The Classic Approach
For a truly classic approach, reheat your protein pancakes on the stovetop. Heat a lightly oiled skillet or griddle over medium heat. Place your frozen pancakes in the skillet and cook for 2-3 minutes per side, or until heated through and lightly browned. This method allows you to control the heat and achieve the perfect level of crispiness. You can also add a pat of butter to the skillet for extra flavor.
The stovetop method is versatile and great for reheating multiple pancakes at once. It allows you to customize your reheating process. If you prefer a softer pancake, reduce the heat and cook for a shorter time. For a crispier pancake, increase the heat slightly and cook for a longer time. For a fun variation, try our vegan protein pancake recipe! If you're looking for a mix that's already perfect, see our best protein pancake mix recommendations.
- Use medium heat.
- Cook for 2-3 minutes per side.
- Add butter for extra flavor.
Troubleshooting Common Protein Pancake Storage Issues

Troubleshooting Common Protein Pancake Storage Issues
Dealing with Soggy Pancakes
Nobody likes a soggy pancake. If your refrigerated protein pancakes have become a little less than stellar, the culprit is likely excess moisture. This can happen if you didn't let them cool completely before storing them or if your container wasn't airtight enough. Next time, make sure your pancakes are thoroughly cool before storing, and use a high-quality, airtight container. For future reference, check out our tips on making perfect protein pancakes to avoid this issue altogether!
Another factor contributing to sogginess is the type of protein powder you use. Some protein powders absorb more moisture than others. If you're noticing a pattern of soggy pancakes, experiment with different protein powders to see if that improves things. You might want to try our protein pancake mix comparison guide to find the best one for your needs. Remember, prevention is key. Proper cooling and airtight storage are your best defenses against soggy pancakes.
- Ensure complete cooling before storage.
- Use an airtight container.
- Experiment with different protein powders.
Tackling Freezer Burn
Freezer burn is the enemy of all frozen foods, and protein pancakes are no exception. It's characterized by those unsightly white patches and a slightly dry, less flavorful texture. The cause? Exposure to air. To prevent freezer burn, wrap each pancake individually in plastic wrap before placing them in a freezer bag. Think of it as a personal force field against freezer burn. This extra layer of protection is a game-changer.
If you've already experienced freezer burn, don't despair! While the texture might be slightly altered, the pancakes are still safe to eat. To minimize the impact, try reheating them gently on the stovetop or in the microwave, adding a little water or milk to restore some moisture. Next time, remember the importance of individual wrapping for those extra-delicious pancakes. For more information on freezing, check out our guide on freezing and reheating pancakes.
Problem | Cause | Solution |
|---|---|---|
Freezer Burn | Air exposure | Individual wrapping |
Dealing with Hard or Dry Pancakes
Sometimes, despite your best efforts, your protein pancakes might end up a little hard or dry. This often happens if they've been frozen for too long or if they've been reheated improperly. If your pancakes are a bit on the dry side, try adding a little moisture during reheating. A splash of milk or water in the microwave, or a pat of butter in the skillet, can make all the difference. Remember to use low heat for a gentle reheat.
Another thing to consider is the recipe itself. Some recipes are naturally drier than others. If you consistently find your pancakes are dry, experiment with different recipes or add a little extra liquid to your favorite recipe. Our guide on dry protein pancakes might offer some helpful insights. Don't be afraid to tweak recipes until you find the perfect balance of moisture and deliciousness. And, of course, proper storage and reheating techniques remain crucial.
- Add moisture during reheating.
- Use low heat for reheating.
- Experiment with different recipes.