Table of Contents
Tired of gluten-free pancakes that are more gummy than glorious? Do you dream of fluffy, golden-brown pancakes that rival your favorite diner's? Then get ready to ditch the disappointment and discover the secrets to pancake perfection! This article is your ultimate guide to mastering the art of gluten-free pancake making. We'll explore the science behind why gluten-free baking is unique, helping you understand the challenges and how to overcome them. You'll learn to select the ideal gluten-free flour blend, transforming your pancakes from dense and disappointing to light and airy. We'll then dive into the art of batter preparation, ensuring the perfect consistency for fluffy, delicious pancakes. Finally, we'll cover cooking techniques to achieve that coveted golden-brown crust and perfectly cooked interior. Get ready to unlock the secrets with our expert tips for making perfect gluten-free pancakes – your taste buds will thank you!
The Science of GlutenFree Baking: Why It's Different
The Science of GlutenFree Baking: Why It's Different
So, you're diving into gluten-free baking? Fantastic! But it's a whole different ballgame compared to regular baking. The key difference lies in gluten, or rather, the *lack* of it. Gluten, a protein found in wheat, barley, and rye, is what gives traditional baked goods their structure and chewiness. It creates a stretchy network that traps gases produced during rising, resulting in that light and fluffy texture we all love. Gluten-free flours, however, lack this crucial protein. This means they don't form the same strong gluten network, leading to potential challenges like crumbly textures and a lack of rise. That's why understanding gluten-free flour blends is so crucial – and we'll get to that in the next section.
Think of it like building a house: Gluten is like the strong steel beams that hold everything together. Without it, you need alternative supports. This is where starches and binders come in. Starches like tapioca and potato starch provide some structure, while binders like xanthan gum or guar gum mimic gluten's ability to hold things together. Getting the right balance of these ingredients is where the magic happens. A good gluten-free flour blend already does this for you, but it's good to know why they're in there! If you're feeling adventurous and want to make your own blend from scratch, check out our gluten-free pancakes from scratch guide – but be warned, it's a bit more complex!
Ingredient | Role in Gluten-Free Baking |
|---|---|
Gluten (in wheat flour) | Forms a stretchy network, providing structure and rise. |
Starches (tapioca, potato) | Contribute to texture and some structure. |
Binders (xanthan gum, guar gum) | Help hold ingredients together, mimicking gluten's function. |
One common misconception is that all gluten-free flours are created equal. They're not! Different gluten-free flours behave differently. Almond flour, for example, is naturally quite absorbent, while rice flour can be quite dry. This is why using a pre-mixed blend is often recommended, especially for beginners. It's all about finding the right blend that works for you and your recipe. Need help choosing? Check out our guide to the best gluten-free pancake mixes!
Another key aspect is moisture. Gluten-free batters tend to absorb more liquid than traditional batters. This is partly due to the lack of gluten’s binding properties. Therefore, you might need to adjust liquid amounts in your recipe, depending on the specific flour blend you're using. Too much liquid can lead to soggy pancakes, while too little can result in dry, crumbly ones. It's all about finding that sweet spot, and a little experimentation often goes a long way. Don't be afraid to try different approaches until you find your perfect consistency. For a quick and easy recipe, try our easy gluten-free pancake recipe.
- Experiment with different gluten-free flour blends.
- Adjust liquid amounts based on the flour blend.
- Don't be afraid to tweak recipes until you find what works best for you.
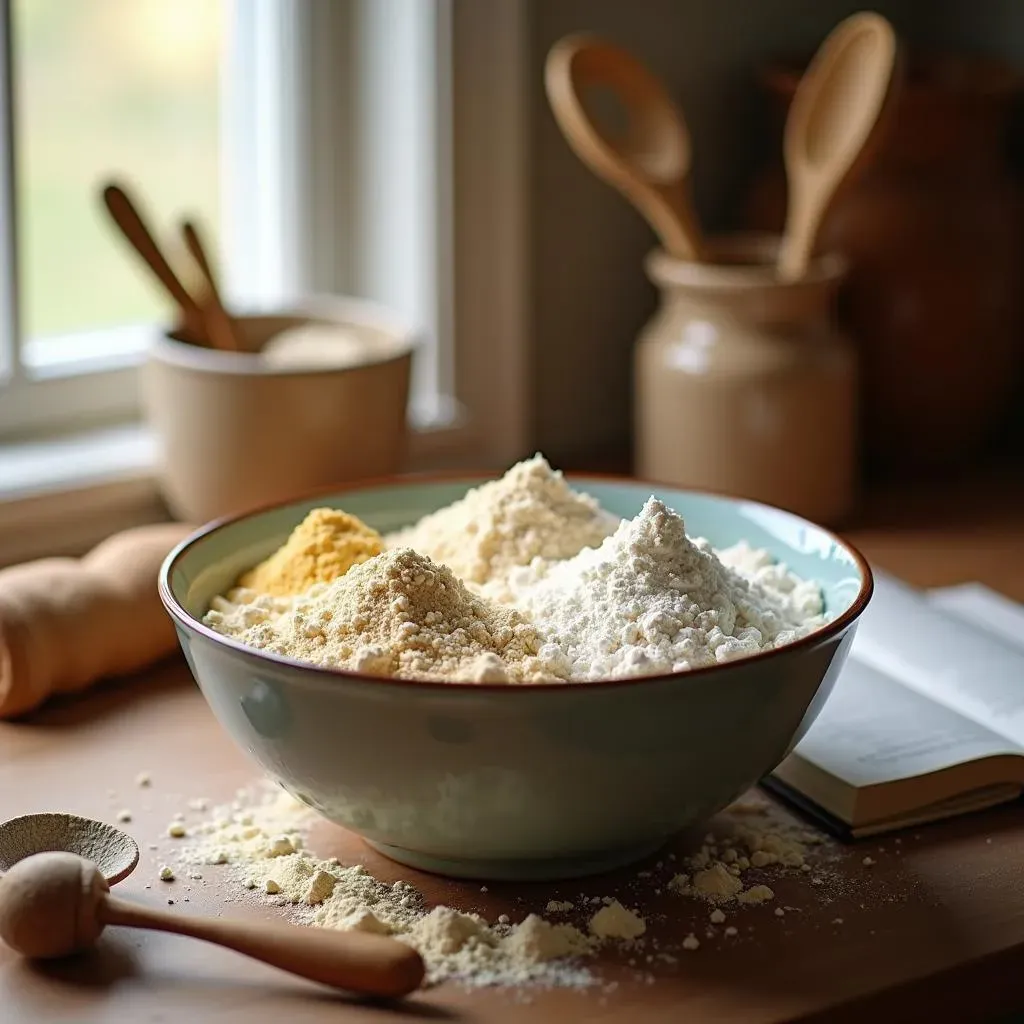
Choosing the Right GlutenFree Flour Blend: A Pancake Powerhouse
Choosing the Right GlutenFree Flour Blend: A Pancake Powerhouse
Understanding Gluten-Free Flour Blends
Okay, let's talk flour blends – the backbone of any successful gluten-free pancake. Forget the days of single-flour disasters! Pre-mixed gluten-free blends are your best friend. They’re carefully formulated to combine different flours, starches, and gums to create a balanced mix that mimics the properties of wheat flour as closely as possible. Why is this so important? Because different flours have different properties. Rice flour, for example, can be quite dry, while almond flour is super absorbent. A good blend addresses these issues, creating a consistently reliable result. Want to explore your options? Check out our comparison of different gluten-free pancake mixes to find your perfect match.
Think of it like a well-orchestrated team. Each flour brings its unique strengths to the table. One might provide structure, another adds moisture, and a third contributes to that light and fluffy texture. It’s the synergy of these ingredients that makes all the difference. Using a blend specifically designed for pancakes ensures you're starting with the right foundation for success. For those who prefer to make their own mixes, you may want to check out our top-rated gluten-free pancake mix review for some inspiration.
Flour Type | Key Properties | Contribution to Pancakes |
|---|---|---|
Rice Flour | Light, slightly sweet | Adds lightness and some structure |
Tapioca Starch | Adds moisture and chewiness | Creates a tender crumb |
Potato Starch | Lightweight and fluffy | Enhances fluffiness and lightness |
Xanthan Gum | Binder | Provides structure and holds the batter together |
Choosing the Best Blend for Your Pancakes
Now, how do you choose the *right* blend? Read the label carefully! Look for blends specifically formulated for pancakes or waffles. These blends usually have a higher proportion of starches to ensure a light and fluffy texture. You'll also want to pay attention to the ingredients – look for a good balance of different flours and starches, and ensure it contains a binder like xanthan gum. This little ingredient is a game-changer! It acts as a replacement for gluten, helping to bind the ingredients together and prevent crumbly pancakes. Without it, your pancakes might be a bit dry and fall apart.
Don't be afraid to experiment! There's no one-size-fits-all answer. What works for one person might not work for another. Try a few different blends until you find one that consistently produces pancakes you love. You could even try adding some extra flavor by exploring different flour options. For instance, a bit of almond flour can add a delightful nutty flavor to your pancakes. For some more ideas, you might want to check out our almond flour pancake recipe. Happy experimenting!
- Look for blends specifically designed for pancakes.
- Check the ingredient list for a good balance of flours and starches.
- Make sure the blend contains xanthan gum or a similar binder.
- Experiment with different blends to find your favorite!
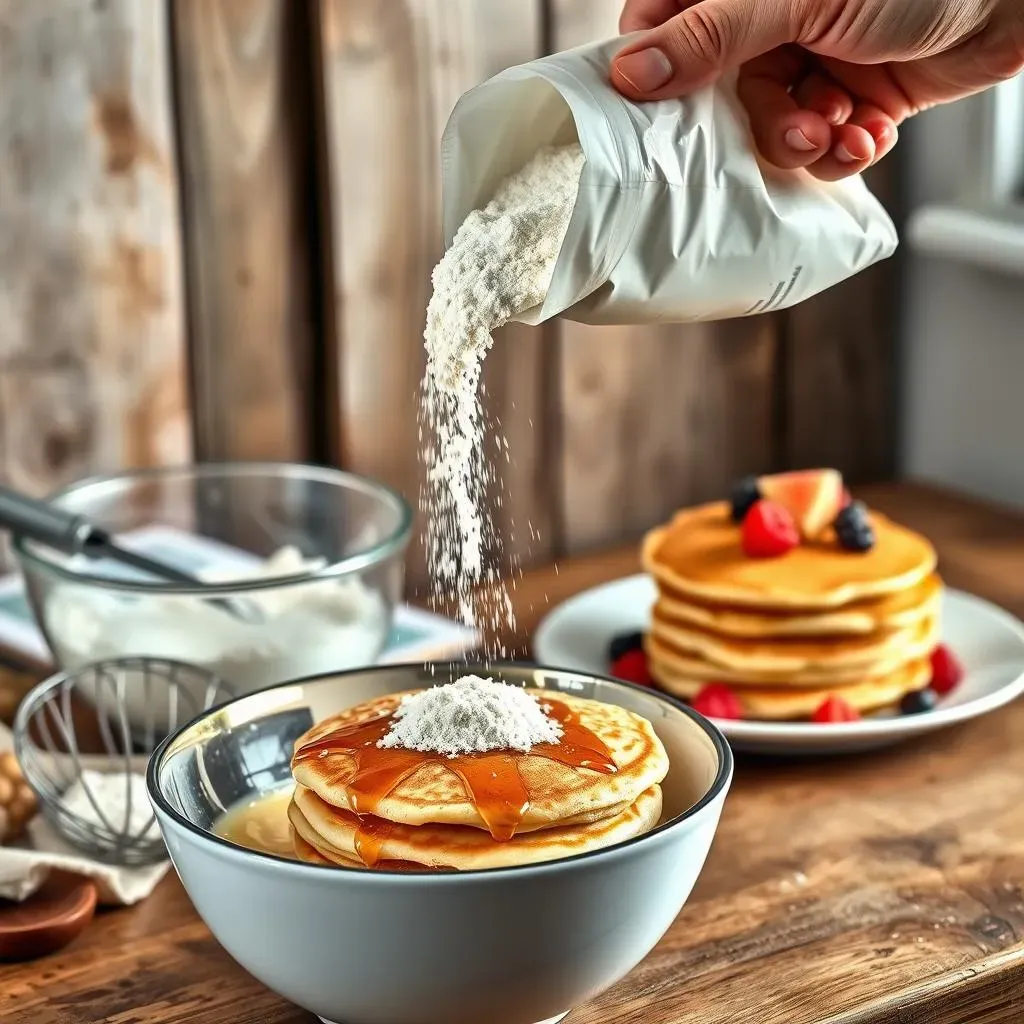
Mastering the GlutenFree Pancake Batter: Consistency is Key
Mastering the GlutenFree Pancake Batter: Consistency is Key
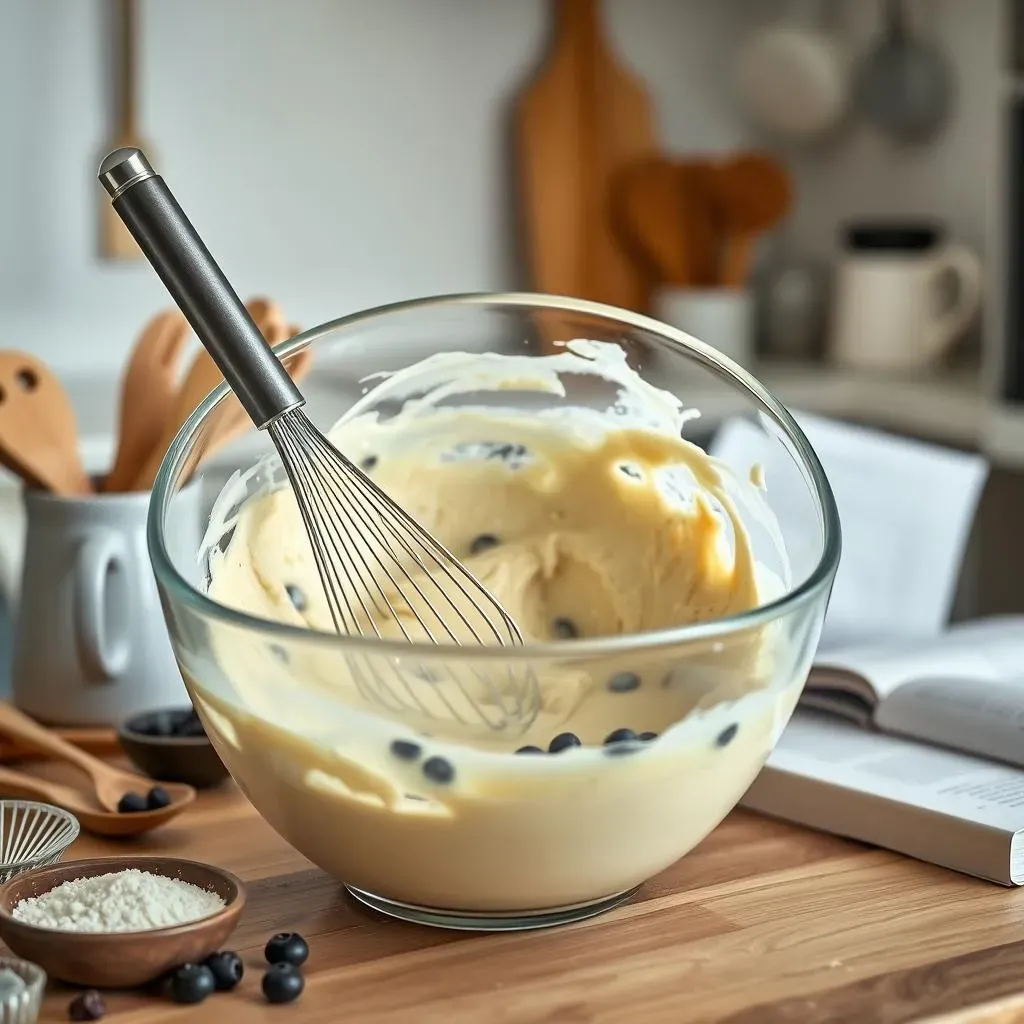
The Whisking Wonder: Combining Wet and Dry Ingredients
Alright, let's get our hands messy! Mixing the gluten-free pancake batter is a bit of a dance. You want to avoid overmixing, which can lead to tough pancakes, but you also need to ensure everything is well combined. The best approach is to whisk the dry ingredients separately first – this avoids lumps and ensures even distribution of the leavening agents. Then, gently whisk in the wet ingredients, adding them gradually. The goal is a smooth batter with just a few small lumps – think of it as a slightly lumpy milkshake, not a concrete smoothie. A few lumps are okay; they add character! For a fool-proof method, you can check out our easy gluten-free pancake recipe for step-by-step instructions.
Think of it like making a perfect vinaigrette. You wouldn't just dump everything in at once, would you? No, you gently whisk the oil and vinegar together until they emulsify. It's the same principle here. Gentle whisking ensures a smooth batter, preventing dry patches or overly dense pancakes. For those who struggle with getting the perfect consistency, there is a guide on why your gluten-free pancakes might be gummy and how to fix it.
- Whisk dry ingredients separately to avoid lumps.
- Gradually add wet ingredients, whisking gently.
- Aim for a smooth batter with a few small lumps.
Resting is Best: Letting the Batter Do Its Thing
Once you've mixed your batter, don't rush to the griddle! Let the batter rest for at least 5-10 minutes. This allows the gluten-free flour blend to fully hydrate. This is crucial because gluten-free flours absorb liquid differently than wheat flour. Giving the batter time to rest ensures that the flour absorbs enough moisture, resulting in a more tender and less crumbly pancake. It’s a simple step that makes a world of difference. Trust me on this one. For more tips and tricks on achieving the perfect consistency, you can check out our guide on tips for making perfect gluten-free pancakes.
Imagine it like this: The flour is thirsty. It needs time to drink up the liquid. If you cook it immediately, it'll be dry and unhappy. But if you give it a little time to hydrate, it'll be happy and ready to create fluffy, delicious pancakes. This resting period also allows the starches and binders in the flour blend to work their magic, creating a more cohesive batter. The result? Pancakes that are light, fluffy, and less likely to fall apart. If you're short on time, try our gluten-free pancake recipe for one which is quick and easy.
Resting Time | Benefit |
|---|---|
5-10 minutes | Allows flour to fully hydrate, resulting in tender pancakes. |
Longer (up to 30 minutes) | Can enhance flavor development, particularly with buttermilk. |
The Final Flourish: Adding Mix-Ins and Flavor
Now for the fun part – adding your favorite mix-ins! Whether it's blueberries, chocolate chips, or bananas, this is where you get to personalize your pancakes. But remember, don't add too many mix-ins, as they can make the batter heavy and affect the texture. Add them gently, folding them into the batter rather than vigorously stirring. A gentle fold is key to preventing the mix-ins from sinking to the bottom of the pancake. For a healthy and delicious option, try our healthy gluten-free pancake recipe which incorporates fruits and vegetables.
If you're feeling adventurous, you can also experiment with different flavorings. A touch of vanilla extract, cinnamon, or even a splash of lemon juice can add a delightful twist to your pancakes. Just remember to add these flavorings *after* the batter has rested, so they don't interfere with the hydration process. For some fun and unique recipes, you can check out our banana pancake recipe or our coconut flour pancake recipe
- Add mix-ins gently, folding them into the batter.
- Avoid adding too many mix-ins, which can make the batter heavy.
- Experiment with different flavorings to personalize your pancakes.
Cooking Like a Pro: Achieving Perfectly GoldenBrown Pancakes
Cooking Like a Pro: Achieving Perfectly GoldenBrown Pancakes
Griddle Gold: Mastering the Cooking Process
Now comes the moment of truth: cooking your pancakes! The key here is to get your griddle or pan nice and hot, but not *too* hot. Medium-low heat is usually ideal. If it's too hot, your pancakes will burn on the outside before they cook through on the inside. Too low, and they'll be soggy and sad. Think of it like Goldilocks and the Three Bears – you want that "just right" temperature. A lightly oiled surface prevents sticking and ensures a nice, even browning. You can use a non-stick pan or lightly grease your griddle with butter or oil. For more tips and tricks, you might want to check out our tips for making perfect gluten-free pancakes.
Pour your batter onto the hot surface, using a 1/4 cup measuring cup for consistent size. Don't overcrowd the pan; give each pancake enough space to spread out. Once you see bubbles forming on the surface and the edges start to look set, it's time to flip! Use a spatula to gently flip the pancakes, ensuring they cook evenly on both sides. This usually takes about 2-3 minutes per side, but it will depend on your heat. For some more advanced tips, check out our common gluten-free pancake mistakes and how to avoid them.
- Use medium-low heat to prevent burning.
- Lightly oil the cooking surface.
- Don't overcrowd the pan.
- Flip pancakes when bubbles form and edges are set.
The Flip Side: Achieving Even Cooking
Flipping pancakes is an art form. You want to do it gently and confidently, using a thin spatula to slide under the pancake and flip it over. Don't press down too hard, as this can crush the pancake and make it flat. A gentle lift and flip is all you need. Watch for those tell-tale signs: golden-brown edges and bubbles forming on the surface indicate it's time to flip. If your pancakes are sticking, you might want to add a bit more oil to the pan. If they're burning too quickly, lower the heat.
Once flipped, continue cooking until the other side is golden brown and cooked through. You should be able to easily pierce the center with a fork or toothpick without any resistance. If the center is still gooey, cook for a little longer. If the pancake is burning before the inside is cooked, lower the heat. It's all about finding that perfect balance of heat and cooking time. For those who like to experiment with different cooking methods, check out our gluten-free pancakes vs regular pancakes guide for some inspiration.
Sign | Action |
|---|---|
Golden-brown edges | Ready to flip |
Bubbles on the surface | Ready to flip |
Sticking to the pan | Add more oil |
Burning | Lower the heat |
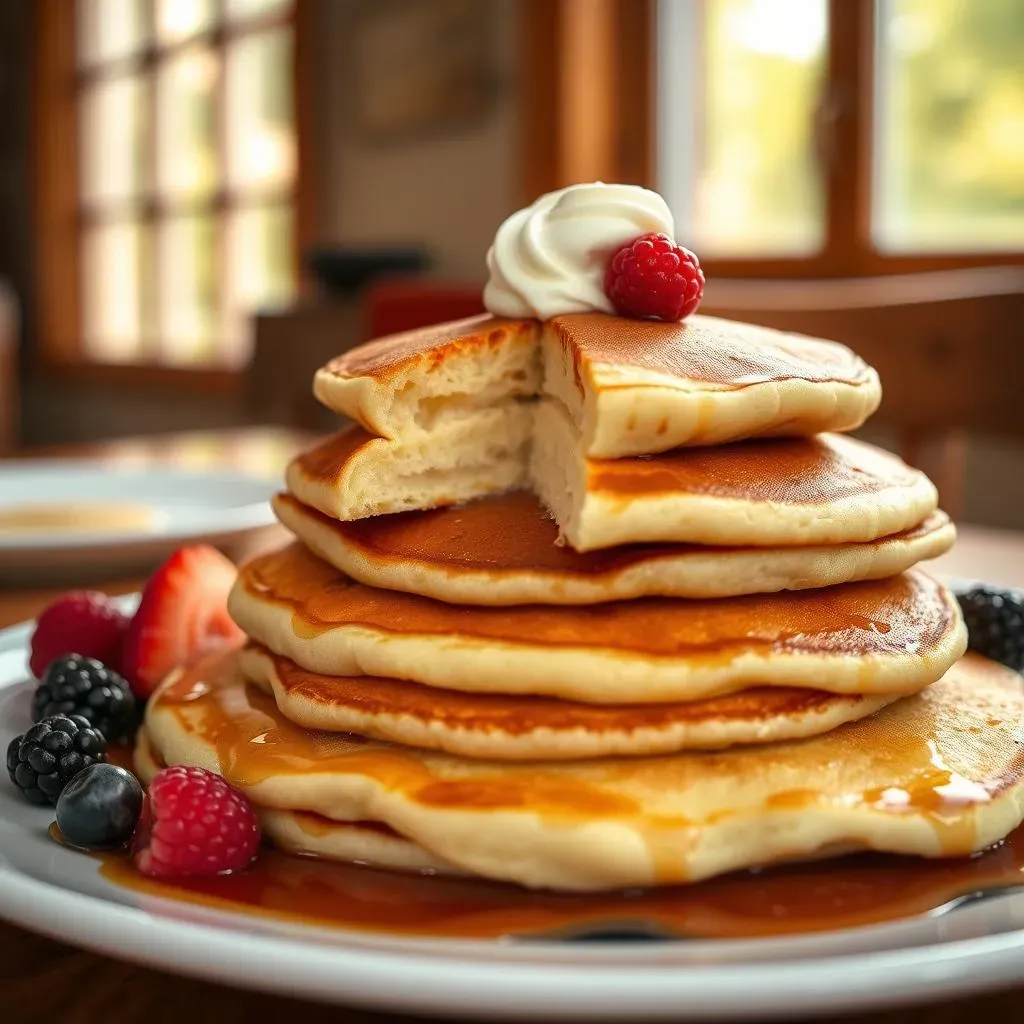
Stack 'em High: Serving and Storage
Congratulations! You've cooked your perfect gluten-free pancakes. Now, the best part: enjoying them! Serve them immediately while they're warm and fluffy. Top them with your favorite toppings – maple syrup, fresh fruit, whipped cream – whatever your heart desires! For some topping ideas, you can check out our gluten-free pancake toppings guide. Leftover pancakes can be stored in an airtight container in the refrigerator for up to 3 days or frozen for longer storage. To reheat, simply microwave or toast them.
Remember, practice makes perfect! Don't be discouraged if your first attempt isn't flawless. Keep experimenting with different flour blends, cooking temperatures, and techniques until you find what works best for you. The journey to pancake perfection is a delicious one. And if you need a little extra help, there's a complete guide on storing gluten-free pancakes and reheating gluten-free pancakes to keep them fresh and delicious.