Table of Contents
Are you ready to ditch the sugary, processed pancake mixes and embrace the fluffy goodness of homemade, healthy pancakes? This article is your ultimate guide to mastering the art of making perfect healthy pancakes. We'll explore everything from selecting the best ingredients to achieving that golden-brown, perfectly cooked finish. Forget those flat, dense disappointments – we're about to unlock the secrets to light, airy pancakes that are both delicious and nutritious. Get ready to discover simple yet effective tips for making perfect healthy pancakes, perfect for weekend brunches or a quick weekday breakfast. We'll cover choosing the right flours, mastering the perfect batter consistency, achieving even cooking on the griddle, and even suggest some creative and healthy topping ideas to elevate your pancake game. Whether you're a seasoned pancake chef or a complete beginner, this guide will equip you with the knowledge and confidence to create healthy pancakes that will impress your family and friends. Let's get started on your journey to pancake perfection!
Choosing the Right Ingredients: Flour Power and Sweeteners

Choosing the Right Ingredients: Flour Power and Sweeteners
Flour Power: Whole Grains and Beyond
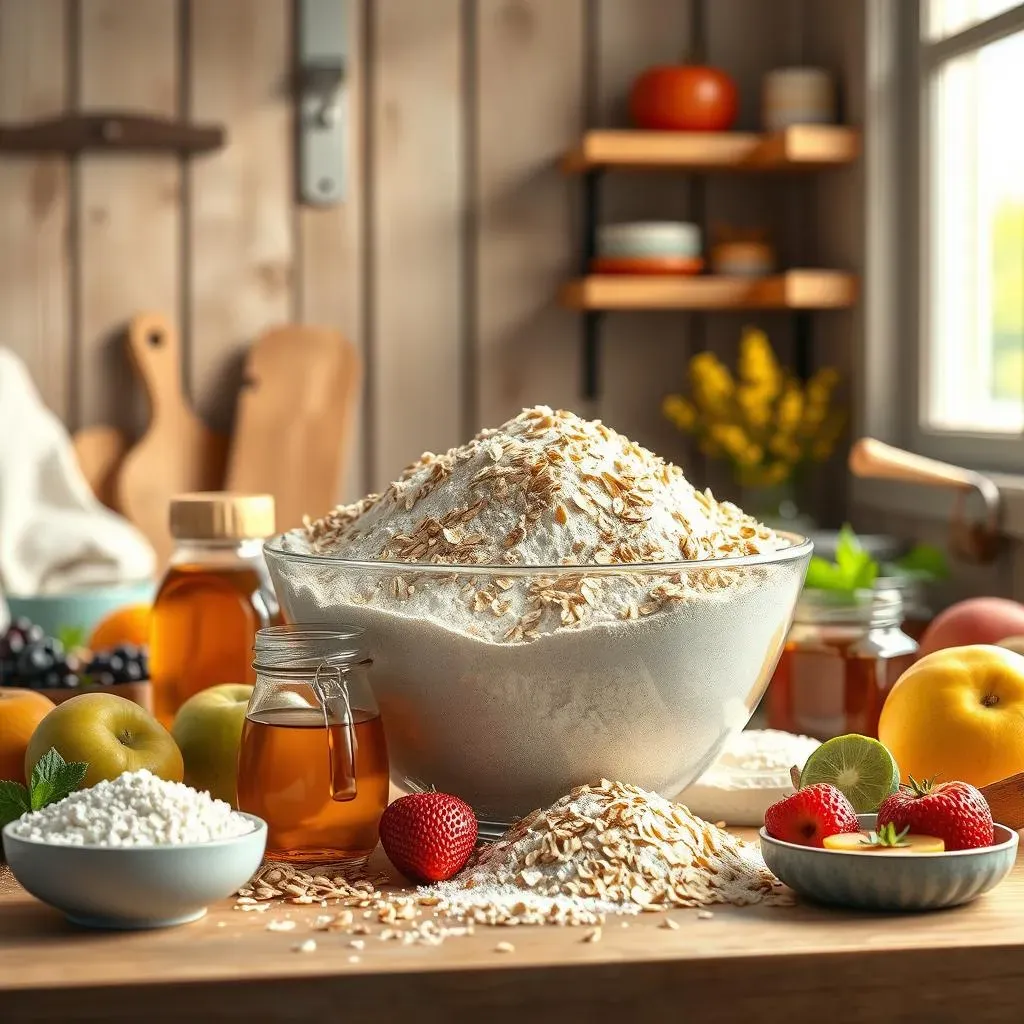
Let's talk flour! For healthy pancakes, ditch the refined white flour. It's nutritionally empty and leads to pancakes that are fluffy for about 5 minutes before turning into a lead weight in your stomach. Instead, embrace the goodness of whole wheat flour. It adds fiber, making your pancakes more filling and satisfying. You can also experiment with other whole grains like oat flour or even almond flour for a unique flavor and texture. Check out our almond flour pancake recipe for a delicious twist!
Don't be afraid to get creative! Blending different flours can create amazing results. For instance, a mix of whole wheat and oat flour provides a nice balance of texture and flavor. You could even add a touch of buckwheat flour for a slightly nutty taste. Remember, experimentation is key to finding your perfect pancake flour blend!
Flour Type | Nutritional Benefits | Pancake Texture |
|---|---|---|
Whole Wheat | High in fiber | Slightly denser, more wholesome |
Oat Flour | Good source of fiber and protein | Naturally sweet, slightly crumbly |
Almond Flour | High in healthy fats | Light and airy, slightly nutty |
Sweetening the Deal: Natural Alternatives to Refined Sugar
Now, let's talk sweetness. Refined sugar is a pancake villain. It provides a quick sugar rush followed by an energy crash. Instead, opt for natural sweeteners like maple syrup, honey, or even mashed banana or applesauce. These add natural sweetness and moisture to your batter, enhancing the overall flavor profile. For a truly sugar-free option, explore our sugar-free pancake recipe!
Remember, moderation is key. Even natural sweeteners should be used sparingly. Start with a small amount and adjust to your taste preference. The goal is to create a pancake that is subtly sweet, not overwhelmingly sugary. A little sweetness goes a long way!
- Maple Syrup: Adds a rich, buttery flavor.
- Honey: Offers a slightly floral sweetness.
- Mashed Banana: Provides natural sweetness and moisture.
- Applesauce: Adds moisture and a subtle sweetness.
Beyond the Basics: Enhancing Flavor and Nutrition
Don't stop at flour and sweetener! Think about adding ingredients that boost both the taste and the nutritional value of your pancakes. A pinch of cinnamon adds warmth and spice. A handful of blueberries or chopped nuts provides extra fiber and antioxidants. You can even incorporate spices like nutmeg or cardamom for a unique flavor profile. For more inspiration, check out our pancake recipe with fruit!
Consider adding a dollop of Greek yogurt to your batter for a protein boost. This also adds moisture and richness to the pancakes. Experiment with different additions to find your perfect pancake recipe. The possibilities are endless! Remember, healthy pancakes don't have to be boring.
Mixing Like a Pro: Mastering the Batter

Mixing Like a Pro: Mastering the Batter
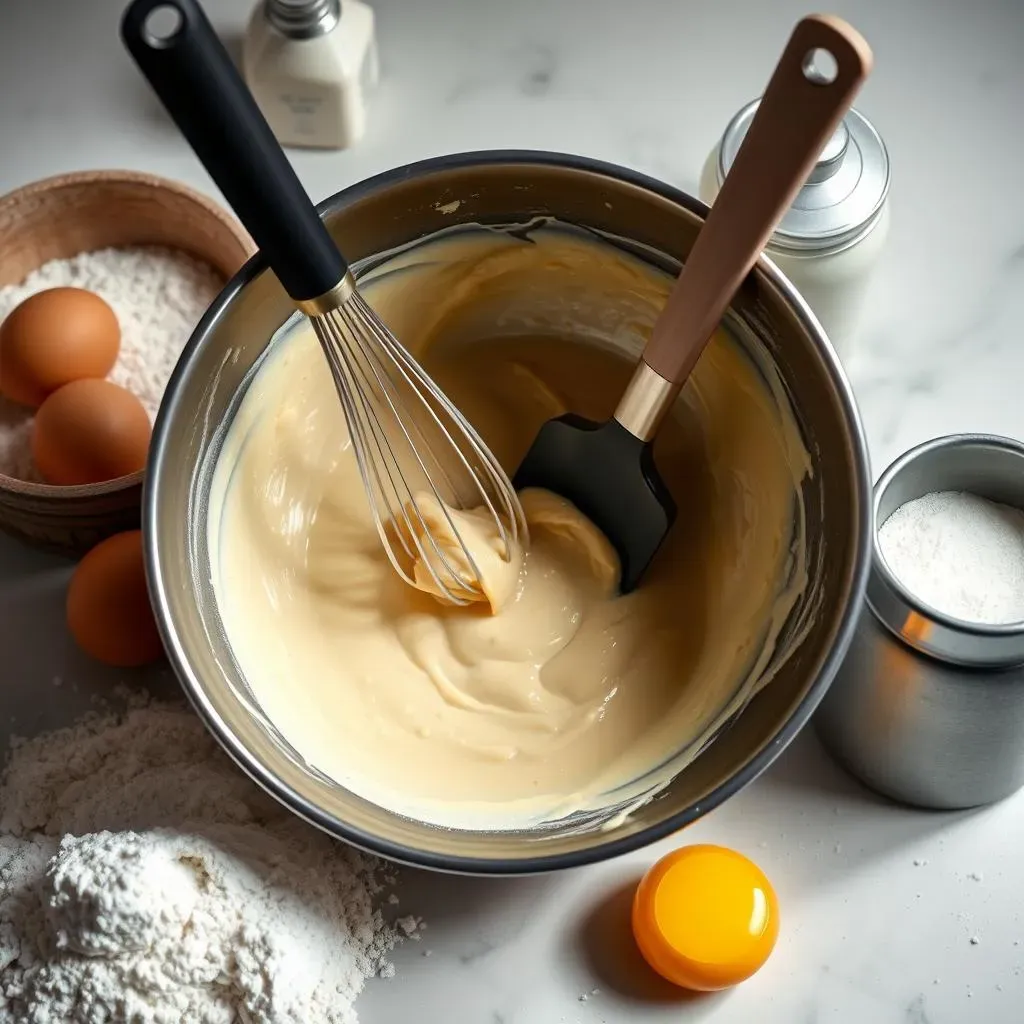
Mixing your pancake batter is more than just throwing ingredients together; it's an art! The key is to gently combine the wet and dry ingredients until just combined. Overmixing develops gluten, leading to tough, rubbery pancakes—nobody wants that! Think of it like this: you're not trying to make a workout for your batter, you're trying to create a happy, fluffy cloud of pancake goodness. A few lumps are perfectly acceptable; in fact, they're your friends! Aim for a smooth batter, but don't stress about achieving absolute perfection. For a super easy recipe, check out our easy healthy pancake recipe.
Start by whisking together your dry ingredients – flour, baking powder, baking soda, and salt. This ensures even distribution, preventing pockets of baking powder from creating weirdly puffy spots. Then, in a separate bowl, whisk together your wet ingredients – milk (dairy or non-dairy), eggs (or flax eggs for vegan options), and your chosen sweetener. Gently pour the wet ingredients into the dry ingredients, folding them together with a spatula. Don't go crazy with the mixing; a few gentle folds are all it takes. Overmixing is the enemy of fluffy pancakes! For those with dietary restrictions, we have a great pancake recipe for diabetics that you might like.
- Whisk dry ingredients separately.
- Whisk wet ingredients separately.
- Gently fold wet into dry – don't overmix!
Let's talk about the importance of letting your batter rest. This allows the gluten to relax, resulting in lighter and fluffier pancakes. Five to ten minutes is usually sufficient. While your batter rests, you can prep your toppings or get your griddle heated up. This little pause makes a big difference in the final product. For more advanced techniques, check out our guide on avoiding common healthy pancake mistakes.
Before you start cooking, give your batter one last gentle stir. This ensures everything is evenly distributed after resting. Now you’re ready to create pancake magic! Remember, patience and a light hand are your secret weapons to achieving the perfect batter consistency. Don't rush the process; take your time and enjoy the journey. Making pancakes should be fun!
Step | Action | Tip |
|---|---|---|
1 | Whisk dry ingredients | Ensure even distribution |
2 | Whisk wet ingredients | Avoid overmixing |
3 | Gently fold wet into dry | A few lumps are okay |
4 | Let batter rest (5-10 mins) | Relax the gluten |
Cooking to Perfection: Griddle Glory

Cooking to Perfection: Griddle Glory
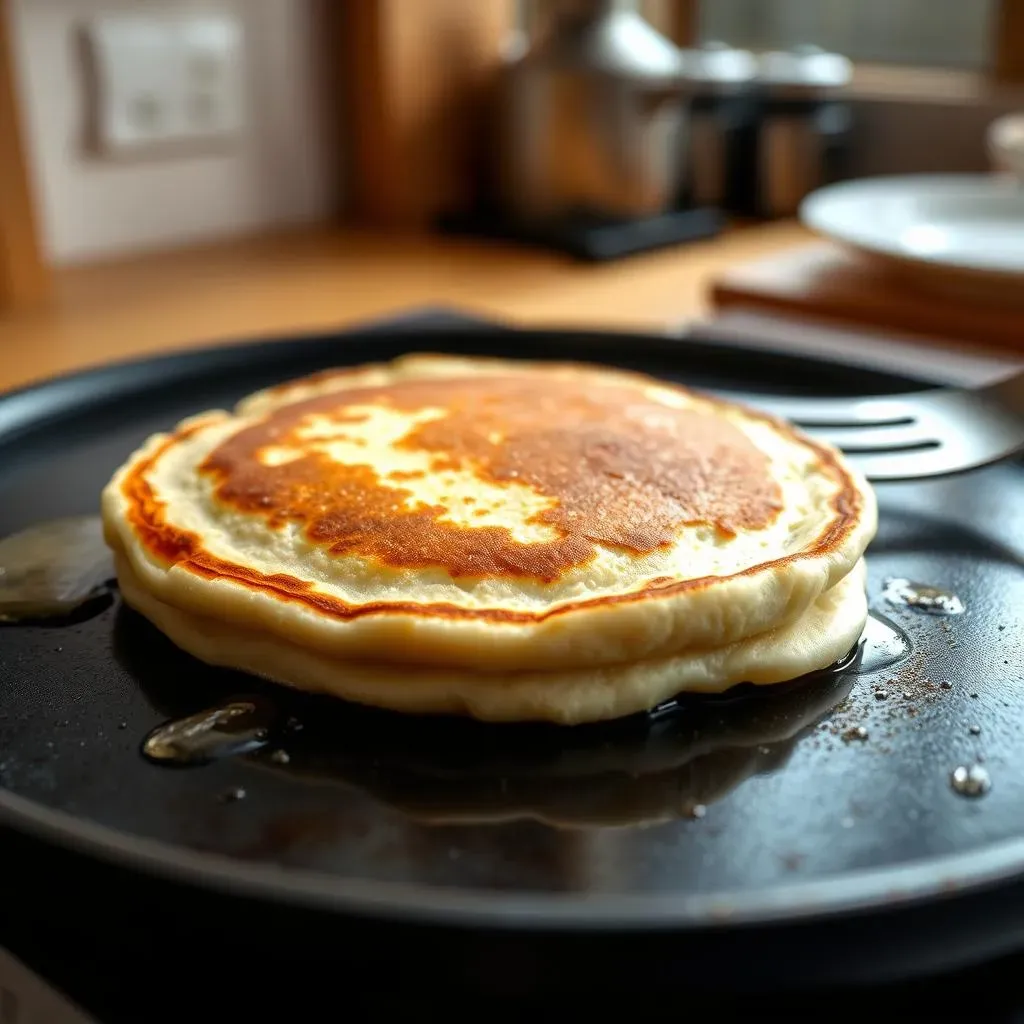
Griddle time! The secret to perfectly cooked pancakes lies in a hot, lightly oiled griddle. Don't skimp on the heat; a medium-high heat is ideal. This ensures your pancakes cook evenly and develop that beautiful golden-brown crust. If your griddle isn't hot enough, your pancakes will absorb too much oil and become greasy. Too hot, and they'll burn on the outside before cooking through on the inside. Aim for that sweet spot!
Lightly oil your griddle with a neutral-flavored oil like canola or vegetable oil. Don't use butter; it burns too easily at high temperatures. Use a paper towel or a pastry brush to apply a thin, even layer of oil. Avoid using too much oil; you're aiming for a light coating, not a swimming pool for your pancakes. For even more tips on getting perfect pancakes, check out our article on common pancake mistakes to avoid.
- Medium-high heat
- Lightly oiled griddle
- Neutral-flavored oil
Pour your batter onto the hot griddle using a 1/4 cup measuring cup for consistently sized pancakes. Leave a little space between each pancake to allow for even cooking and expansion. Once you see bubbles forming on the surface of the pancake, it's time to flip. Use a thin spatula to gently lift the edge of the pancake; if it easily releases from the griddle, it's ready to flip. If it sticks, give it another minute or two.
Cook the pancakes for another minute or two on the other side, or until they're golden brown and cooked through. You can check for doneness by inserting a toothpick into the center of a pancake; if it comes out clean, it's ready. If you prefer a slightly chewier pancake, cook them a little longer. For those who are looking for a quick breakfast option, we suggest checking out our healthy pancake recipe for breakfast.
Sign | Action |
|---|---|
Bubbles forming | Flip the pancake |
Golden brown | Pancake is cooked |
Toothpick comes out clean | Pancake is cooked through |
Once cooked, transfer your pancakes to a plate or wire rack to cool slightly before serving. If you're making a large batch, keep the cooked pancakes warm in a low oven (around 200°F) while you finish cooking the rest. This prevents them from getting cold and soggy. Remember, the key is to cook each pancake evenly and to the desired level of doneness. Don't overcrowd the griddle; work in batches to ensure even cooking.
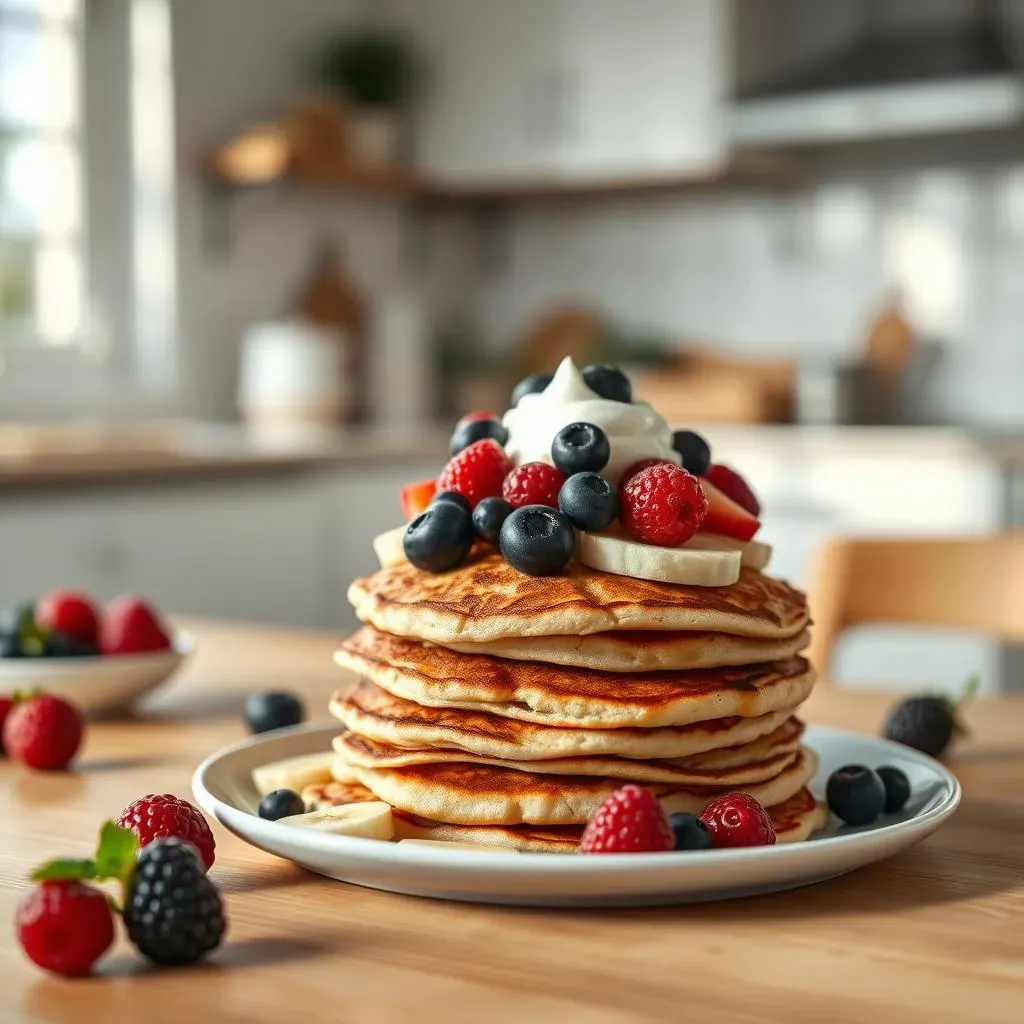
And there you have it—perfectly cooked healthy pancakes! Now, it's time to get creative with your toppings. From fresh fruit and a dollop of Greek yogurt to a sprinkle of cinnamon and a drizzle of maple syrup, the possibilities are endless! For some inspiration, check out our guide to healthy pancake toppings. Enjoy your delicious and healthy breakfast!
Creative Toppings and Storage Solutions: Pancake Paradise

Creative Toppings and Storage Solutions: Pancake Paradise
Sweet & Savory Toppings: A Pancake Extravaganza
Let's talk toppings! The beauty of healthy pancakes is their versatility. Forget the sugary syrup overload; think fresh, flavorful additions that enhance your pancake experience. Fresh berries burst with juicy sweetness and provide a dose of antioxidants. Sliced bananas add natural sweetness and a creamy texture. A dollop of Greek yogurt adds a tangy twist and a protein boost. For a more decadent treat, consider a sprinkle of chopped nuts – almonds, walnuts, or pecans—for added crunch and healthy fats.
Don't be afraid to experiment with savory toppings! A drizzle of honey with a sprinkle of cinnamon is a classic combination. A smear of nut butter adds richness and protein. Consider adding some sliced avocado for a healthy fat boost and a creamy texture. For even more topping ideas, check out our comprehensive guide to healthy pancake toppings. The possibilities are endless!
- Fresh Berries (strawberries, blueberries, raspberries)
- Sliced Bananas
- Greek Yogurt
- Chopped Nuts (almonds, walnuts, pecans)
- Nut Butter
- Sliced Avocado
Storage Strategies: Keeping Your Pancakes Fresh
So, you've made a delicious batch of healthy pancakes – now what? Proper storage is key to maintaining their freshness and deliciousness. For short-term storage (1-2 days), store your pancakes in an airtight container in the refrigerator. This helps prevent them from drying out. When you're ready to reheat them, simply pop them in the microwave or toaster for a quick and easy breakfast.
For longer-term storage (up to 3 months), consider freezing your pancakes. Allow them to cool completely, then wrap them individually in plastic wrap and then place them in a freezer-safe bag or container. This prevents freezer burn and ensures they remain delicious even after several weeks. When ready to enjoy, simply thaw them overnight in the refrigerator or reheat them from frozen in the toaster or microwave. For a detailed guide, check out our ultimate guide to storing healthy pancakes!
Storage Method | Duration | Instructions |
|---|---|---|
Refrigerator | 1-2 days | Airtight container |
Freezer | Up to 3 months | Wrap individually, then freeze |
Pancake Make-Ahead Magic: Prep for a Perfect Morning
Who has time to make pancakes from scratch every morning? Not many of us! That's where make-ahead magic comes in. You can easily prepare your pancake batter the night before and store it in the refrigerator. Simply whisk together all your ingredients (except for any delicate toppings that might get soggy) and refrigerate in an airtight container. The batter will thicken slightly overnight, but this won't affect the final result.
In the morning, give your batter a gentle stir and cook your pancakes as usual. This saves you valuable time on busy mornings, allowing you to enjoy a delicious and healthy breakfast without the hassle. For those who are pressed for time, we have a quick and easy recipe for healthy pancakes for one that's perfect for a single-serving breakfast. Embrace the convenience and enjoy the extra time in your day!