Table of Contents
Let's face it: making a stack of fluffy, healthy pancakes is a triumph. But what happens when you've made more than you can possibly eat in one sitting? Fear not, pancake enthusiasts! This article is your ultimate guide to mastering the art of storing healthy pancakes, ensuring those delicious creations remain just as delightful days, or even weeks, later. We'll cover everything you need to know, from the best short-term fridge solutions to long-term freezing techniques that will keep your pancakes tasting as if they just came off the griddle. We'll even share expert tips and tricks for reheating your healthy pancakes perfectly, so you can enjoy that amazing breakfast experience anytime. Whether you’re a seasoned pancake pro or a newbie looking to perfect your pancake game, this guide will help you conquer the challenge of storing healthy pancakes, minimizing waste, and maximizing deliciousness. Get ready to unlock the secrets to keeping your healthy pancakes at their absolute best! So, let's dive in and learn how to properly store those amazing healthy pancakes!
The Fridge: ShortTerm Storage Solutions for Your Healthy Pancakes

The Fridge: ShortTerm Storage Solutions for Your Healthy Pancakes
Keeping Your Pancakes Fresh for a Few Days
So, you've whipped up a batch of delicious healthy pancakes, maybe using our healthy pancake recipe for breakfast, and now you're wondering how to keep them tasting their best for a couple of days. The fridge is your friend here! But it's not just a case of shoving them in any old container. Let's talk strategy.
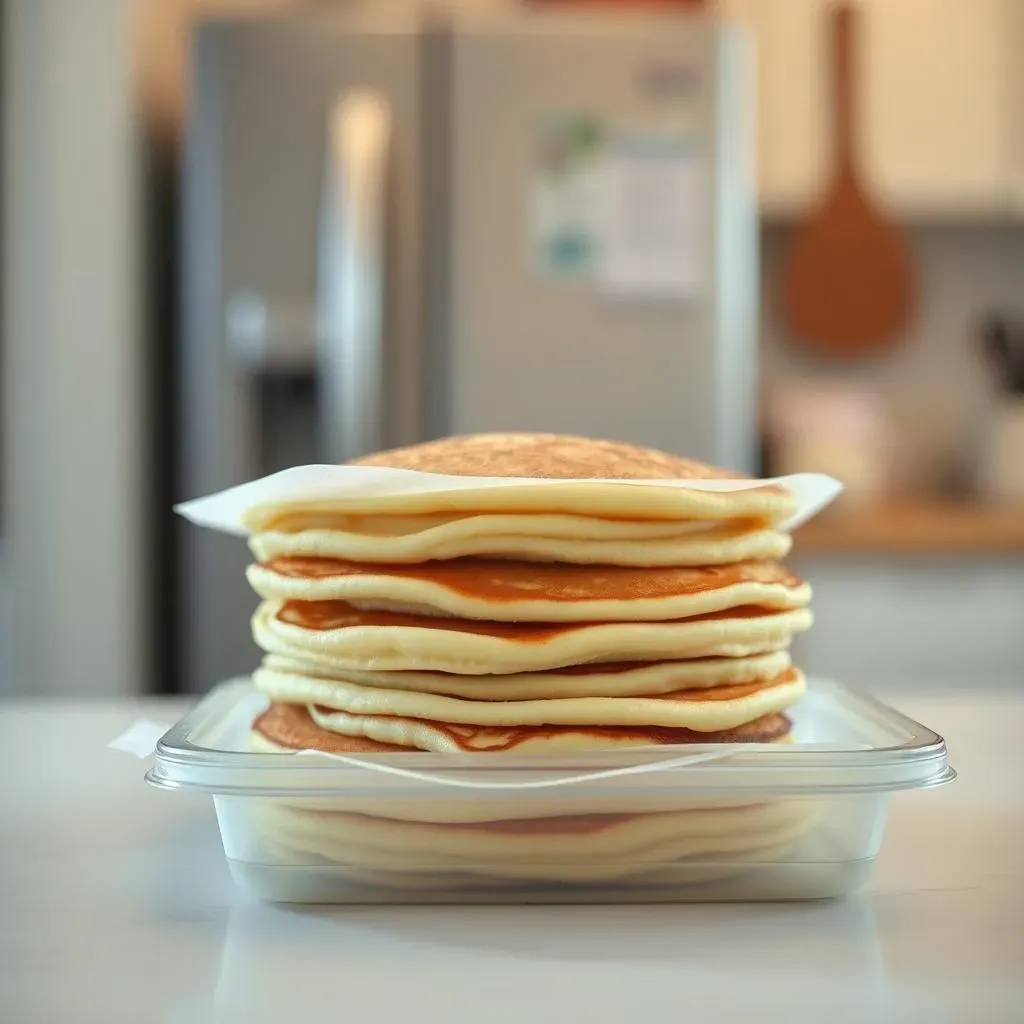
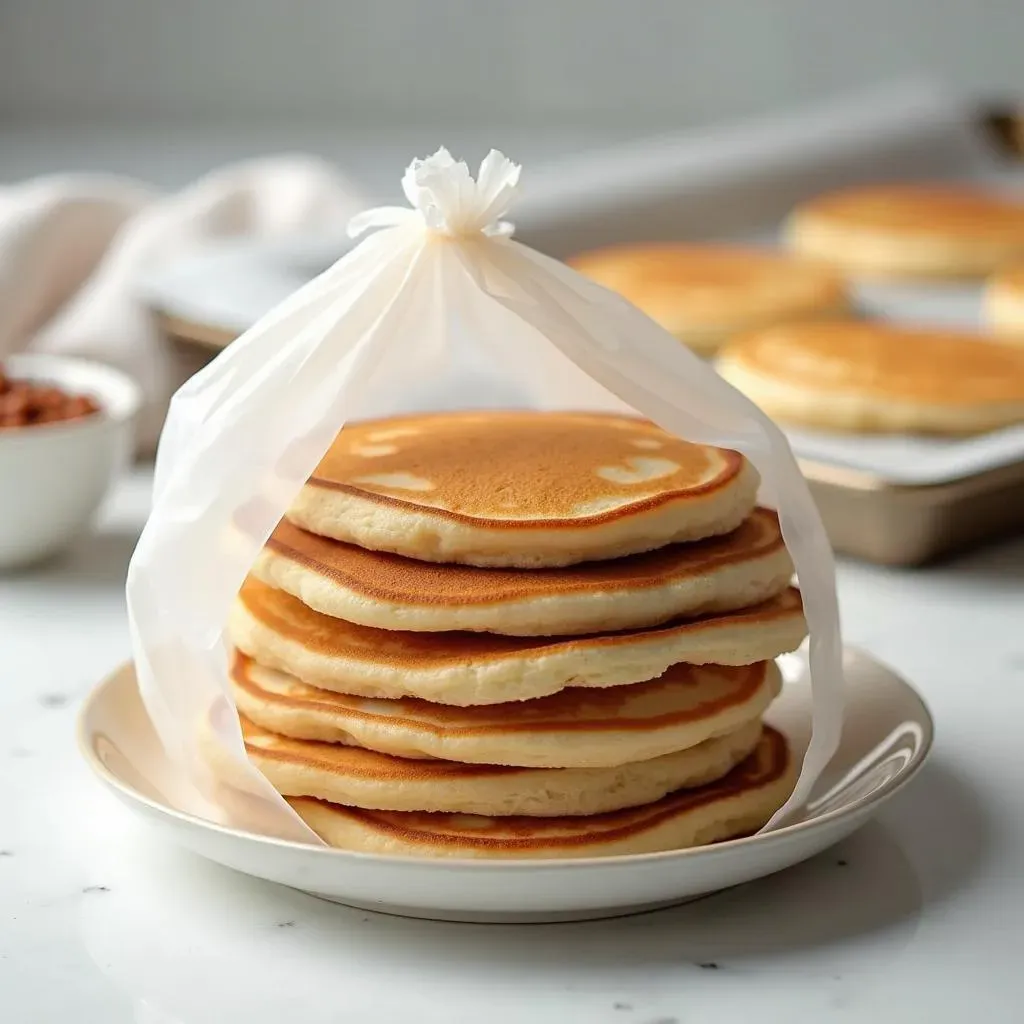
First things first: let those pancakes cool completely. Seriously, don't try to cram warm, steamy pancakes into an airtight container. That's a recipe for soggy disappointment. Once they've reached room temperature, the real fun begins. You want to prevent them from sticking together and drying out. A great technique is to place a sheet of wax paper or parchment paper between each pancake as you stack them. This creates a lovely little barrier, keeping everything separated and fluffy.
Storage Method | Pros | Cons |
|---|---|---|
Airtight Container | Keeps pancakes moist, prevents odors | Can be bulky, might require more space |
Stack with Parchment | Prevents sticking, simple | Might not be as airtight |
Then, pop your neatly stacked pancakes into an airtight container. This will keep them from drying out and absorbing any unwanted fridge smells. Remember, even the healthiest pancakes can go a bit off if they're exposed to the air. If you're using a recipe using almond flour, this step is particularly important as almond flour pancakes tend to dry out faster.
How long can you keep them in the fridge? Aim for 3-4 days max. After that, they might start to lose their delightful fluffiness. And honestly, who wants to eat day-old pancakes when you could be having a fresh batch made with our best healthy pancake mix?
- Let pancakes cool completely before storing.
- Use wax paper or parchment paper between layers.
- Store in an airtight container.
- Refrigerate for no more than 3-4 days.
Freezing for the Long Haul: Preserving Your Healthy Pancake Creations

Freezing for the Long Haul: Preserving Your Healthy Pancake Creations
The Flash Freeze Method: Individual Pancake Perfection
For long-term storage, freezing is your best bet. But here's the thing: don't just toss a whole stack of pancakes into a bag and hope for the best. That's a recipe for a pancake-shaped ice hockey puck. Instead, let's employ the "flash freeze" method. This involves laying your completely cooled pancakes (remember, room temperature is key!) on a baking sheet lined with parchment paper. This prevents them from sticking together during the initial freeze. Think of it as giving each pancake its own little freezer condo.
Once they're solid (about 30 minutes in your freezer), you can transfer them to a freezer bag. This saves space and makes grabbing a single pancake for a quick breakfast much easier than wrestling with a giant, frozen pancake block. If you're using a banana oat pancake recipe, flash freezing helps maintain the texture and prevents the bananas from turning mushy.
- Lay cooled pancakes on a parchment-lined baking sheet.
- Freeze individually for 30 minutes.
- Transfer to a freezer bag.
Long-Term Storage: How Long Will Your Pancakes Last?
Now that your pancakes are individually frozen and safely tucked away, how long can you expect them to remain delicious? Well, that depends on how well you follow the instructions. Ideally, your frozen healthy pancakes should last for 2-3 months. Beyond that, you might start to see a decline in quality, though they'll likely still be edible. Freezing isn't magic; it slows down the degradation process, but it doesn't stop it entirely. Think of it like putting your pancakes into a time-slowing machine, but not a time-stopping one.
Remember, proper packaging is crucial. Air is the enemy of frozen pancakes. Make sure your freezer bag is well-sealed to prevent freezer burn (that nasty, dry, icy crust that forms on frozen food). If you're feeling extra fancy, consider using vacuum-sealed bags for optimal protection. For those who use a healthy pancake recipe without sugar, freezing helps maintain their delicate flavor.
Freezing Method | Pros | Cons |
|---|---|---|
Flash Freeze | Prevents sticking, easy to portion | Requires extra steps |
Bulk Freeze | Quick and easy | Pancakes may stick together |
Tips and Tricks for Freezing Success
Here's a little extra advice for those who want to become pancake freezing masters. First, consider labeling your freezer bags with the date. This helps you keep track of how long your pancakes have been frozen and ensures you use the oldest ones first. Think of it as a first-in, first-out system for your pancake freezer inventory. It's a simple detail, but it makes a difference. And don't forget to leave a little space in your freezer bag; this helps prevent your pancakes from getting crushed during the freezing process.
Finally, remember that even frozen pancakes aren't indestructible. While freezing significantly extends their shelf life, it doesn't make them immortal. Always check your pancakes before eating them to make sure they still look and smell good. If they have any unusual discoloration or smell off, it's best to err on the side of caution and toss them. Using a high-quality top-rated healthy pancake mix will usually mean a better frozen product.
"The best way to store pancakes is to let them cool completely, then freeze them individually on a baking sheet before storing in a freezer bag." -Cook's Illustrated
Reheating Your Healthy Pancakes: Tips and Tricks for Perfect Results

Reheating Your Healthy Pancakes: Tips and Tricks for Perfect Results
From Freezer to Plate: Thawing and Reheating Techniques
So, you've successfully frozen your healthy pancakes, perhaps using our healthy pancake recipe for breakfast. Now it's time for the grand finale: reheating! The key here is to avoid turning your fluffy pancakes into rubbery discs. There are several methods, each with its own pros and cons. Let's explore the best options to bring your frozen pancakes back to their former glory.
The most straightforward approach is to let your pancakes thaw overnight in the refrigerator. This gentle method helps maintain their texture, but it requires planning ahead. Alternatively, you can microwave them, but be cautious! Microwaving can easily overcook and dry out pancakes, turning them into something resembling hockey pucks. If you choose this method, use short bursts of 15-20 seconds, checking frequently to prevent overcooking. For those who value convenience and speed, this method is a good option. For those who want to maintain the perfect texture, this is generally less preferred.
- Refrigerator thawing (slowest, best texture)
- Microwave reheating (fastest, potential for dryness)
- Oven reheating (best for crispy edges)
- Toaster reheating (fastest, best for crispier pancakes)
Oven and Toaster Methods: Achieving Crispy Perfection
If you want perfectly crisp edges and a warm, fluffy interior, the oven or toaster is your best friend. For the oven, preheat it to a low temperature (around 300°F or 150°C). Place your pancakes on a baking sheet and heat them for 5-7 minutes, or until heated through. This method is ideal for maintaining both the moisture and crispness of your pancakes, especially if you're using a recipe using almond flour, which can become dry quickly. It's a bit slower than other methods, but the results are worth the wait.
The toaster is a quick and easy option for a single or double serving of pancakes, particularly if you are craving a crispier pancake. Simply place your pancake in the toaster and toast until heated through, carefully watching to avoid burning. This method is perfect for a quick and easy breakfast, especially if you're short on time. However, it's not ideal for reheating larger quantities of pancakes. If you're using our healthy pancake recipe without sugar, the toaster method is a great way to add a little extra crispness without compromising the delicate flavor.
Reheating Method | Pros | Cons |
|---|---|---|
Oven | Even heating, maintains texture | Slower, requires preheating |
Toaster | Fast, crisps edges | Only suitable for small portions |